1. Einleitung
This user manual provides comprehensive instructions for the installation, operation, and maintenance of your Weiser SmartCode Keypad Electronic Deadbolt. This advanced keyless entry system offers enhanced security and convenience for your home.
The SmartCode deadbolt features a sleek design, a backlit keypad for visibility, and the ability to store up to 50 user codes. It operates on 4 AA batteries and includes SmartKey re-key technology for added security and flexibility.
2. Sicherheitshinweise
Please read and understand all instructions before installing and using this product. Keep this manual for future reference.
- Do not attempt to disassemble or modify the lock. This may cause damage to the product and void the warranty.
- Use only the specified battery type (4 AA alkaline batteries). Do not mix old and new batteries or different types of batteries.
- Achten Sie beim Einlegen der Batterien auf die richtige Polarität.
- Keep all keys and user codes in a secure location.
- Avoid exposing the lock to extreme temperatures or direct moisture.
- Regularly check the lock's functionality and battery level.
3. Packungsinhalt
Vergewissern Sie sich vor Beginn der Installation, dass alle Komponenten vorhanden sind:

Image: Complete package contents of the Weiser SmartCode Keypad Electronic Deadbolt.
- Electronic Deadbolt (Exterior Keypad Assembly)
- Electronic Deadbolt (Interior Battery Unit)
- Verriegeln
- Schlagplatte
- Montageplatte
- Montagezubehör (Schrauben)
- 2 Tasten
- SmartKey-Tool
- Installationshandbuch (dieses Dokument)
Hinweis: Es werden 4 AA-Batterien benötigt, die nicht im Lieferumfang enthalten sind.
4. Einrichtung und Installation
The Weiser SmartCode deadbolt is designed for easy installation. For a seamless setup experience, it is highly recommended to use the free BILT app, which provides step-by-step interactive 3D instructions with voice and video guidance.
4.1 Türkompatibilität
This lock is designed to fit standard doors 1-3/8" to 1-3/4" (35 mm - 44 mm) thick with an adjustable backset (2-3/8" or 2-3/4"). It is ideal for most exterior and interior residential doors.
4.2 Installationsschritte (Überview)
- Bereiten Sie die Tür vor: Ensure your door is properly drilled and aligned for a deadbolt installation.
- Installieren Sie den Riegel: Insert the latch into the door edge, ensuring the correct backset is selected.
- Installieren Sie die Außenbaugruppe: Place the exterior keypad assembly onto the door, feeding the cable through the cross bore.
- Installieren Sie die Montageplatte: Secure the mounting plate to the door using the provided screws, ensuring the cable passes through the plate.
- Kabel anschließen und Innenausstattung montieren: Connect the cable from the exterior assembly to the interior battery unit. Mount the interior unit to the mounting plate.
- Batterien installieren: Insert 4 AA alkaline batteries into the interior unit, observing polarity.
- Türübergabeprozess durchführen: This crucial step teaches the lock the orientation of your door. Follow the specific instructions in the full manual or BILT app.
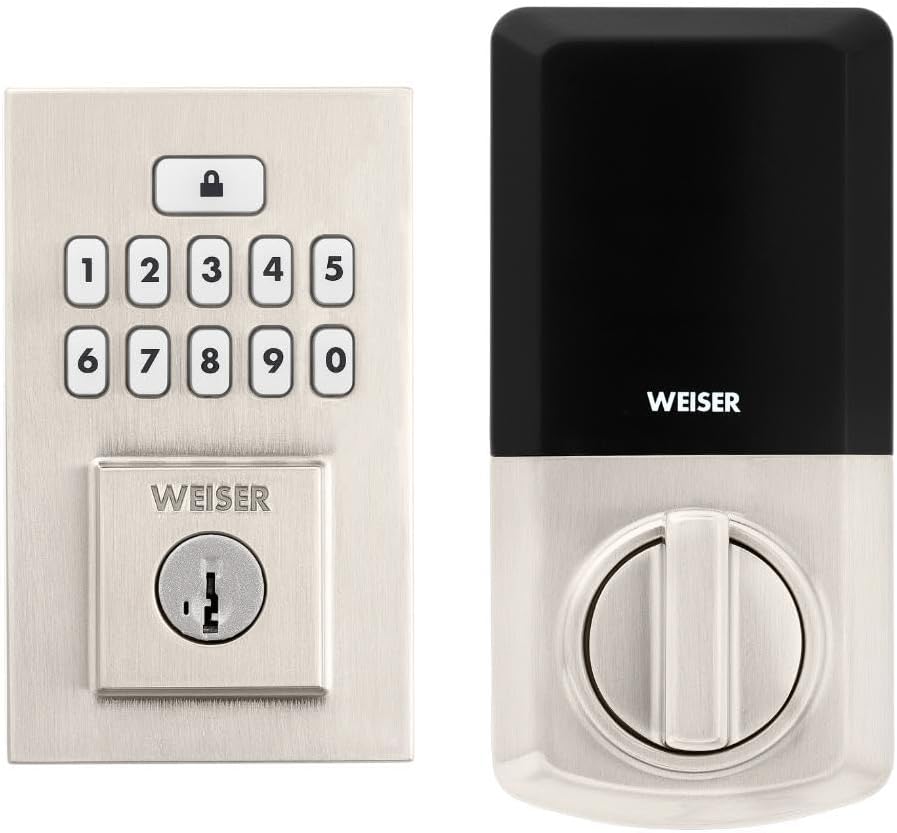
Image: Assembled Weiser SmartCode Keypad Electronic Deadbolt, showing both exterior and interior components.

Image: Close-up of the exterior keypad, featuring the backlit numeric buttons and keyhole.
5. Bedienungsanleitung
5.1 Tür verriegeln
- One-Touch-Sperre: Press the Lock button (top button with padlock icon) on the keypad. The deadbolt will extend.
- Auto-Lock-Funktion: If enabled, the deadbolt will automatically extend after a set period (e.g., 30 seconds) once unlocked.
5.2 Tür aufschließen
- Verwendung eines Benutzercodes: Enter your personalized 4-8 digit user code on the keypad. The deadbolt will retract.
- Verwendung des Schlüssels: Stecken Sie den physischen Schlüssel in das Schlüsselloch und drehen Sie ihn, um das Schloss zu entriegeln.
5.3 Programmierung von Benutzercodes
The lock supports up to 50 user codes and 1 master code. Refer to the detailed programming instructions in the full manual for adding, deleting, or modifying codes.
- Hauptkennziffer: The master code is used to add and delete user codes. It does not unlock the door.
- Benutzercodes: These codes are used to unlock the door.


Image: Icons illustrating user management, programming, and auto-lock features.
5.4 SmartKey-Schlüsselaustauschtechnologie
The SmartKey re-key technology allows you to re-key your lock in seconds, maintaining key control and protecting against lost, stolen, or unauthorized keys without removing the lock from your door. Use the provided SmartKey tool and follow the instructions carefully.

Image: SmartKey Security feature, demonstrating how to re-key the lock.
6. Wartung
6.1 Batteriewechsel
The lock operates on 4 AA alkaline batteries. When the batteries are low, the lock will provide an audible and/or visual low battery warning. Replace all four batteries simultaneously to ensure optimal performance.
- Entfernen Sie die Batterieabdeckung am Innengerät.
- Entfernen Sie alte Batterien und entsorgen Sie diese ordnungsgemäß.
- Legen Sie neue AA-Alkalibatterien ein und achten Sie dabei auf die richtige Polarität (+/-).
- Setzen Sie die Batterieabdeckung wieder auf.
Note: Battery life can vary based on usage frequency and environmental conditions. If the auto-lock feature is frequently used, battery life may be shorter.
6.2 Reinigung
Reinigen Sie das Schloss mit einem weichen, fusselfreien Tuch.amp Verwenden Sie ein Tuch. Vermeiden Sie die Verwendung von Scheuermitteln, Lösungsmitteln oder chemischen Sprays, da diese die Oberfläche und die elektronischen Bauteile beschädigen können.
7. Fehlerbehebung
| Problem | Mögliche Ursache | Lösung |
|---|---|---|
| Lock does not respond or keypad is not lit. | Leere Batterien. | Ersetzen Sie alle vier AA-Batterien. |
| Lock beeps 3 times during programming or code entry. | Incorrect code, programming error, or lock not handed correctly. | Verify the code. Re-attempt programming steps carefully. Perform the door handing process again. If issues persist, reset the unit to factory settings (refer to full manual). |
| Deadbolt extends when door is open (Auto-lock issue). | The lock does not have a sensor to detect if the door is open or closed. Auto-lock activates after the set time regardless of door position. | This is normal operation. Ensure the door is closed before the auto-lock time expires, or disable the auto-lock feature if it causes inconvenience. |
| Keypad is difficult to see at night. | Backlight not active. | The keypad is backlit and stays lit for 30 seconds after inactivity. Ensure there is enough battery power. |
| Lock is not operating smoothly. | Misalignment of door or strike plate, or internal mechanism issue. | Check door and frame alignment. Ensure the strike plate is correctly installed. If the issue persists, contact customer support. |
8. Spezifikationen
| Besonderheit | Detail |
|---|---|
| Modellnummer | 9GED92600-003 |
| Technische Daten | 6.99 x 2.86 x 13.97 cm (2.75 x 1.13 x 5.5 Zoll) |
| Artikelgewicht | 454 g |
| Farbe | Satin Nickel |
| Stil | Zeitgenössisch |
| Beenden | Gebürstet |
| Material | Metall |
| Sperrtyp | Elektronisches Riegelschloss |
| Tastenfeld | 10-Button, Backlit |
| Benutzercodes | Bis zu 50 Benutzercodes, 1 Mastercode |
| Stromquelle | 4 AA-Batterien (nicht im Lieferumfang enthalten) |
| Kompatibilität der Türstärke | 1-3/8" to 1-3/4" (35 mm - 44 mm) |
| Zurücksetzen | Verstellbar 2-3/8" oder 2-3/4" |
| Besondere Merkmale | Wetterfest, Aufprallschutz, automatische Verriegelung, Ein-Tasten-Verriegelung, beleuchtete Tastatur, SmartKey-Sicherheit |
| ANSI-Klasse | Klasse 2 |
| Ursprungsland | China |
9. Garantie und Support
9.1 Garantieinformationen
The Weiser SmartCode Keypad Electronic Deadbolt comes with a 1 Jahr Garantie Diese Garantie gilt ab Kaufdatum und deckt Material- und Verarbeitungsfehler bei normalem Gebrauch ab. Bitte bewahren Sie Ihren Kaufbeleg für Garantieansprüche auf.
For full warranty details and limitations, please refer to the official Weiser webWebsite oder wenden Sie sich an den Kundendienst.
9.2 Kundendienst
For technical assistance, troubleshooting, or warranty inquiries, please contact Weiser customer support:
- Online-Hilfe: Visit the official Weiser website for FAQs, video tutorials, and contact forms.
- Telefonischer Support: Refer to the contact information provided on the Weiser packaging or webWebseite für Öffnungszeiten des telefonischen Supports.
- BILT App: Utilize the BILT app for interactive 3D installation and programming guidance.
When contacting support, please have your product model number (9GED92600-003) and purchase date available.


