Einführung
This manual provides detailed instructions for the setup, operation, and maintenance of your LFF Atomic Clock Model LWC204. This digital clock features a large, easy-to-read display, atomic time synchronization, and a wireless sensor for indoor and outdoor temperature readings. Please read this manual thoroughly before use to ensure proper functionality and longevity of your device.
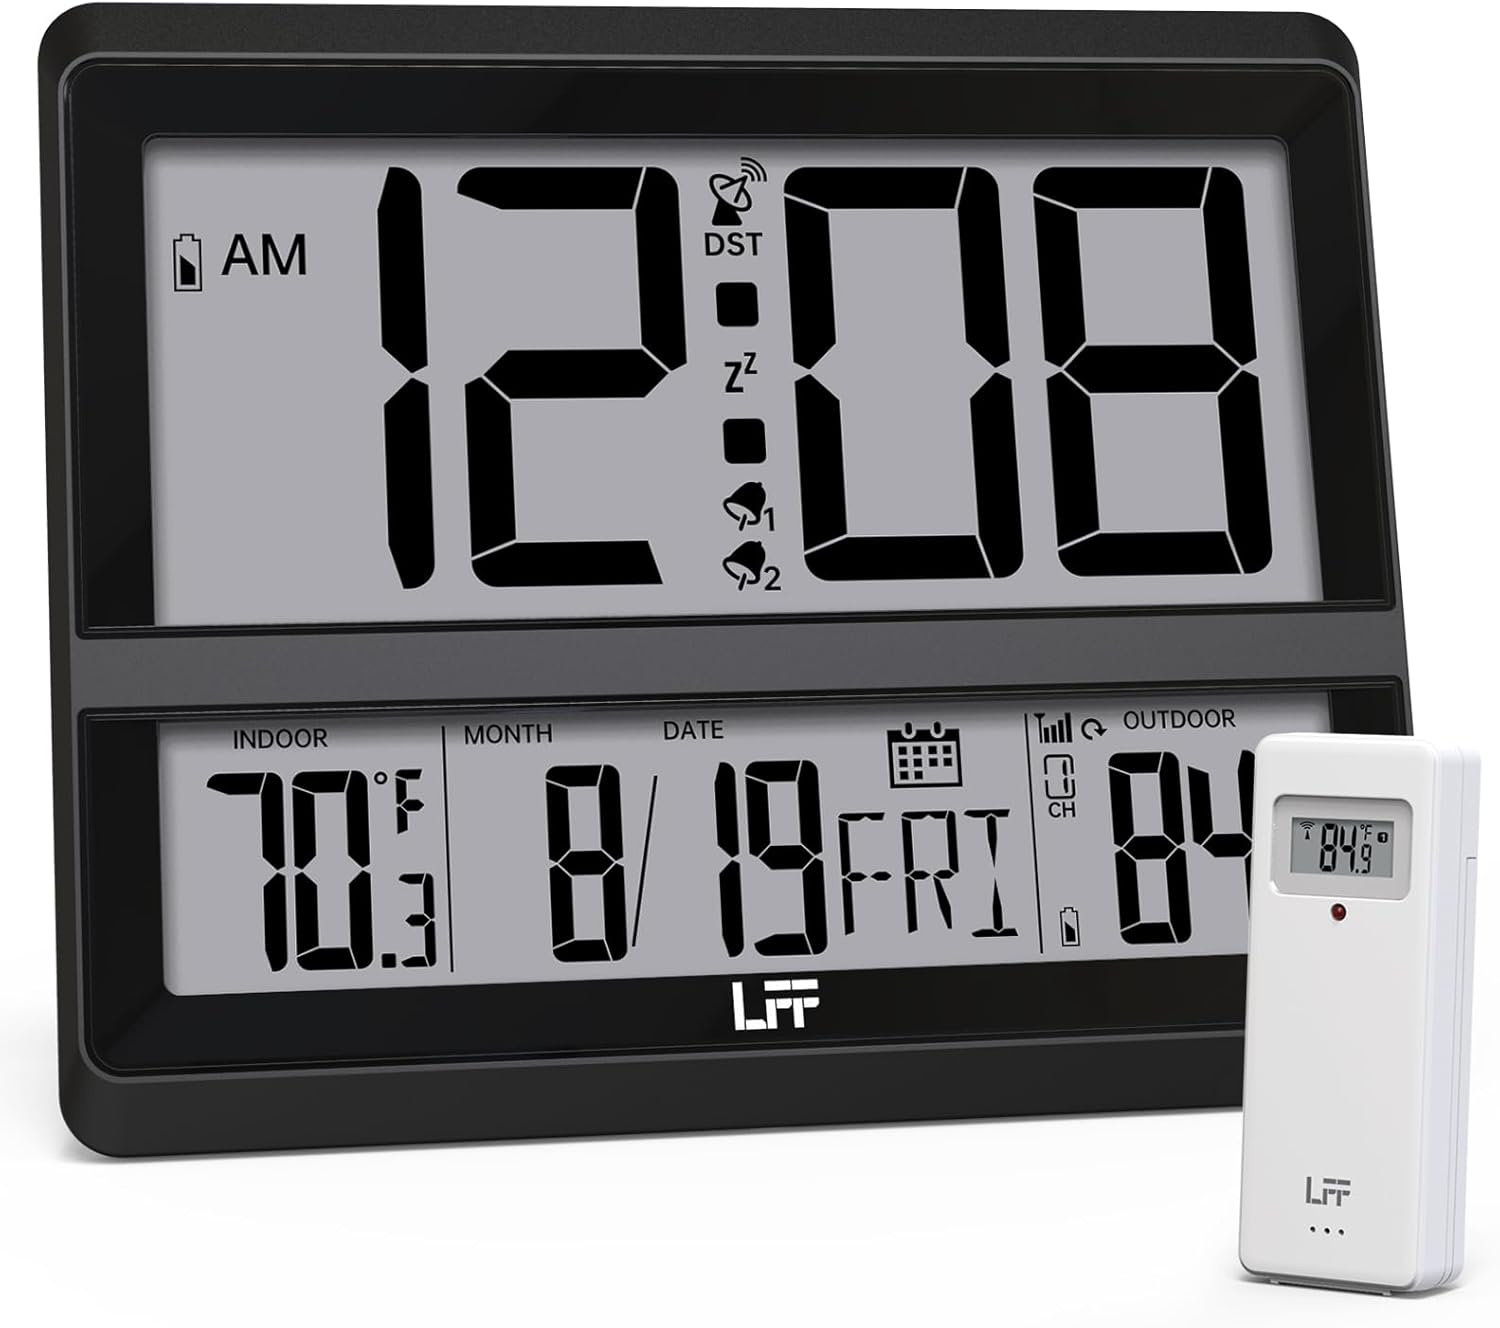
Image: The LFF Atomic Clock main unit with its wireless outdoor temperature sensor.
Packungsinhalt
- LFF Atomic Clock Main Unit
- Drahtloser Außentemperatursensor
- Bedienungsanleitung (dieses Dokument)
- Bracket for table standing
Note: Batteries are not included. The main clock unit requires 3x AA batteries, and the outdoor sensor requires 2x AAA batteries.
Produkt überview
Familiarize yourself with the main components and controls of your LFF Atomic Clock.

Image: Front display and rear button layout of the LFF Atomic Clock.
Anzeigefunktionen:
- Zeitanzeige: Large digits for current time (12/24 Hour format).
- AM/PM-Anzeige: Für das 12-Stunden-Format.
- Sommerzeitsymbol: Indicates Daylight Saving Time is active.
- RCC Reception Icon: Shows status of atomic time signal reception.
- Alarm Icons (Zz, 1, 2): Indicate active alarms and snooze function.
- Innentemperatur: Current temperature inside (°C/°F).
- Außentemperatur: Current temperature from wireless sensor (°C/°F).
- Datum & Wochentag: Month, Day, and Day of the Week.
- Anzeige für niedrigen Batteriestand: For both main unit and outdoor sensor.
Tasten auf der Rückseite:
- Set-Taste: Wechselt in den Einstellungsmodus.
- Alarmknopf: Greift auf die Alarmeinstellungen zu.
- KANAL-Schaltfläche: Cycles through outdoor sensor channels (if multiple sensors are used).
- DOWN/WAVE/°C/°F Button: Decreases values in setting mode, manually initiates atomic signal search (WAVE), or switches temperature units.
- UP/ALARM Button: Increases values in setting mode, or activates/deactivates alarm.
Aufstellen
1. Einlegen der Batterie
- Außensensor:
- Öffnen Sie das Batteriefach auf der Rückseite des drahtlosen Außensensors.
- Insert 2x AAA batteries, observing the correct polarity (+/-).
- Verschließen Sie das Batteriefach fest.
- Note: For temperatures below -4°F (-20°C), Lithium batteries are recommended for the outdoor sensor.
- Hauptuhreinheit:
- Öffnen Sie das Batteriefach auf der Rückseite der Hauptuhreinheit.
- Legen Sie 3 AA-Batterien ein und achten Sie dabei auf die richtige Polarität (+/-).
- Verschließen Sie das Batteriefach fest.

Image: Battery compartments for the main clock and outdoor sensor.
2. Erste Synchronisierung und Einstellungen
Upon battery installation, the clock will automatically begin searching for the WWVB atomic time signal and attempt to connect with the outdoor sensor.
- The RCC Reception Icon will flash during the atomic signal search. This process may take several minutes or up to 24 hours depending on signal strength.
- The outdoor temperature should appear on the display within a few minutes after the sensor batteries are installed. If not, press the KANAL button on the main unit to cycle through channels or press the reset button on the outdoor sensor.
3. Manual Settings (if needed)
If the atomic signal is not received or you wish to adjust settings manually:
- Zeitzoneneinstellung:
- Halten Sie die SATZ button for 3 seconds to enter time zone setting.
- Verwenden Sie die UP/ALARM or DOWN/WAVE/°C/°F buttons to select your time zone (e.g., PST, MST, CST, EST).
- Drücken SATZ um zu bestätigen und zur nächsten Einstellung zu gehen.
- 12/24-Stunden-Format:
- After time zone, the hour format will flash. Use UP/ALARM or DOWN/WAVE/°C/°F to select 12-hour or 24-hour format.
- Drücken SATZ zur Bestätigung.
- Manuelle Zeit- und Datumseinstellung:
- Drücken Sie weiter SATZ to cycle through Year, Month, Day, Hour, Minute settings.
- Verwenden UP/ALARM or DOWN/WAVE/°C/°F um jeden Wert anzupassen.
- Drücken SATZ um jede Einstellung zu bestätigen.
- Sommerzeit (DST):
- After setting the time, the DST setting will flash. Use UP/ALARM or DOWN/WAVE/°C/°F to enable or disable DST.
- Drücken SATZ Um den Einstellungsmodus zu verlassen.

Image: The clock automatically corrects time daily via WWVB signal.
4. Platzierung des Außensensors
- Place the wireless outdoor sensor within 330 feet (100 meters) of the main unit.
- Choose a shaded location to avoid direct sunlight, which can affect temperature accuracy.
- Ensure the sensor is protected from direct rain and snow.
- Vermeiden Sie es, den Sensor in der Nähe von großen Metallgegenständen oder elektrischen Geräten aufzustellen, da diese das Funksignal stören könnten.

Image: Wireless range of 330 feet for the outdoor sensor.
Bedienungsanleitung
1. Anzeigemodi
- The clock continuously displays time, indoor temperature, outdoor temperature, date, and day of the week.
- Drücken Sie die DOWN/WAVE/°C/°F Taste zum Umschalten zwischen Celsius (°C) und Fahrenheit (°F) für die Temperaturanzeige.
2. Alarmfunktion
- Einstellen des Alarms:
- Drücken Sie die ALARM button once to display Alarm 1 time. Press again for Alarm 2.
- While an alarm time is displayed, press and hold the ALARM button for 3 seconds to enter alarm setting mode. The hour will flash.
- Verwenden UP/ALARM or DOWN/WAVE/°C/°F um die Stunde einzustellen. Drücken Sie ALARM zur Bestätigung.
- The minute will flash. Use UP/ALARM or DOWN/WAVE/°C/°F Minute einzustellen. Drücken Sie ALARM um die Alarmeinstellung zu bestätigen und zu verlassen.
- Alarm aktivieren/deaktivieren:
- Drücken Sie die ALARM button to display Alarm 1 or Alarm 2.
- Drücken Sie die UP/ALARM button to toggle the alarm ON or OFF. The corresponding alarm icon (1 or 2) will appear/disappear on the display.
- Schlummerfunktion:
- Wenn der Alarm ertönt, drücken Sie die SCHLAFEN button (usually located on top or a dedicated button) to activate snooze. The alarm will sound again after approximately 5-10 minutes.
- Um den Alarm vollständig zu stoppen, drücken Sie eine beliebige andere Taste (z. B. ALARM, SATZ).
3. Manual Atomic Signal Search
If you wish to manually initiate a search for the WWVB atomic time signal, press and hold the DOWN/WAVE/°C/°F button for 3 seconds. The RCC Reception Icon will flash, indicating the search is in progress.
Wartung
- Reinigung: Wipe the clock and sensor with a soft, dry cloth. Do not use abrasive cleaners or solvents.
- Batteriewechsel: When the low battery indicator appears on the display for either the main unit or the outdoor sensor, replace the batteries promptly to ensure continuous operation and accurate readings. Refer to the "Battery Installation" section for details.
- Lagerung: Wenn Sie das Gerät über einen längeren Zeitraum lagern, entfernen Sie alle Batterien, um ein Auslaufen zu verhindern.
Fehlerbehebung
| Problem | Mögliche Ursache | Lösung |
|---|---|---|
| Kein Display am Hauptgerät. | Die Batterien sind leer oder falsch eingelegt. | Prüfen Sie die Batteriepolarität und ersetzen Sie die Batterien durch neue AA-Batterien. |
| Die Außentemperatur wird nicht oder nicht korrekt angezeigt. |
|
|
| Atomic time signal not received (RCC icon flashing or not displayed). |
|
|
| Time is incorrect after atomic synchronization. | Falsche Zeitzoneneinstellung. | Adjust the time zone setting as described in the "Manual Settings" section. |
Technische Daten
| Besonderheit | Detail |
|---|---|
| Modellnummer | LWC204 |
| Anzeigetyp | Digital LCD |
| Stromversorgung (Haupteinheit) | 3x AA Batterien (nicht enthalten) |
| Stromversorgung (Außensensor) | 2x AAA-Batterien (nicht im Lieferumfang enthalten) |
| Innentemperaturbereich | 32 °C bis 122 °C (0 °F bis 50 °F) |
| Außentemperaturbereich | -58°F bis 158°F (-50°C bis 70°C) |
| Drahtlose Reichweite | Bis zu 100 Meter (330 Fuß) im Freien |
| Zeitformat | 12/24 Stunden wählbar |
| Abmessungen (Hauptgerät) | 7.48 Zoll B x 8.66 Zoll H (ca.) |
| Montageoptionen | Wall Mount or Tabletop (bracket included) |
Garantie und Support
LFF products are designed for reliability and performance. For specific warranty information, please refer to the warranty card included with your purchase or contact LFF customer support.
For technical assistance or further inquiries, please visit the official LFF webBesuchen Sie die Website oder wenden Sie sich an den Kundenservice. Die Kontaktdaten finden Sie in der Regel auf der Produktverpackung oder auf der offiziellen Website der Marke.


