1. Einleitung
The LFF Atomic Clock (Model LWC150) is a versatile digital wall or desk clock designed for accurate timekeeping and environmental monitoring. It automatically synchronizes with the WWVB radio broadcast for precise time and features a large, easy-to-read LCD display showing time, date, day of the week, alarm status, and both indoor and outdoor temperature and humidity.
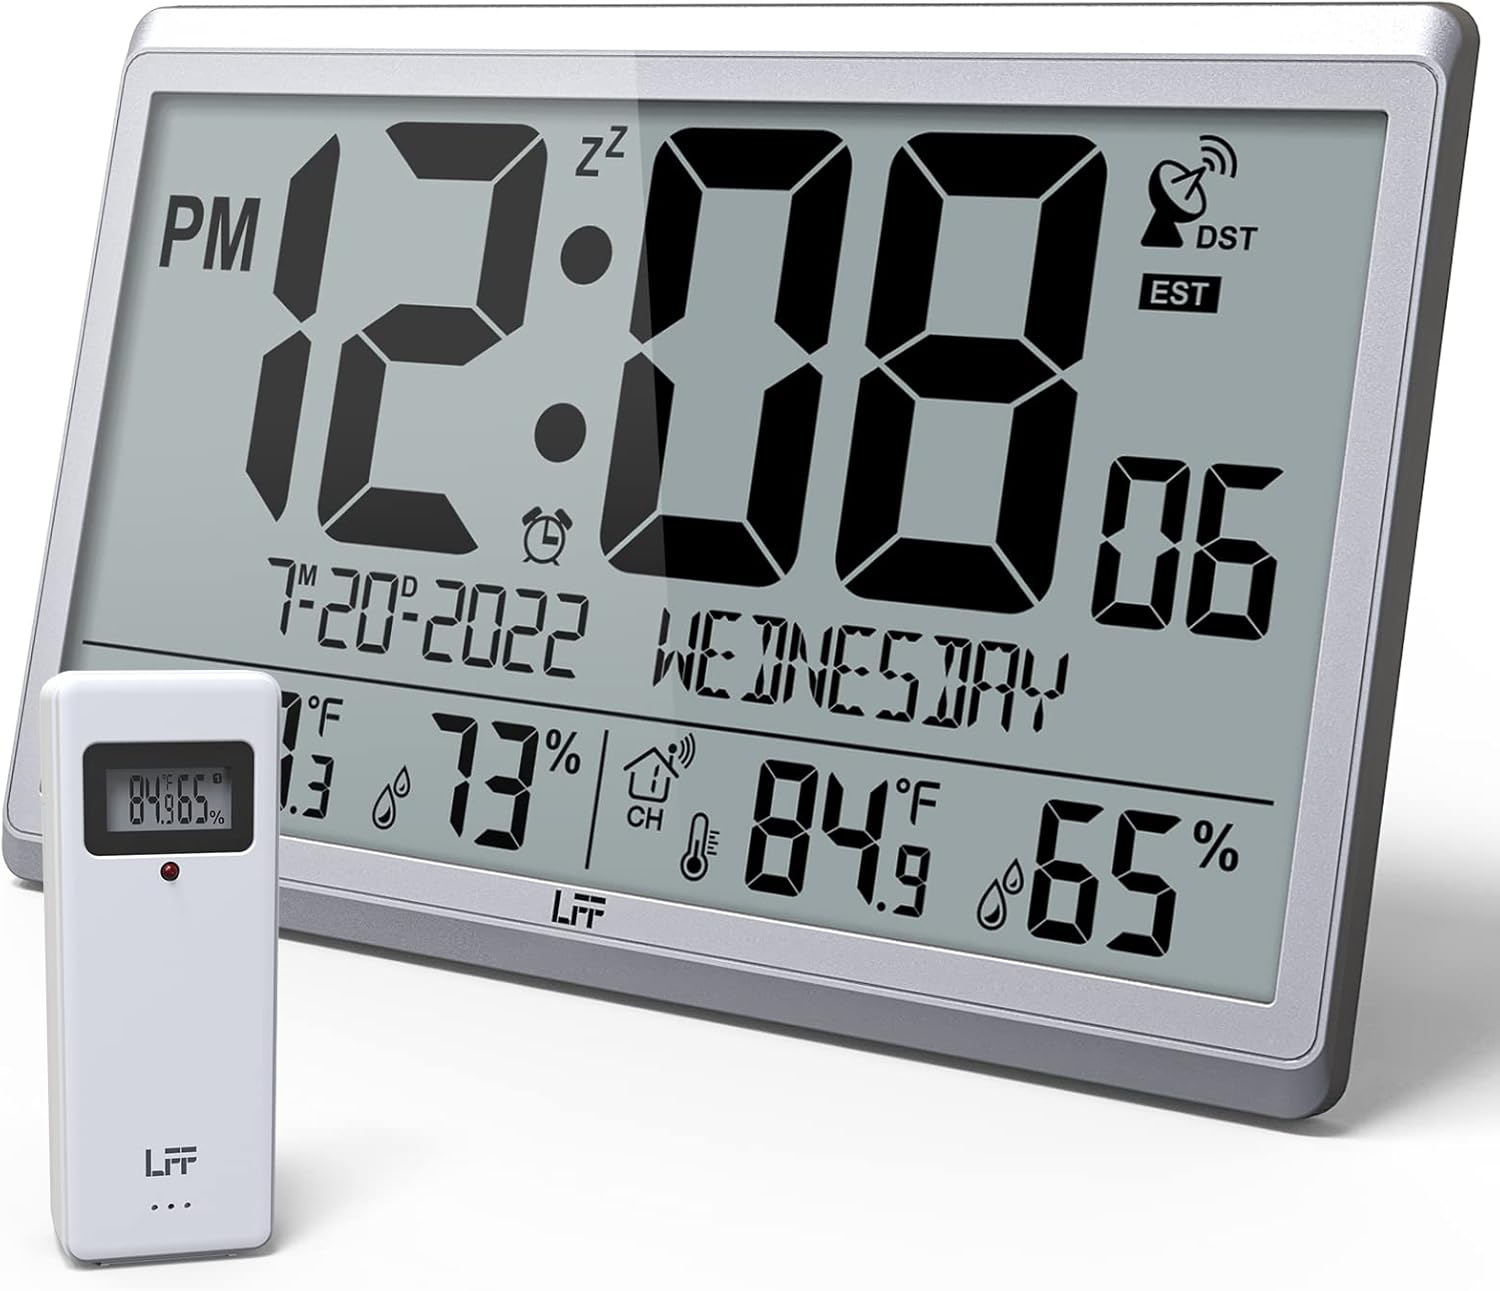
Figure 1.1: LFF Atomic Clock with its wireless outdoor sensor.
2. Funktionen
- Accurate Atomic Clock: Built-in receiver automatically synchronizes with the WWVB radio broadcast from NIST in Fort Collins, Colorado, ensuring precise time and calendar adjustments.
- Large LCD High-Definition Display: 9.4-inch tall display with large numbers for easy readability. Displays time (12/24H), calendar, day of the week, alarm, indoor/outdoor temperature (°C/°F), and humidity simultaneously.
- Drahtloser Außensensor: Transmits accurate outdoor temperature and humidity measurements up to 328 feet (100 meters). The sensor has an IPX4 splash-proof rating.
- Batteriebetrieben: Main clock requires 4 AA batteries (not included), and the outdoor sensor requires 2 AAA batteries (not included). No backlight display.
- Mehrere Zeitzonen: Supports 8 time zones including EST, CST, MST, PST, AKT, HST, AST, NST.
- Flexible Platzierung: Can be used as a wall clock (3 hanging holes) or a desk clock (integrated bracket).
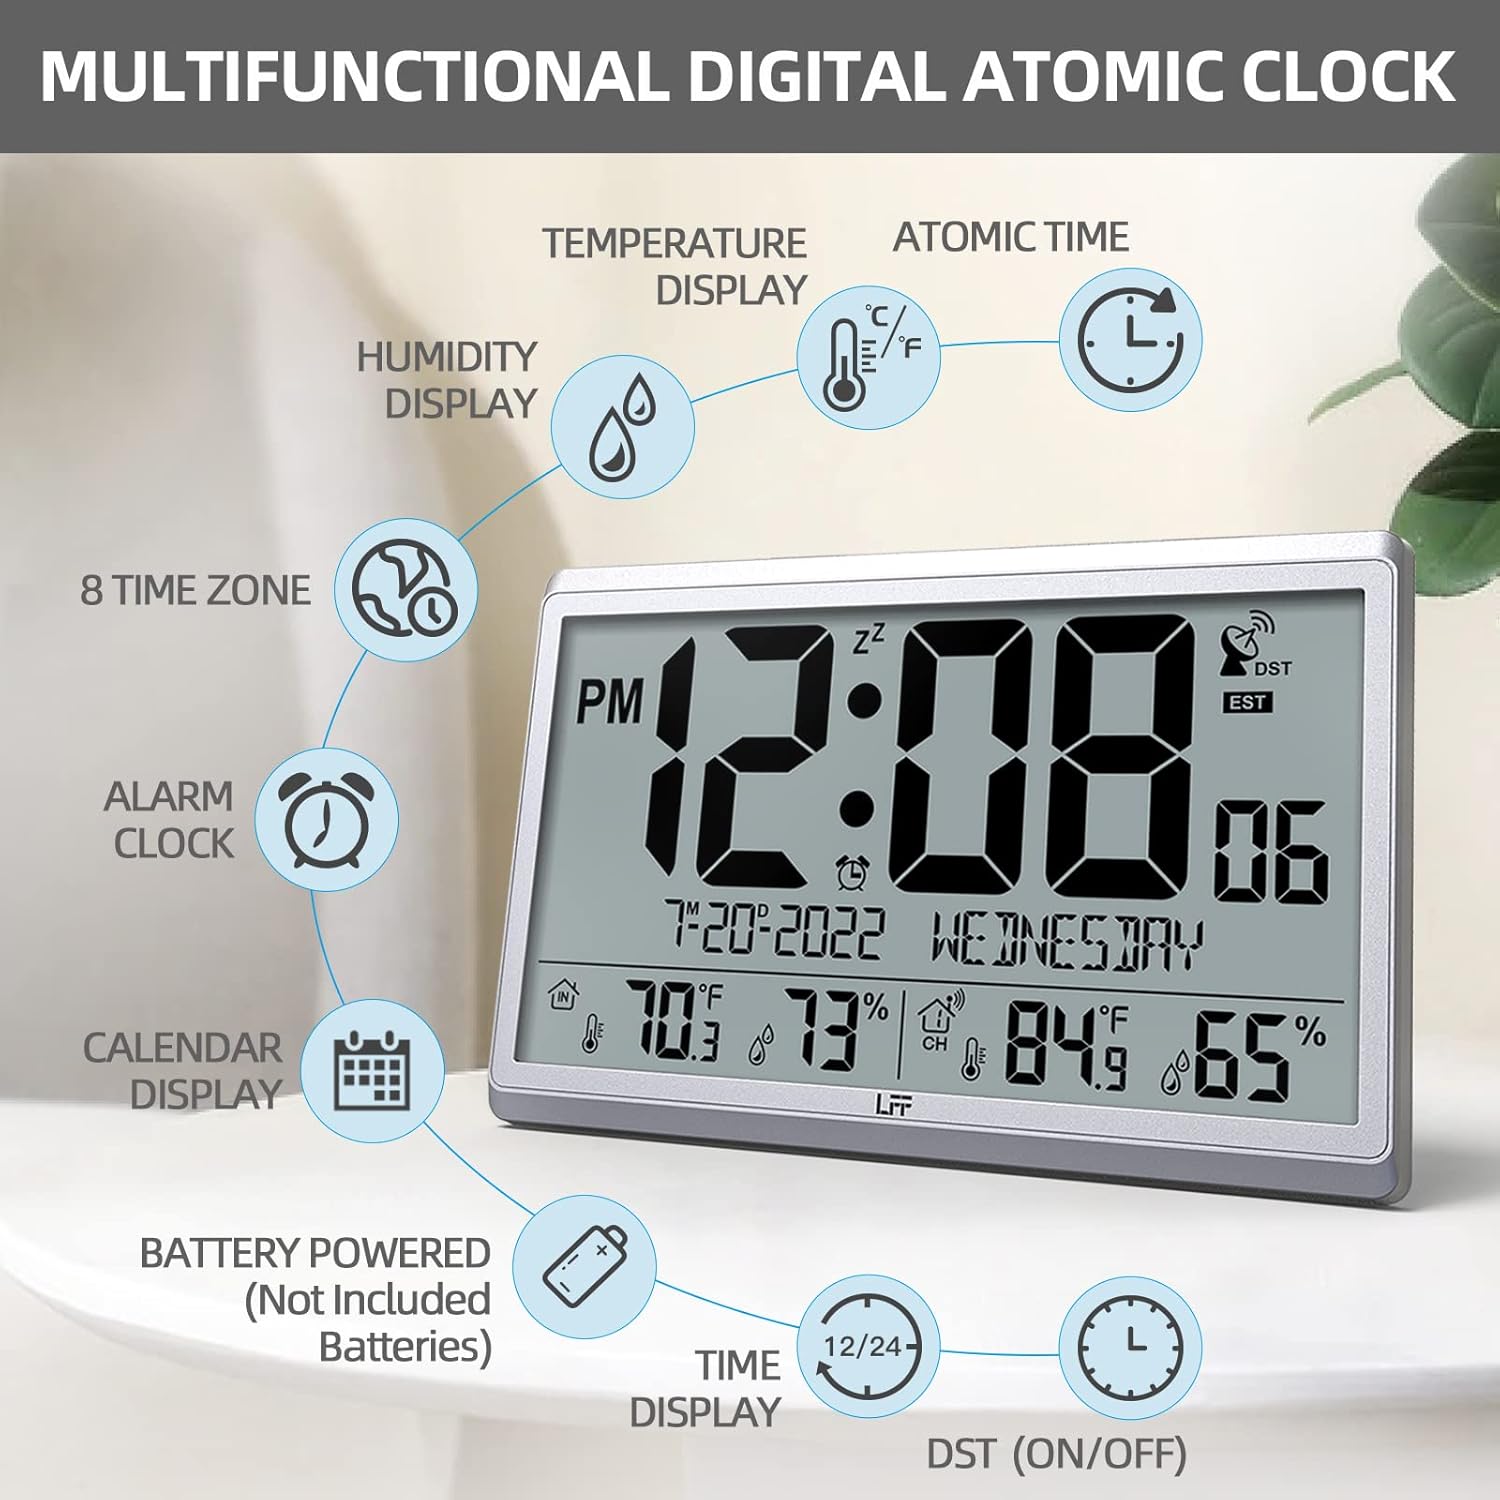
Abbildung 2.1: Überview of the clock's multifunctional display and features.
3. Packungsinhalt
Bitte überprüfen Sie nach dem Auspacken den Packungsinhalt, um sicherzustellen, dass alle Artikel vorhanden sind:
- 1 x LFF Atomic Clock (Main Unit)
- 1 x Drahtloser Außensensor
- 1 x Benutzerhandbuch
4. Einrichtung
4.1 Einlegen der Batterie
The main clock unit and the outdoor sensor are battery-powered. Batteries are not included.
- For the Main Clock Unit: Open the battery compartment on the back of the clock. Insert 4 new AA batteries, ensuring correct polarity (+/-).
- Für den drahtlosen Außensensor: Open the battery compartment on the back of the sensor. Insert 2 new AAA batteries, ensuring correct polarity (+/-).

Figure 4.1: Battery installation and button layout on the main clock unit.
4.2 Platzierung des Außensensors
For accurate temperature and humidity readings, place the outdoor sensor in a location that is:
- Out of direct sunlight and rain.
- Away from any heat sources (e.g., vents, exhaust fans) or extreme cold sources.
- Within the wireless transmission range of 328 feet (100 meters) from the main clock unit.

Figure 4.2: Optimal placement for the wireless outdoor sensor.
4.3 Initiale atomare Zeitsynchronisation
After battery installation, the clock will automatically attempt to synchronize with the WWVB atomic time signal. This process may take several minutes to several hours, depending on your location and signal strength. Ensure the clock is placed in an area where it can receive a clear signal, ideally near a window and away from electronic interference.

Figure 4.3: The clock synchronizes with the atomic time signal broadcast from Fort Collins, Colorado.
5. Bedienungsanleitung
5.1 Manuelle Zeit- und Datumseinstellung
While the clock primarily relies on atomic synchronization, you can manually set the time and date if needed (e.g., during initial setup before signal acquisition or in areas with poor reception).
- Halten Sie die SATZ button on the back of the clock until the display flashes.
- Verwenden Sie die UP or DOWN/RCC Tasten zum Einstellen des Blinkwertes (z. B. Stunde, Minute, Jahr, Monat, Tag).
- Drücken SATZ again to confirm the setting and move to the next value.
- Wiederholen Sie den Vorgang, bis alle gewünschten Einstellungen konfiguriert sind.
5.2 Zeitzonenauswahl
The clock supports 8 time zones. After atomic synchronization, you may need to select your local time zone.
- Drücken Sie die SATZ button repeatedly until the time zone setting flashes.
- Verwenden Sie die UP or DOWN/RCC buttons to cycle through the available time zones (EST, CST, MST, PST, AKT, HST, AST, NST).
- Drücken SATZ , um Ihre Auswahl zu bestätigen.
5.3 Auswahl der Temperatureinheit (°C/°F)
To switch between Celsius and Fahrenheit for temperature display:
- Drücken Sie kurz die DOWN/RCC button. The temperature unit will toggle between °C and °F.
5.4 Weckerfunktion
The clock includes an alarm function.
- Drücken Sie die ALARM Taste, um view die aktuelle Weckzeit.
- Halten Sie die ALARM Drücken Sie die Taste so lange, bis die Alarmzeit blinkt.
- Verwenden Sie die UP or DOWN/RCC Tasten zum Einstellen der gewünschten Alarmzeit und -minute.
- Drücken ALARM um jede Einstellung zu bestätigen.
- To activate/deactivate the alarm, briefly press the ALARM button when the alarm time is displayed. An alarm icon will appear/disappear on the screen.
5.5 Informationen anzeigen
Das große LCD-Display liefert umfassende Informationen auf einen Blick:
- Oberer Abschnitt: Current time (with AM/PM indicator), atomic signal strength, DST indicator, and time zone.
- Mittelteil: Date (Month-Day-Year) and Day of the Week.
- Unterer Abschnitt: Indoor temperature and humidity, and outdoor temperature and humidity (from wireless sensor).

Figure 5.1: The LFF Atomic Clock can be placed on a desk or mounted on a wall.
6. Wartung
6.1 Batteriewechsel
Replace batteries in both the main unit and the outdoor sensor when the display becomes dim or readings become erratic. Always replace all batteries at the same time with new ones of the same type. For temperatures below -4°F, lithium batteries are recommended for the outdoor sensor.
6.2 Reinigung
Reinigen Sie Uhr und Sensor mit einem weichen, trockenen Tuch. Verwenden Sie keine Scheuermittel oder Lösungsmittel, da diese das Display oder die Uhr beschädigen können.asing. Avoid getting moisture into the battery compartments or electronic components.
6.3 Sensorpflege
Periodically check the outdoor sensor for any debris or obstructions that might affect its readings. Ensure it remains in a sheltered location to protect it from extreme weather conditions, despite its splash-proof design.
7. Fehlerbehebung
| Problem | Mögliche Ursache | Lösung |
|---|---|---|
| Die Uhr synchronisiert sich nicht mit der Atomzeit. | Schwaches Signal, Störungen, falsche Zeitzone. | Relocate the clock closer to a window or away from electronic devices. Ensure correct time zone is selected. Allow up to 24 hours for initial synchronization. |
| Die Außentemperatur/Luftfeuchtigkeit wird nicht angezeigt oder ist ungenau. | Sensor out of range, low sensor batteries, sensor exposed to direct elements. | Ensure sensor is within 328 feet of the main unit. Replace sensor batteries. Reposition sensor in a shaded, dry area. Press the KANAL button on the main unit to re-establish connection. |
| Das Display ist dunkel oder leer. | Niedriger Batteriestand im Hauptgerät. | Replace all 4 AA batteries in the main clock unit. |
| Time is incorrect after synchronization. | Falsche Zeitzone ausgewählt. | Verify and adjust the time zone setting as described in Section 5.2. |
8. Spezifikationen
| Besonderheit | Detail |
|---|---|
| Modellnummer | LWC150 |
| Anzeigetyp | Digital LCD |
| Technische Daten | 14.2 Zoll (B) x 9.4 Zoll (H) x 1.2 Zoll (T) |
| Stromversorgung (Haupteinheit) | 4 x AA-Batterien (nicht im Lieferumfang enthalten) |
| Stromversorgung (Außensensor) | 2 x AAA-Batterien (nicht enthalten) |
| Innentemperaturbereich | 14.1°F bis 122.0°F (-9.9°C bis 50.0°C) |
| Außentemperaturbereich | -58.0°F bis 158.0°F (-50.0°C bis 70.0°C) |
| Luftfeuchtigkeitsbereich in Innenräumen | 1 % bis 99 % |
| Luftfeuchtigkeitsbereich im Freien | 1 % bis 99 % |
| Drahtlose Übertragungsreichweite | Bis zu 100 Meter (328 Fuß) im Freien |
| Wasserdichtigkeitsklasse für Außensensoren | IPX4 (spritzwassergeschützt) |
| Material | Plastic (Acrylonitrile Butadiene Styrene frame) |
| Artikelgewicht | 2.7 Pfund (1.23 Kilogramm) |
9. Garantie und Support
LFF products are designed for reliability and performance. For any questions, technical support, or warranty claims, please contact LFF customer service through the retailer's platform or the official LFF webBitte bewahren Sie Ihren Kaufbeleg für Garantiezwecke auf.


