1. Einleitung
This manual provides detailed instructions for the installation, operation, and maintenance of your COMMAX CDV-77M 7-inch Fine View Monitor. Please read this manual thoroughly before using the product to ensure proper function and safety. Keep this manual for future reference.
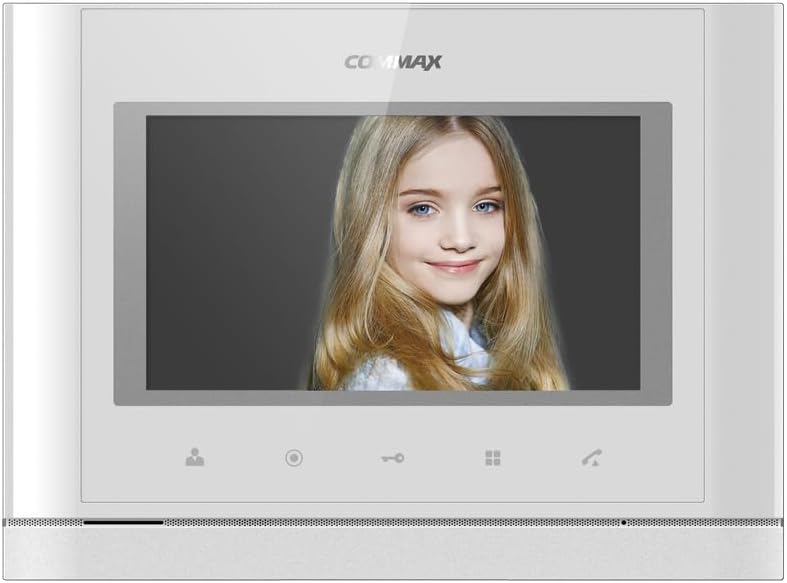
Front view of the COMMAX CDV-77M monitor, showcasing its 7-inch TFT LCD screen and sleek design. The screen is active, displaying an image.
2. Produktmerkmale
- 7-inch TFT LCD screen for clear video display.
- Supports video communication and door lock release functions.
- Expandable system: Connects with up to 2 door cameras, 2 additional monitors, and 2 interphones.
- PAL/NTSC video format conversion capability.
- Hand-free operation for convenience.
- Wall-mounted design for easy installation.
3. Sicherheitshinweise
Bitte beachten Sie die folgenden Sicherheitsvorkehrungen, um Schäden am Produkt zu vermeiden und die Sicherheit des Benutzers zu gewährleisten:
- Das Gerät darf weder Wasser noch übermäßiger Feuchtigkeit ausgesetzt werden.
- Vermeiden Sie es, das Gerät direkter Sonneneinstrahlung oder der Nähe von Wärmequellen auszusetzen.
- Versuchen Sie nicht, das Gerät selbst zu öffnen oder zu reparieren. Überlassen Sie alle Wartungsarbeiten qualifiziertem Fachpersonal.
- Stellen Sie sicher, dass die Stromquelle der angegebenen Spannung entspricht.tage (AC 100-240V, 50/60Hz).
- Halten Sie das Gerät von starken Magnetfeldern fern.
- Operate within the specified temperature range of 0℃ to 40℃.
4. Installation
4.1 Packungsinhalt
Prüfen Sie, ob alle Komponenten vorhanden sind:
- COMMAX CDV-77M Monitor Unit
- Wandhalterung
- Befestigungsschrauben und Anker
- Benutzerhandbuch (dieses Dokument)
- Stromkabel
4.2 Montage des Monitors
The CDV-77M monitor is designed for wall-mounted installation. Choose a suitable location indoors, away from direct sunlight and moisture.
- Secure the wall mounting bracket to the desired location using the provided screws and anchors.
- Ensure the bracket is level and securely fastened.
- Refer to the dimensions diagram for proper spacing and fit:

Technical drawing showing the dimensions of the COMMAX CDV-77M monitor: 244 mm width and 180 mm height.
4.3 Kabelverbindungen
Before making any connections, ensure the power supply is disconnected.
- Türkameraanschluss: Connect the door camera using a 4-wire cable. The maximum recommended distance is 28 meters (using 0.5Ø wire).
- Interphone-Verbindung: Connect the interphone unit using a 4-wire cable.
- Additional Monitor Connection: If connecting additional monitors, refer to the specific wiring diagram provided with your system.
- Stromanschluss: Connect the AC 100-240V, 50/60Hz power cable to the monitor and a suitable power outlet.
After all connections are made, carefully attach the monitor unit to the wall mounting bracket.
5. Bedienungsanleitung
Familiarize yourself with the monitor's controls:

Detailed diagram illustrating the front panel of the COMMAX CDV-77M monitor, with labels for the TFT LCD, Speaker, Microphone, Power Switch, and control buttons: Monitoring, Interphone, Door Release, Menu, and Talk.
- Ein-/Ausschalten: Use the Power Switch located on the side/bottom of the unit.
- Empfangen eines Anrufs: When a visitor calls from the door camera, the monitor will display their image and ring. Press the Sprechtaste to communicate.
- Überwachung: Drücken Sie die Überwachungstaste Zu view the feed from the connected door camera at any time.
- Türöffner: Drücken Sie während eines Anrufs oder während der Überwachung die Taste Türöffnertaste to unlock the connected door.
- Gegensprechanlage: Drücken Sie die Interphone Button to initiate communication with another connected interphone or monitor.
- Menüführung: Verwenden Sie die Menüschaltfläche to access settings and adjustments for the monitor.
6. Wartung
- Reinigung: Verwenden Sie ein weiches, trockenes Tuch, um den Monitorbildschirm und die Tastatur zu reinigen.asing. Verwenden Sie keine scheuernden Reinigungs- oder Lösungsmittel.
- Staubentfernung: Regularly dust the unit to prevent accumulation, especially around ventilation areas.
- Vermeiden Sie Flüssigkeiten: Sprühen Sie keine Flüssigkeiten direkt auf den Monitor.
7. Fehlerbehebung
| Problem | Mögliche Ursache | Lösung |
|---|---|---|
| Der Monitor erhält keinen Strom. | Power cable disconnected; power outlet faulty; power switch off. | Check power cable connection; test outlet with another device; ensure power switch is on. |
| No video from door camera. | Camera cable loose or damaged; camera faulty. | Check camera wiring connections; ensure camera is powered and functioning. |
| Während der Kommunikation ist kein Ton zu hören. | Microphone/speaker faulty; wiring issue. | Check audio wiring; ensure volume settings are appropriate. |
| Türschloss nicht gelöstasing. | Door lock wiring issue; lock mechanism faulty. | Verify door lock wiring; test door lock mechanism independently. |
Sollte das Problem nach Anwendung dieser Lösungsansätze weiterhin bestehen, wenden Sie sich bitte an den Kundendienst.
8. Spezifikationen
| Besonderheit | Detail |
|---|---|
| Modell | CDV-77M |
| Bildschirmgröße | 7 Zoll TFT LCD |
| Stromquelle | Wechselstrom 100 – 240 V, 50/60 Hz |
| Montagetyp | Typ für Wandmontage |
| Betriebstemperatur | 0℃ ~ 40℃ |
| Verkabelung (Türkamera) | 4 wires (Distance: 28m with 0.5Ø wire) |
| Verkabelung (Gegensprechanlage) | 4 Drähte |
| Max. Verbindungen | 2 Cameras, 2 Monitors, 2 Interphones |
| Verbrauch | Max. 15 W / Standby 3 W |
| Abmessungen (B×H×T) | 244 mm × 180 mm × 18 mm |
| Videoformat | PAL/NTSC convertible |
9. Garantie und Support
For warranty information, please refer to the warranty card included with your product or contact your local COMMAX distributor. For technical support or service inquiries, please visit the official COMMAX webWebsite oder wenden Sie sich an die Kundendienstabteilung.
Hersteller: COMMAX
Datum der Erstveröffentlichung: 7. August 2023


