1. Einleitung
Thank you for choosing the Salente AirFit Air Fryer. This appliance is designed to provide a healthy and efficient way to prepare a variety of meals, combining baking, grilling, drying, and defrosting functions. Please read this manual thoroughly before first use to ensure safe operation and optimal performance.
2. Wichtige Sicherheitshinweise
Beim Gebrauch von Elektrogeräten sollten stets grundlegende Sicherheitsvorkehrungen getroffen werden, um das Risiko von Bränden, Stromschlägen und Verletzungen zu verringern.
- Lesen Sie alle Anweisungen, bevor Sie das Gerät in Betrieb nehmen.
- Berühren Sie keine heißen Oberflächen. Benutzen Sie Griffe oder Knöpfe.
- Um einen Stromschlag zu vermeiden, tauchen Sie das Kabel, den Stecker oder das Gerät nicht in Wasser oder andere Flüssigkeiten.
- Bei der Benutzung von Geräten durch oder in der Nähe von Kindern ist eine genaue Aufsicht erforderlich.
- Bei Nichtgebrauch und vor der Reinigung den Stecker aus der Steckdose ziehen. Vor dem Anbringen oder Abnehmen von Teilen abkühlen lassen.
- Betreiben Sie kein Gerät mit beschädigtem Kabel oder Stecker oder wenn das Gerät eine Fehlfunktion aufweist oder auf sonstige Weise beschädigt wurde.
- Die Verwendung von Zubehör, das vom Gerätehersteller nicht empfohlen wird, kann zu Verletzungen führen.
- Nicht im Freien verwenden.
- Lassen Sie das Kabel nicht über die Tisch- oder Thekenkante hängen oder heiße Oberflächen berühren.
- Nicht auf oder in die Nähe eines heißen Gas- oder Elektrobrenners oder in einen beheizten Ofen stellen.
- Beim Bewegen eines Geräts, das heißes Öl oder andere heiße Flüssigkeiten enthält, ist äußerste Vorsicht geboten.
- Stecken Sie den Stecker immer zuerst in das Gerät und dann das Netzkabel in die Steckdose. Zum Trennen vom Stromnetz schalten Sie alle Bedienelemente auf „Aus“ und ziehen Sie dann den Stecker aus der Steckdose.
- Das Gerät darf nur für den vorgesehenen Zweck verwendet werden.
- Stellen Sie sicher, dass das Gerät auf einer stabilen und hitzebeständigen Oberfläche steht.
- The appliance features a CoolTouch handle and is thermally insulated for safe operation.
3. Produktkomponenten
Familiarize yourself with the parts of your Salente AirFit Air Fryer.
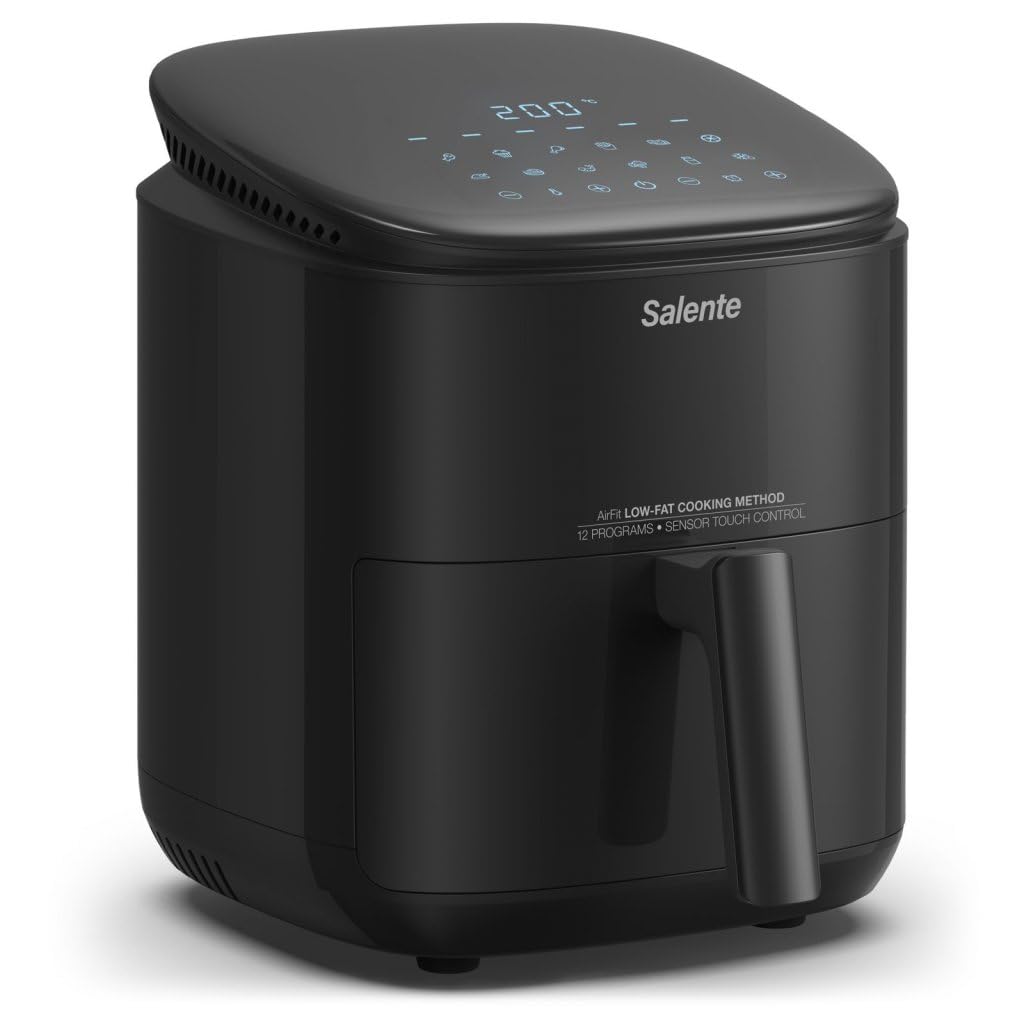
Abbildung 3.1: Front view of the Salente AirFit Air Fryer, showcasing sein elegantes schwarzes Design und Bedienfeld.
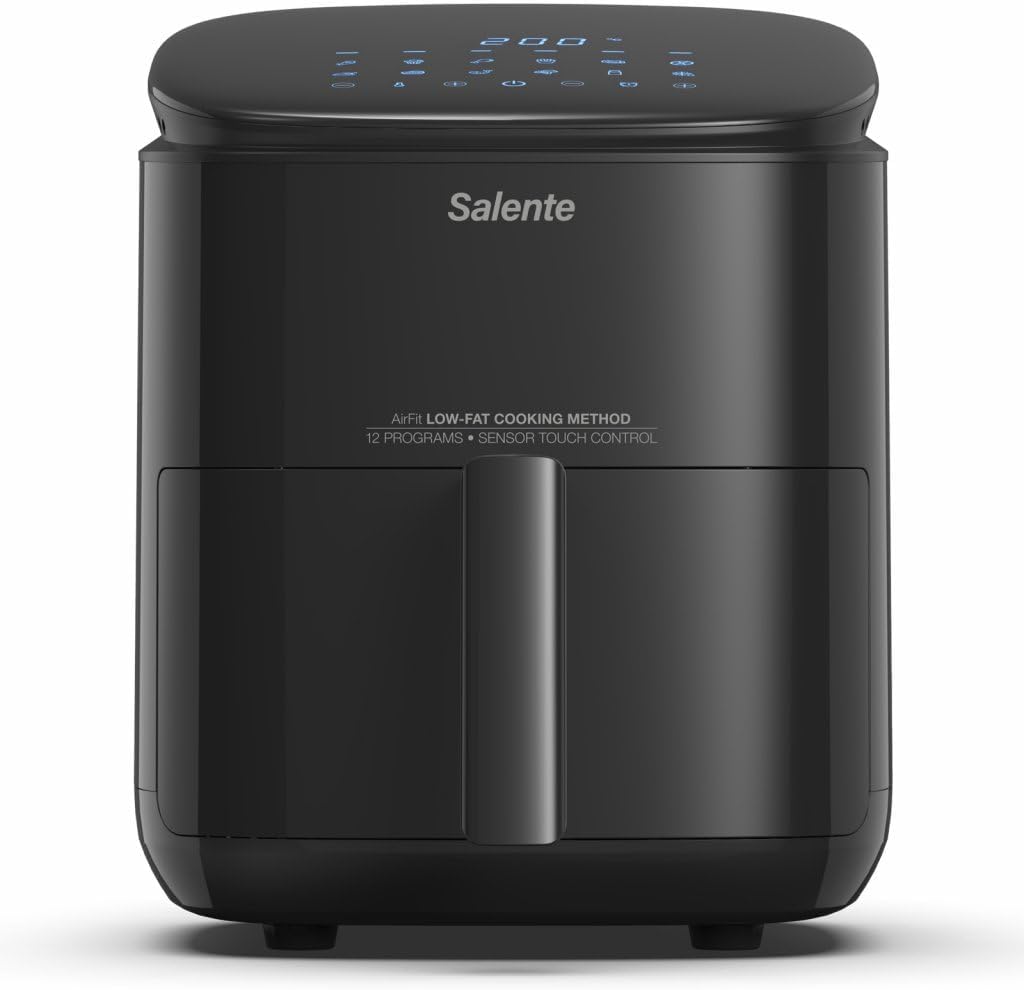
Abbildung 3.2: The air fryer with its cooking drawer slightly pulled out, revealing the handle and part of the interior.

Abbildung 3.3: Ein Top-Down view of the open cooking basket, showing the non-stick surface and perforated design for air circulation.

Abbildung 3.4: Hinteren view of the air fryer, highlighting the ventilation outlets and power cord connection.
Abbildung 3.5: Close-up of the digital touch control panel, displaying temperature, time, and various preset program icons.
4. Einrichtung und erste Verwendung
- Auspacken: Nehmen Sie die Heißluftfritteuse und sämtliches Verpackungsmaterial vorsichtig heraus. Bewahren Sie die Verpackung für die spätere Lagerung oder Entsorgung auf.
- Reinigung: Before first use, clean the cooking basket and grill plate with warm soapy water. Wipe the exterior of the appliance with a damp Tuch. Stellen Sie sicher, dass alle Teile vor der Montage vollständig trocken sind.
- Platzierung: Place the air fryer on a stable, heat-resistant, and level surface, away from walls or other appliances to allow for proper air circulation. Ensure there is at least 10 cm of free space around the appliance.
- Stromanschluss: Stecken Sie das Netzkabel in eine geerdete Steckdose.
- Erster Durchlauf (optional): For the first use, it is recommended to run the air fryer empty for about 10 minutes at 180°C to burn off any manufacturing residues. A slight odor may be present, which is normal.
5. Bedienungsanleitung
The Salente AirFit Air Fryer offers both preset programs and manual control for versatile cooking.
5.1. Allgemeine Bedienung
- Pull out the cooking drawer by the CoolTouch handle.
- Place food items into the cooking basket. Do not overfill.
- Slide the cooking drawer back into the appliance until it clicks into place.
- Drücken Sie den Netzschalter, um das Display einzuschalten.
5.2. Verwendung voreingestellter Programme
The air fryer features 12 preset programs for common dishes. These programs automatically set the recommended time and temperature.

Abbildung 5.1: The control panel displaying the 12 preset program icons, each representing a different food type or cooking function.
- After turning on the appliance, select the desired preset program by tapping its icon on the touch panel.
- The display will show the default time and temperature for that program.
- You can adjust the time and temperature manually even after selecting a preset program using the temperature and time adjustment buttons.
- Drücken Sie die Start/Pause-Taste, um mit dem Kochen zu beginnen.
5.3. Manueller Modus
For custom cooking, you can set the temperature and time manually.
- After turning on the appliance, use the temperature adjustment buttons (up/down arrows) to set the desired temperature between 30°C and 200°C in 1°C increments.
- Use the time adjustment buttons (up/down arrows) to set the desired cooking time between 1 and 60 minutes in 1-minute increments.
- Drücken Sie die Start/Pause-Taste, um mit dem Kochen zu beginnen.
5.4. Während des Kochens
- The RapidAir technology ensures even heating, often eliminating the need to turn food. However, for some items, shaking or turning halfway through cooking may improve results.
- You can pull out the cooking drawer at any time to check or shake food. The appliance will automatically pause and resume once the drawer is reinserted.
- Die Heißluftfritteuse schaltet sich automatisch ab, wenn der Timer Null erreicht.
6. Reinigung und Wartung
Regelmäßige Reinigung gewährleistet die Langlebigkeit und Hygiene Ihrer Heißluftfritteuse.
- Vor der Reinigung: Trennen Sie das Gerät immer vom Stromnetz und lassen Sie es vollständig abkühlen, bevor Sie es reinigen.
- Kochkorb und Grillplatte: The non-stick cooking basket and grill plate are dishwasher safe. Alternatively, they can be washed by hand with warm soapy water and a non-abrasive sponge. Ensure all food residues are removed.
- Exterieur: Wischen Sie die Außenseite der Heißluftfritteuse mit Ad abamp Tuch. Verwenden Sie keine Scheuermittel oder Topfreiniger.
- Innere: Wischen Sie gegebenenfalls das Innere des Geräts mit einem Tuch ab.amp Tuch. Vermeiden Sie, dass Wasser in die elektrischen Komponenten gelangt.
- Lagerung: Store the cleaned and dry air fryer in a cool, dry place.
7. Fehlerbehebung
Sollten Sie Probleme mit Ihrer Heißluftfritteuse haben, beachten Sie bitte die folgenden häufig auftretenden Probleme und Lösungen.
| Problem | Mögliche Ursache | Lösung |
|---|---|---|
| Die Heißluftfritteuse lässt sich nicht einschalten. | Das Gerät ist nicht eingesteckt. Die Steckdose funktioniert nicht. | Vergewissern Sie sich, dass das Netzkabel fest in einer funktionierenden Steckdose steckt. Überprüfen Sie den Sicherungsautomaten. |
| Das Essen wird nicht gleichmäßig gegart. | Basket is overfilled. Temperature or time settings are incorrect. | Do not overfill the basket. Ensure food is in a single layer. Adjust temperature and time as needed. Shake or turn food halfway through cooking. |
| Aus dem Gerät tritt weißer Rauch aus. | Fettrückstände vom vorherigen Gebrauch. Zubereitung von fetthaltigen Speisen. | Clean the basket and grill plate thoroughly after each use. For fatty foods, add a small amount of water to the bottom of the drawer to prevent smoke. |
| Das Gerät verströmt einen verbrannten Geruch. | Food particles stuck in the heating element. | Unplug the appliance and allow it to cool. Carefully clean the interior and heating element area. |
8. Technische Daten
| Marke | SALENTE |
| Modell | AirFit |
| Kapazität | 3.5 Liter |
| Leistung | 1500 Watt |
| Temperaturbereich | 30 °C - 200 °C |
| Timerbereich | 1 - 60 Minuten |
| Abmessungen (L x B x H) | 33.7 x 25.2 x 31.8 cm |
| Gewicht | 3.97 Kilogramm |
| Material | Metal Stainless Steel |
| Besondere Merkmale | Automatic shut-off, Timer, Dishwasher safe parts |
9. Garantie und Support
Informationen zur Produktgarantie und zum Kundendienst finden Sie in der Regel in Ihren Kaufunterlagen oder auf der offiziellen Website des Herstellers. website. Please refer to those resources for details on warranty coverage, service, and contact information for technical assistance.
Derzeit stehen keine offiziellen Produktvideos zum Einbetten zur Verfügung.


