1. Einleitung
This manual provides essential information for the safe and efficient operation of your GRAEF SKS700 Electric Universal Slicer. Please read all instructions carefully before first use and retain this manual for future reference.
The GRAEF SKS700 is designed for slicing various food items such as bread, meat, cheese, and vegetables. Its robust construction and precise engineering ensure consistent slicing results.
2. Sicherheitshinweise
WARNUNG: Improper use can lead to serious injury. Always follow these safety guidelines.
- Trennen Sie das Gerät immer vom Stromnetz, bevor Sie es montieren, demontieren oder reinigen.
- Keep hands and fingers away from the blade during operation. The blade is extremely sharp.
- Stellen Sie sicher, dass das Gerät auf einer stabilen, ebenen und trockenen Oberfläche steht.
- Do not operate the slicer without all parts correctly assembled.
- Never push food with your hand directly towards the blade. Always use the remnant holder or PRO combined attachment.
- Do not slice frozen food or food containing bones.
- Children should not operate this appliance. Keep the slicer out of reach of children.
- Wenn das Netzkabel beschädigt ist, muss es vom Hersteller, seinem Kundendienst oder einer ähnlich qualifizierten Person ersetzt werden, um Gefahren zu vermeiden.
- The LED safety control provides status indication for the stop position. A red pulsing light indicates the stop is open before sleep mode activates, reminding you to close it for safety.
3. Packungsinhalt
Prüfen Sie, ob alle Artikel in der Verpackung vorhanden sind:
- GRAEF SKS700 Electric Universal Slicer
- PRO Combined Attachment (Remnant Holder & MiniSlice)
- Edelstahlschale
- Knife Removal Device
- D-1000 Sharpener
- Bedienungsanleitung
4. Produktüberschreitungview
Familiarize yourself with the components of your slicer.

Bild 1: Überview of the GRAEF SKS700 Electric Universal Slicer. Shows the main body, blade, carriage, and food tray area.
- Klinge: 170 mm diameter smooth solid steel blade with hollow grind.
- Klingenschutz: Full metal protection ring around the blade.
- Wagen: Stainless steel food carriage for holding items to be sliced.
- Slice Thickness Adjustment Dial: Zum Einstellen der Schichtdicke von 0 bis 20 mm.
- PRO Combined Attachment: Includes remnant holder and MiniSlice.
- Edelstahltablett: Collects sliced food.
- LED Safety Control: Illuminates the cutting area and indicates stop status.
- Motor: 170 W capacitor motor.
5. Einrichtung
- Auspacken: Alle Komponenten vorsichtig aus der Verpackung entnehmen. Verpackung für Lagerung oder Transport aufbewahren.
- Platzierung: Place the slicer on a clean, stable, and dry countertop. Ensure there is sufficient space around the appliance for safe operation.
- Montage:
- Attach the food carriage to the slicer.
- Place the stainless steel tray in position to collect sliced food.
- Ensure the PRO combined attachment (remnant holder) is ready for use.
- Stromanschluss: Stecken Sie das Netzkabel in eine geeignete Steckdose.
6. Bedienung
6.1 Schneiden von Lebensmitteln
- Essen zubereiten: Ensure food items are free of bones and are not frozen.
- Scheibendicke anpassen: Use the slice thickness adjustment dial to select the desired thickness (0-20 mm). The illuminated scale assists with precise adjustment.

Bild 2: Close-up of the slice thickness adjustment dial with red LED illumination, indicating the stop is open or a reminder.

Bild 3: Close-up of the slice thickness adjustment dial with blue LED illumination, indicating normal operation.
- Position Essen: Place the food item on the stainless steel carriage. Secure it with the PRO combined attachment (remnant holder) to protect your fingers.
- Beginnen Sie mit dem Schneiden: Turn on the slicer. Gently push the food carriage towards the rotating blade. The 170 mm smooth solid steel blade ensures effortless and precise cuts.
- Sammeln Sie Scheiben: Die geschnittenen Lebensmittel fallen auf das Edelstahltablett.
- Fertig schneiden: Once finished, turn off the slicer. Always return the slice thickness adjustment to the "0" position to close the stop for safety. The LED safety control will pulse red if the stop is left open before entering sleep mode.
6.2 Using the PRO Combined Attachment
The PRO combined attachment includes a remnant holder and a MiniSlice component, designed for safe and efficient slicing of smaller food items and minimizing waste.
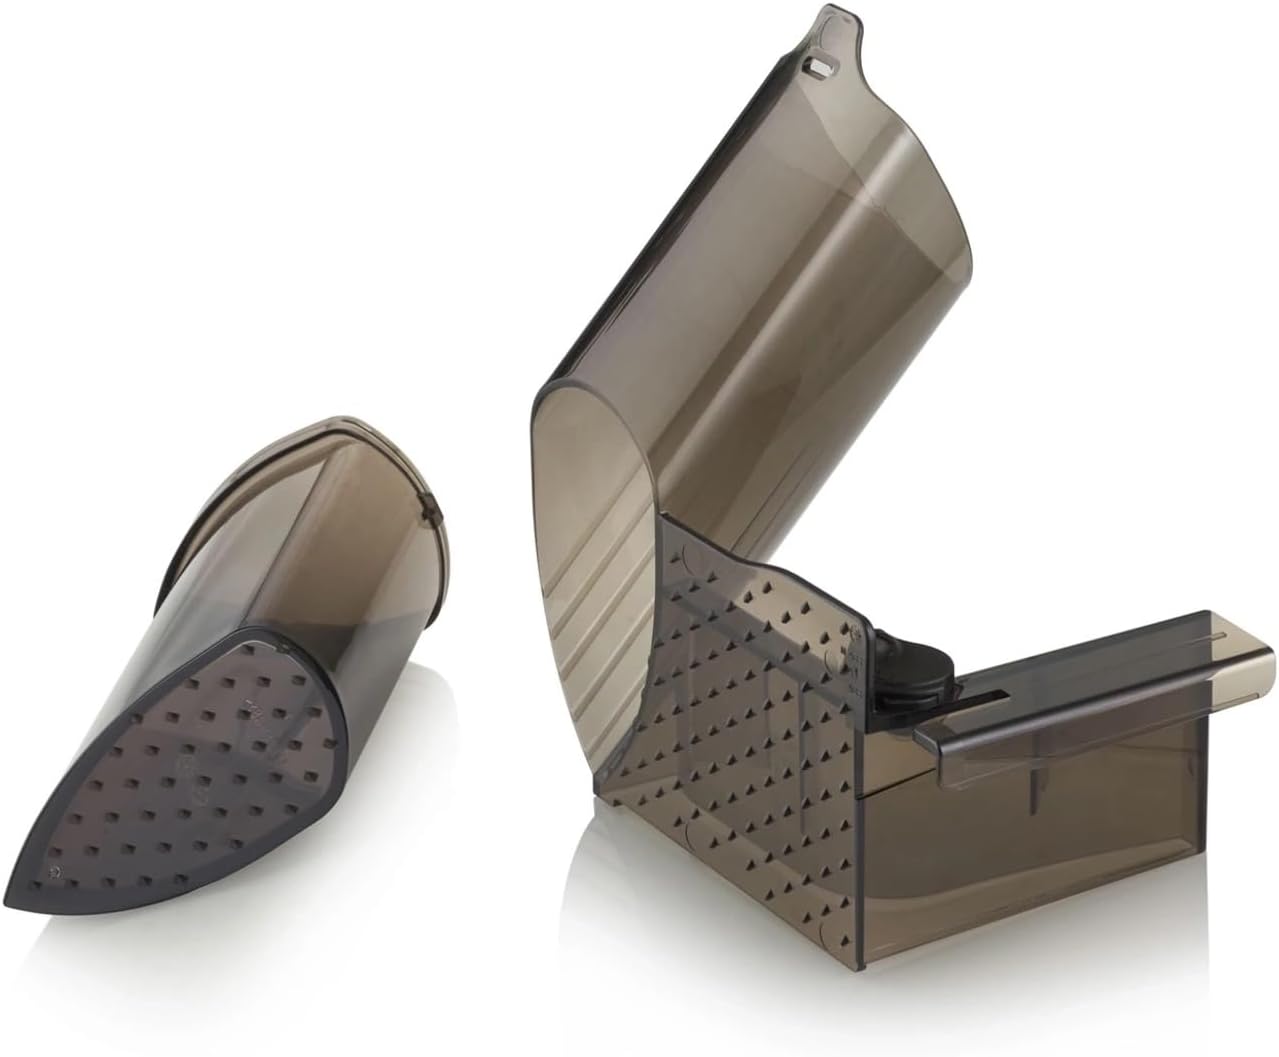
Bild 4: The PRO combined attachment, featuring the remnant holder and MiniSlice component for handling smaller food items.
- Use the remnant holder to secure the end pieces of larger foods, ensuring full utilization and finger safety.
- The MiniSlice component is ideal for very small items, allowing for fine processing and enhanced flavor release.

Bild 5: Example of thinly sliced cauliflower, demonstrating the slicer's capability with vegetables.

Bild 6: Example of sliced bread, illustrating the slicer's versatility for various food types.
7. Reinigung und Wartung
Regelmäßige Reinigung gewährleistet optimale Leistung und verlängert die Lebensdauer Ihres Aufschnittgeräts. Ziehen Sie vor der Reinigung immer den Netzstecker.
- Demontage: Remove the food carriage, PRO combined attachment, and stainless steel tray.
- Klingenentfernung: Use the provided knife removal device to safely detach the blade cover and then the blade.

Bild 7: Detail of the blade area, showing the full metal blade guard and the mechanism for safe blade removal.
- Reinigungskomponenten: Wash the blade, food carriage, PRO combined attachment, and stainless steel tray by hand with warm soapy water. Nicht in der Spülmaschine waschen. Gründlich ausspülen und sofort trocknen.
- Reinigung der Haupteinheit: Wischen Sie das Hauptgerät mit adamp Tuch. Tauchen Sie das Hauptgerät nicht in Wasser.
- Zusammenbau: Once all parts are dry, reassemble the slicer. Ensure the blade is securely reattached.
- Klingenschärfen: Use the D-1000 sharpener as needed to maintain blade sharpness. Refer to the sharpener's instructions for proper use.
8. Fehlerbehebung
| Problem | Mögliche Ursache | Lösung |
|---|---|---|
| Der Slicer lässt sich nicht einschalten. | Nicht eingesteckt; Netzschalter ausgeschaltet; Steckdose defekt. | Check power cord connection; ensure switch is on; test outlet with another appliance. |
| Slices are uneven or difficult to cut. | Blade is dull; food is too hard/frozen; incorrect slice thickness setting. | Sharpen the blade with the D-1000 sharpener; ensure food is not frozen or too hard; adjust slice thickness. |
| Der Motor klingt angestrengt. | Overloading the motor; food is too hard. | Reduce pressure on food; ensure food is suitable for slicing. |
| Red LED light pulsing. | Slice thickness stop is open, and slicer is about to enter sleep mode. | Return the slice thickness adjustment to "0" to close the stop for safety. |
If problems persist, contact GRAEF customer support.
9. Spezifikationen
- Modell: SKS700 (S72010)
- Marke: GRAF
- Farbe: Silber
- Material: Metall, Kunststoff, Glas
- Motor: 170 W Capacitor Motor
- Klingendurchmesser: 170 mm
- Klingenmaterial: Edelstahl
- Scheibendicke: 0 - 20 mm
- Produktabmessungen (L x B x H): 37 cm x 31.5 cm x 25 cm
- Artikelgewicht: 7.5 kg
- Pflegehinweise: Handwäsche nur
- Empfohlene Verwendung: Cheese, Vegetables, Bread, Meat


