1. Zu Endeview
The JOBY Fly X Mini Drone is a compact quadcopter designed for ease of use and aerial photography. It features a 6-axis gyroscope for stable flight, one-button takeoff and landing, and the ability to perform 360-degree flips. Equipped with an HD camera, it captures 720p video and JPEG images, transmitting footage via Wi-Fi to a compatible smartphone.

Image 1.1: The JOBY Fly X Mini Drone, showcasing its compact design and integrated camera.
2. Lieferumfang
Stellen Sie sicher, dass alle Komponenten vorhanden sind, bevor Sie mit der Einrichtung fortfahren:
- JOBY Fly X Mini-Drohne mit HD-Kamera
- Fernbedienung
- 2 x Lithium Ion Batteries (for drone)
- USB-Ladekabel
- Ersatzpropeller
- Bedienungsanleitung (dieses Dokument)
3. Einrichtung
3.1 Einlegen und Laden der Batterie
- Drohnenbatterie: Locate the battery compartment on the drone. Carefully insert one of the provided Lithium Ion batteries. Ensure it is securely connected.
- Laden: Connect the drone battery to the USB charging cable. Plug the USB cable into a compatible USB power source (e.g., computer, wall adapter). The indicator light on the cable will show charging status. Charge until fully indicated.
- Controller-Batterien: Open the battery compartment on the remote control. Insert the required batteries (not specified in product data, typically AA or AAA, refer to physical product for exact type).
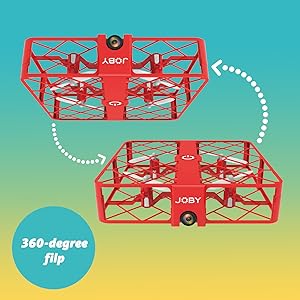
Image 3.1: Drone with its battery compartment open for installation.
3.2 App-Installation und WLAN-Verbindung
To utilize the HD camera and view lebe footage, download the dedicated drone control application on your smartphone (compatible with iPhone/Android). Refer to the packaging or a QR code on the drone for the specific app name.
- Drohne einschalten: Press the power button on the drone. The indicator lights will flash.
- Mit WLAN verbinden: On your smartphone, go to Wi-Fi settings and connect to the drone's Wi-Fi network (usually named something like "JOBY_DRONE_XXXX").
- App starten: Open the drone control app. You should see the live camera feed from the drone.

Image 3.2: Remote control with a smartphone attached, showing the live camera view.
4. Bedienungsanleitung
4.1 Einschalten und Koppeln
- Drohne einschalten: Press the power button on the drone. The lights will flash, indicating it's ready for pairing.
- Einschaltsteuerung: Drücken Sie den Netzschalter auf der Fernbedienung.
- Paarung: Drücken Sie den linken Joystick (Gashebel) ganz nach oben und dann ganz nach unten. Die Lichter der Drohne hören auf zu blinken und leuchten dauerhaft, was eine erfolgreiche Kopplung anzeigt.
4.2 Start und Landung
- Ein-Knopf-Start: After pairing, press the dedicated one-button takeoff/landing button on the controller. The drone will automatically ascend to a stable hovering height.
- Landung per Knopfdruck: Press the same one-button takeoff/landing button during flight, and the drone will automatically descend and land.
- Throw to Launch: For experienced users, the drone can be gently tossed into the air after pairing, and it will automatically stabilize.
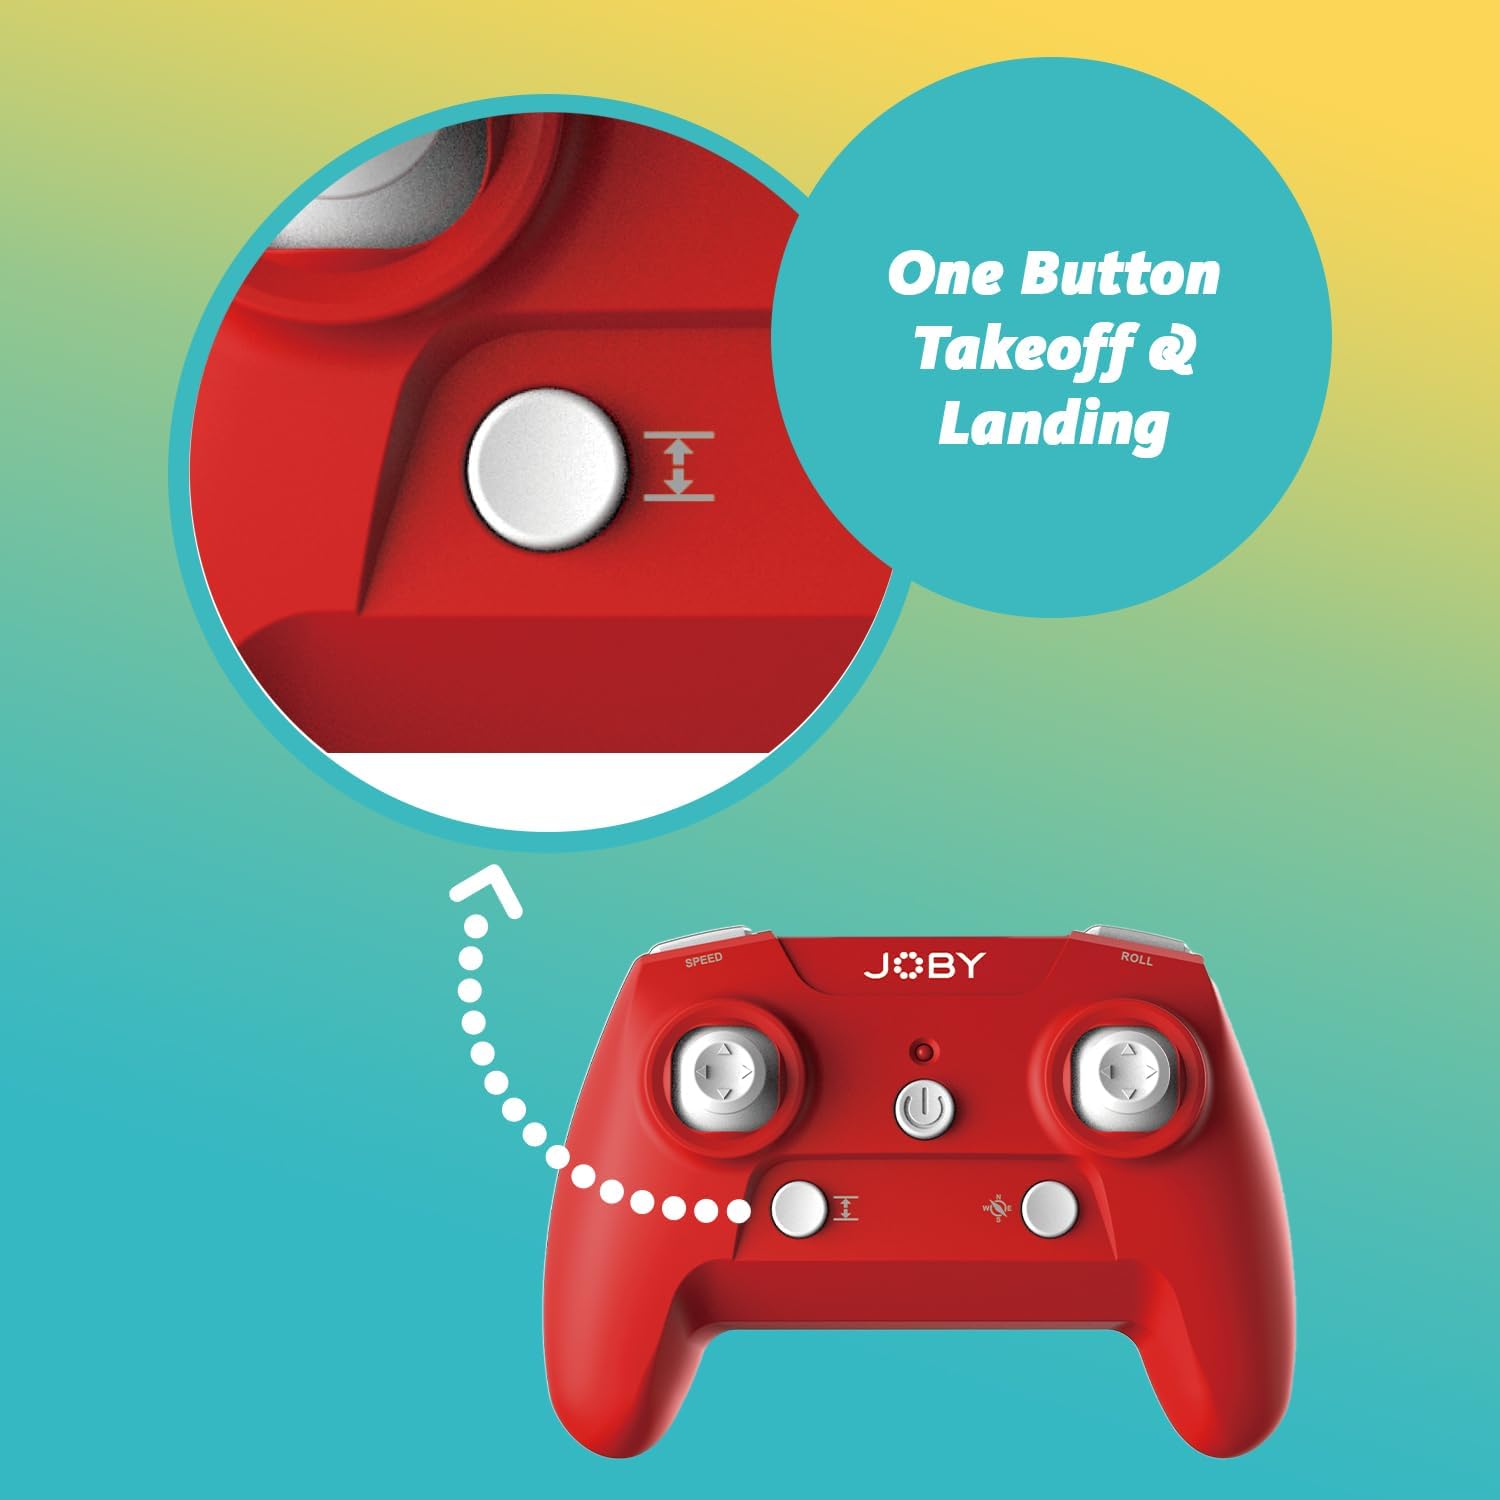
Image 4.1: Remote control highlighting the one-button takeoff/landing button.
4.3 Flugsteuerung
Benutzen Sie die Joysticks der Fernbedienung, um die Drohne zu steuern:
- Linker Joystick (Gashebel): Up/Down for ascend/descend; Left/Right for yaw (rotate).
- Rechter Joystick (Richtung): Up/Down for forward/backward; Left/Right for left/right strafe.
4.4 Sonderfunktionen
- 360-Grad-Drehung: Press the dedicated "Flip" button on the controller, then push the right joystick in the desired direction to perform an aerial flip.
- Notlandung: In case of an emergency, activate the emergency landing function (refer to controller button layout for specific button) to quickly bring the drone down safely.

Image 4.2: Visual representation of the 360-degree flip feature.
4.5 Kamerabetrieb
The integrated HD camera captures 720p video and JPEG images. Control camera functions via the smartphone app:
- Fotoaufnahme: Tap the camera icon in the app to take a still photograph.
- Videoaufnahme: Tap the video icon to start recording. Tap again to stop.
- ViewMedien: Access recorded photos and videos directly through the app's gallery.
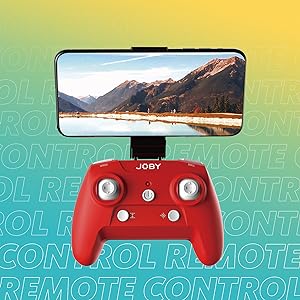
Image 4.3: Detail of the drone's HD camera.
4.6 Lehrvideo
Video 4.4: This video demonstrates the unboxing, battery installation, pairing process, and various flight maneuvers of the JOBY Fly X Mini Drone, including indoor and outdoor flight examples.
5. Wartung
Regelmäßige Wartung gewährleistet optimale Leistung und Langlebigkeit Ihrer Drohne:
- Propellerinspektion: Regularly check propellers for damage (cracks, bends). Replace any damaged propellers using the spare parts provided.
- Reinigung: Reinigen Sie das Drohnengehäuse und das Kameraobjektiv mit einem weichen, trockenen Tuch. Vermeiden Sie die Verwendung aggressiver Chemikalien oder Flüssigkeiten.
- Batteriepflege: Store batteries in a cool, dry place. Do not overcharge or completely drain batteries. Remove batteries from the drone and controller during extended periods of non-use.
- Lagerung: Store the drone in a safe place, away from direct sunlight and extreme temperatures.
6. Fehlerbehebung
- Drohne lässt sich nicht einschalten: Stellen Sie sicher, dass der Akku vollständig geladen und richtig eingelegt ist.
- Controller reagiert nicht: Check controller batteries. Ensure the drone and controller are properly paired (refer to Section 4.1).
- Instabiler Flug: Perform a calibration (refer to the app or controller instructions for calibration steps). Check propellers for damage or obstructions.
- Kein Kamerabild/Schlechte Qualität: Ensure your smartphone is connected to the drone's Wi-Fi network. Check for app updates. Ensure the camera lens is clean.
- Kurze Flugzeit: Batteries may not be fully charged or may be nearing the end of their lifespan.
7. Spezifikationen
| Besonderheit | Detail |
|---|---|
| Marke | Joby |
| Modellname | Fly X Mini |
| Artikelmodellnummer | JB01966-BWW |
| Maße | 5.12 Zoll L x 5.12 Zoll B x 1.18 Zoll H |
| Artikelgewicht | 2.24 Unzen |
| Auflösung der Videoaufnahme | 720p |
| Videoausgabeauflösung | 1280x720 Pixel |
| Videoaufnahmeformat | MP4 |
| Unterstütztes Bildformat | JPEG |
| Konnektivitätstechnologie | W-lan |
| Fernsteuerungstechnologie | W-lan |
| Maximale Reichweite | 100 Fuß (ca. 30 Meter) |
| Batterien | 2 Lithium-Ionen-Akku (im Lieferumfang enthalten) |
| Material | Plastik |
| Fähigkeitsstufe | Anfänger |
8. Garantie und Support
For warranty information and customer support, please refer to the official Joby webBesuchen Sie die Website oder kontaktieren Sie direkt den Kundenservice. Bewahren Sie Ihren Kaufbeleg für eventuelle Garantieansprüche auf.
Besuchen Sie die Joby Store on Amazon Für weitere Produktinformationen und Supportressourcen.


