1. Einleitung
This manual provides comprehensive instructions for the safe and efficient installation, operation, and maintenance of the Vertiv VR 100x800x1100 Rack Base. Please read this manual thoroughly before proceeding with any installation or operation.
The Vertiv VR 100x800x1100 Rack Base is designed to provide a stable and secure foundation for server racks and other IT equipment, ensuring proper airflow and support. It is constructed from durable aluminum and features an easy-to-install design.
2. Sicherheitshinweise
WARNING: Failure to follow these safety instructions could result in injury or damage to the equipment.
- Always ensure the installation area is clear and well-lit.
- Use appropriate personal protective equipment (PPE) such as gloves and safety glasses during installation.
- The rack base, once assembled and loaded, can be heavy. Ensure proper lifting techniques are used or seek assistance.
- Do not exceed the maximum load capacity of the rack base (refer to specifications).
- Ensure all components are securely fastened before placing any equipment on the rack base.
- Halten Sie Kinder und Haustiere vom Installationsbereich fern.
3. Packungsinhalt
Verify that all components listed below are present and undamaged before beginning installation. If any items are missing or damaged, contact Vertiv customer support.
- Vertiv VR 100x800x1100 Rack Base Frame (1 unit)
- Perforated Panels (100 pieces)
- Assembly Hardware (screws, nuts, washers, etc.)
- Bedienungsanleitung (dieses Dokument)
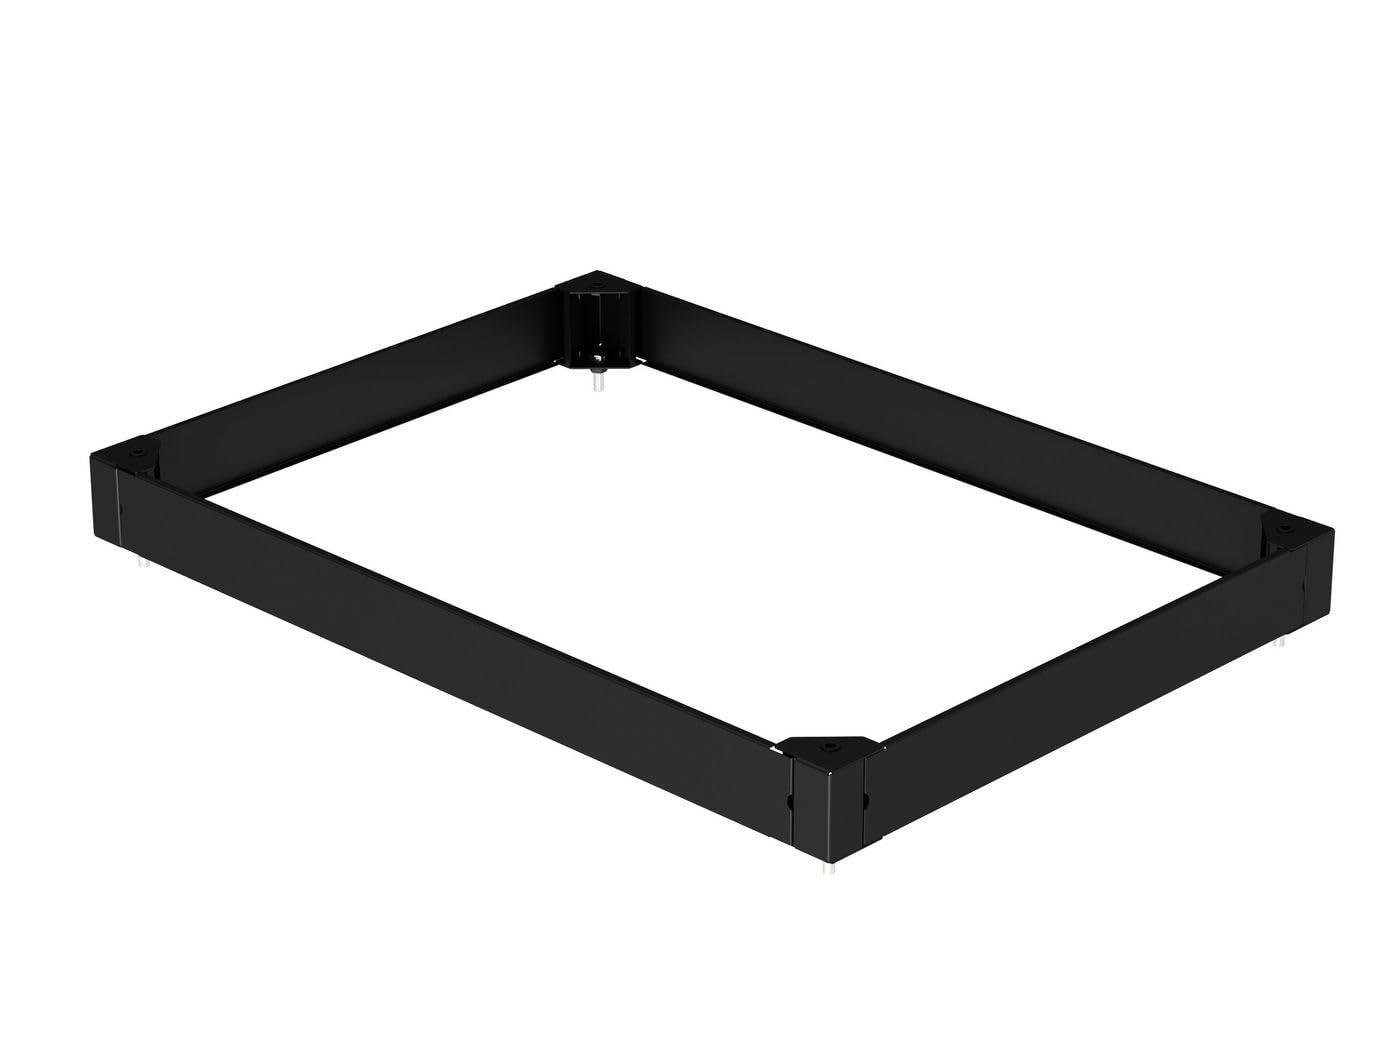
Figure 3.1: Vertiv VR 100x800x1100 Rack Base Frame. This image shows the rectangular frame of the rack base, constructed from black aluminum, with corner brackets and small feet visible at the bottom corners.
4. Einrichtung und Installation
Follow these steps carefully to assemble and install your Vertiv VR Rack Base.
- Auspacken: Nehmen Sie alle Komponenten vorsichtig aus der Verpackung. Bewahren Sie das Verpackungsmaterial für einen späteren Transport oder eine Lagerung auf, falls erforderlich.
- Komponentenidentifikation: Lay out all parts and identify them against the "Package Contents" list.
- Rahmenkonstruktion:
- Connect the aluminum frame sections using the provided assembly hardware. Ensure all connections are secure but do not overtighten initially.
- Verify the frame is square and level before fully tightening all fasteners.
- Perforated Panel Installation:
- Once the main frame is assembled, install the perforated panels into their designated slots or attachment points on the rack base. These panels are crucial for airflow and support.
- Ensure each panel is firmly seated and secured.
- Platzierung: Position the assembled rack base in its final desired location. Ensure the floor is level and capable of supporting the combined weight of the rack base and the equipment it will hold.
- Nivellierung: Use the adjustable feet (if present) or shims to ensure the rack base is perfectly level. This is critical for the stability of the rack and equipment.
- Endkontrolle: Before loading any equipment, perform a final visual inspection to ensure all connections are tight, the base is level, and there are no obstructions.
5. Bedienungsanleitung
The Vertiv VR Rack Base is a passive component designed to provide structural support. Its "operation" primarily involves proper loading and maintenance.
- Verladeausrüstung: Carefully place your server rack or other equipment onto the assembled rack base. Distribute weight evenly to maintain stability.
- Luftstrommanagement: The perforated panels are designed to facilitate airflow. Ensure that the placement of equipment does not obstruct these perforations, maintaining optimal cooling for your IT infrastructure.
- Stabilitätsprüfung: Periodically check the stability of the rack base, especially after adding or removing equipment.
6. Wartung
Regular maintenance ensures the longevity and continued performance of your Vertiv VR Rack Base.
- Reinigung: Clean the rack base periodically with a soft, dry cloth. For stubborn dirt, a slightly damp Ein Tuch mit mildem Reinigungsmittel kann verwendet werden, anschließend trocknen lassen. Scheuermittel oder Lösungsmittel vermeiden.
- Überprüfung der Befestigungselemente: Annually, or as needed, inspect all screws and fasteners to ensure they remain tight. Retighten any loose connections.
- Leveling Check: Verify the rack base remains level, especially if the rack has been moved or heavy equipment has been added/removed.
- Schadensinspektion: Inspect the aluminum finish and perforated panels for any signs of damage, corrosion, or deformation. Address any issues promptly.
7. Fehlerbehebung
This section addresses common issues you might encounter with your rack base.
| Problem | Mögliche Ursache | Lösung |
|---|---|---|
| Rack base is unstable or wobbles. | Unebener Boden; lose Befestigungselemente; unsachgemäße Montage. | Ensure the floor is level. Adjust leveling feet. Check and tighten all assembly fasteners. |
| Perforated panels are loose. | Panels not properly seated or secured. | Re-seat panels firmly into their slots. Ensure any securing clips or screws are in place. |
| Schwierigkeiten beim Zusammenbau des Rahmens. | Fehlausrichtung der Teile; falsche Hardware. | Refer to Section 4: Setup and Installation. Ensure parts are oriented correctly. Verify you are using the correct hardware for each connection. Do not force components. |
8. Spezifikationen
The following are the technical specifications for the Vertiv VR 100x800x1100 Rack Base (Model: W128434806).
| Attribut | Wert |
|---|---|
| Marke | Vertiv |
| Modellnummer | W128434806 |
| Produkttyp | Rack-Basis |
| Abmessungen (H x B x T) | 100 mm x 800 mm x 1100 mm (ca. 3.9 x 31.5 x 43.3 Zoll) |
| Außenverkleidung | Aluminium |
| Farbe | Multicoloured (typically black as shown in image) |
| Besonderheit | Einfach zu installieren |
| Im Lieferumfang enthaltene Komponenten | Perforated Panels (100 pieces), Manual |
| Artikelgewicht | 1.76 pounds (0.8 kg) - Note: This may refer to packaging weight or a single component. The full assembled base may weigh more. |
| Verpackungsabmessungen | 9.84 x 6.69 x 6.69 Zoll (25 x 17 x 17 cm) |
9. Garantie und Support
For information regarding warranty coverage, technical support, or replacement parts, please contact Vertiv directly or visit their official webWebsite.
Vertiv Official WebWebsite: www.vertiv.com
Please have your model number (W128434806) and purchase information ready when contacting support.


