1. Einleitung
Welcome to the user manual for your new Lefant M210 Pro Robot Vacuum Cleaner. This device is designed to simplify your home cleaning routine, offering efficient dust and debris removal on various floor types. Please read this manual thoroughly before operating the device to ensure safe and optimal performance.
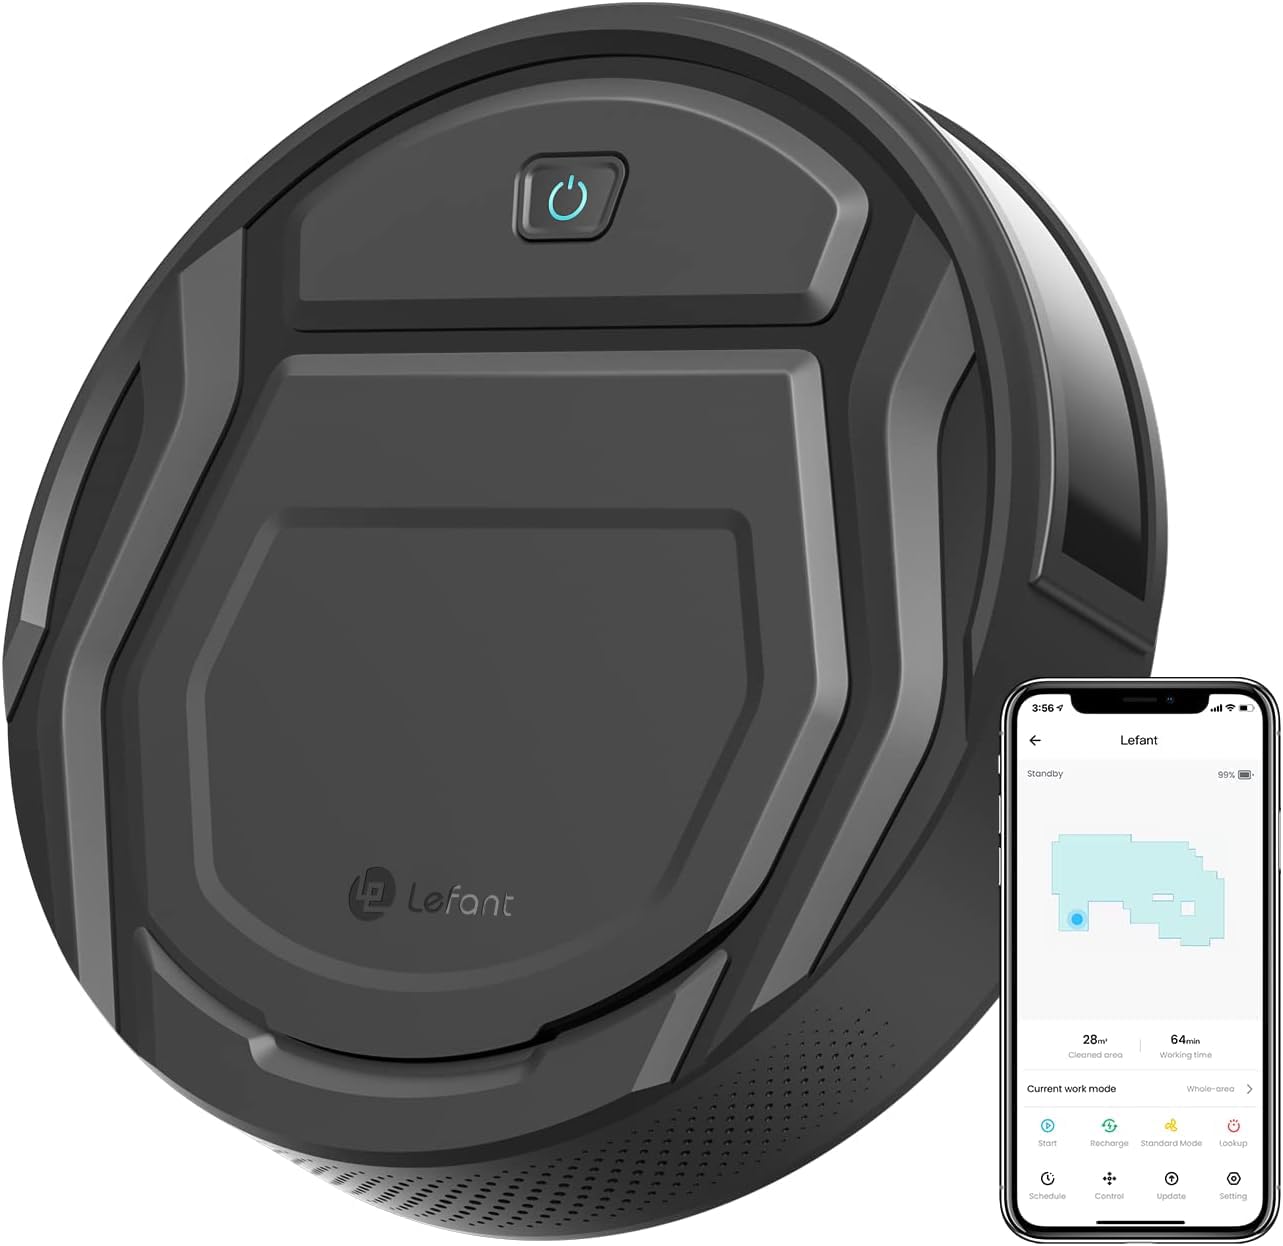
Figure 1: Lefant M210 Pro Robot Vacuum Cleaner
The Lefant M210 Pro features a slim design, powerful suction, and smart navigation capabilities. It is particularly effective for pet owners, thanks to its unique suction port that prevents hair tangling. With multiple cleaning modes and smart control options via app or voice, maintaining a clean home has never been easier.
2. Lieferumfang
Upon opening your Lefant M210 Pro package, ensure all the following components are present:
- Lefant M210 Pro Roboterstaubsauger
- Ladestation
- Netzteil
- Seitenbürsten (2 Paar)
- HEPA-Filter (vorinstalliert)
- Reinigungswerkzeug
- Bedienungsanleitung
Video 1: Unboxing and initial setup of the Lefant M210 Pro Robot Vacuum Cleaner, demonstrating the contents of the package and basic assembly.
3. Einrichtung
3.1 Erste Vorbereitung
- Remove all protective films from the robot vacuum and the charging dock.
- Die Seitenbürsten werden so lange auf die Stifte gedrückt, bis sie einrasten.
3.2 Platzierung der Ladestation
Place the charging dock against a wall in an open, uncluttered area. Ensure there is at least 0.5 meters (1.6 feet) of clear space on both sides of the dock and 1.5 meters (4.9 feet) in front of it. Plug the power adapter into the charging dock and then into a wall outlet.

Figure 2: The robot vacuum automatically returns to its charging dock when cleaning is complete or battery is low.
3.3 Erste Inbetriebnahme und Aufladen
Place the robot vacuum onto the charging dock, ensuring the charging contacts align. The indicator light on the robot will illuminate to show it is charging. For the first use, fully charge the robot for at least 5-6 hours.
4. Bedienung Ihres Saugroboters
4.1 Ein-/Ausschalten
To power on the robot, flip the main power switch located under the dustbin cover. To start cleaning, press the power button on the robot or use the Lefant App. To pause, press the button once. To send it back to the charging dock, press the button twice.
4.2 Reinigungsmodi
The M210 Pro offers 6 flexible cleaning modes:
- Zig-zag cleaning: For systematic coverage of open areas.
- Zufällige Reinigung: For general cleaning in unpredictable patterns.
- Fleckenreinigung: Konzentriert sich auf einen bestimmten verschmutzten Bereich.
- Cleaning along the wall: Focuses on edges and corners.
- Reinigungsplan: Set a cleaning schedule via the app.
- Manuelle Reinigung: Die Bewegung des Roboters kann manuell über die App gesteuert werden.
4.3 Intelligente Steuerung (App/Sprache)
Download the 'Lefant Life' app from your smartphone's app store to unlock advanced features, schedule cleanings, and control your robot remotely. The robot is also compatible with Amazon Alexa for voice control.

Figure 3: Control your Lefant M210 Pro via the intuitive smartphone app.
Note: The Lefant M210 Pro only supports 2.4GHz Wi-Fi networks. It is not compatible with 5GHz Wi-Fi.
4.4 Navigation & Obstacle Avoidance
The M210 Pro utilizes upgraded infrared sensors for smart navigation, allowing it to cover your entire house with a logical zig-zag route. These sensors also help it detect obstacles and avoid falls from stairs, ensuring safe and thorough cleaning.

Figure 4: The M210 Pro is designed to effectively pick up pet hair without tangling, making it ideal for homes with pets.
5. Wartung
Regular maintenance ensures your robot vacuum operates efficiently and prolongs its lifespan.
5.1 Dust Bin & Filter Cleaning
It is recommended to empty the dust bin after each cleaning cycle and clean the HEPA filter every 3 days. To clean, open the top cover, remove the dust bin, and empty its contents. Tap the filter to remove dust and rinse it under running water if necessary (ensure it's completely dry before re-inserting).
5.2 Seitenbürsten
Check the side brushes weekly for tangled hair or debris. Use the provided cleaning tool to cut and remove any tangled hair. Replace worn-out brushes with new ones from the spare set.
5.3 Sensors & Charging Contacts
Wipe the anti-drop sensors and charging contacts on the robot and charging dock with a clean, dry cloth monthly to ensure proper function.
6. Fehlerbehebung
Sollten mit Ihrem Lefant M210 Pro Probleme auftreten, beachten Sie bitte die folgenden häufig auftretenden Probleme und Lösungen:
- Der Roboter schaltet sich nicht ein: Ensure the main power switch is ON and the battery is charged. Place it on the charging dock.
- Der Roboter lädt nicht: Verify the charging dock is powered on and the robot's charging contacts are aligned with the dock's. Clean contacts if dirty.
- Der Roboter bleibt häufig stecken: Clear obstacles from the cleaning path. Ensure the robot is not operating in areas with very thick carpets or loose cables.
- Schlechte Reinigungsleistung: Empty the dust bin, clean the filter, and check if side brushes are tangled or worn.
- Probleme mit der App-Verbindung: Ensure your Wi-Fi network is 2.4GHz. Restart your router and the robot. Follow the app's pairing instructions carefully.
7. Spezifikationen
| Besonderheit | Spezifikation |
|---|---|
| Marke | Lefant |
| Modellname | M210P |
| Farbe | Schwarz |
| Technische Daten | 11.02 Zoll L x 11.02 Zoll B x 2.99 Zoll H |
| Artikelgewicht | 6.74 Pfund |
| Akkulaufzeit | 120 Minuten (Leisemodus) |
| Kapazität (Müllbehälter) | 500 Milliliter |
| Filtertyp | HEPA-Filter |
| Kontrollmethode | App, Remote, Voice (Alexa) |
| Stromquelle | Batteriebetrieben |
| Oberflächenempfehlung | Hard Floor, Low-Pile Carpets |
| Besondere Merkmale | Advanced Custom Cleaning, Anti-Fall, Auto-Docking, Pet Hair Pick Up |
| UPC | 740111631648 |
8. Garantie und Support
For warranty information, technical support, or any questions regarding your Lefant M210 Pro Robot Vacuum Cleaner, please refer to the warranty card included in your package or visit the official Lefant website. You can also contact Lefant customer service directly for assistance.


