1. Einführung und Endeview
The Idatalink Maestro HRN-SR-CH3 T-Harness is designed to simplify the installation of an aftermarket radio in compatible Chrysler, Dodge, Jeep, and RAM vehicles manufactured from 2013 onwards. This harness works in conjunction with the iDatalink Maestro ADS-MSR module (sold separately) to ensure the retention of vital factory features, including steering wheel controls and the original amplifier, providing a seamless integration into your vehicle's existing systems.

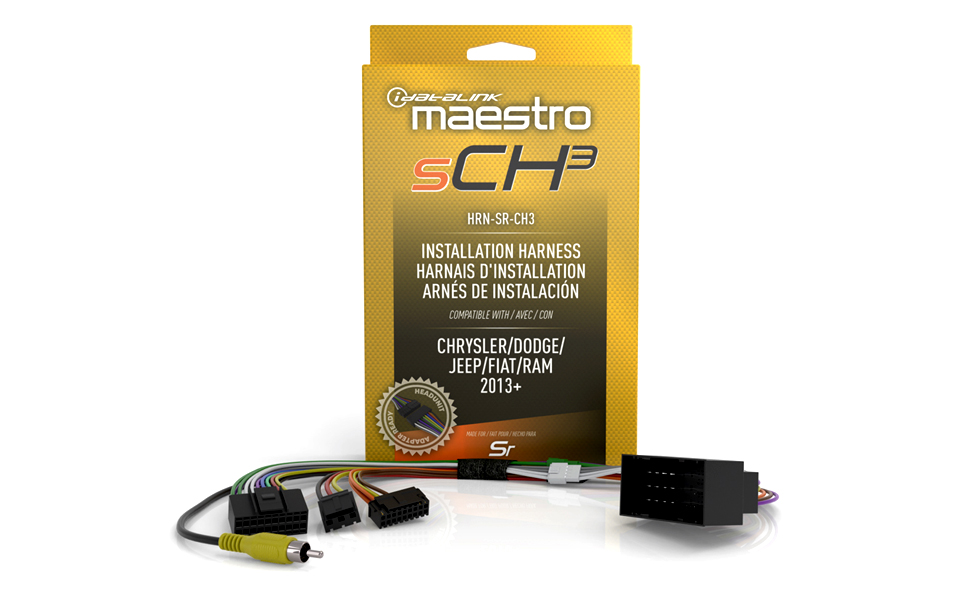
The HRN-SR-CH3 T-Harness and its packaging.
2. Lieferumfang
Upon opening your Idatalink Maestro HRN-SR-CH3 T-Harness package, you will find the following components:
- Idatalink Maestro HRN-SR-CH3 T-Kabelbaum
Bitte vergewissern Sie sich vor Beginn der Installation, dass alle Komponenten vorhanden und unbeschädigt sind.

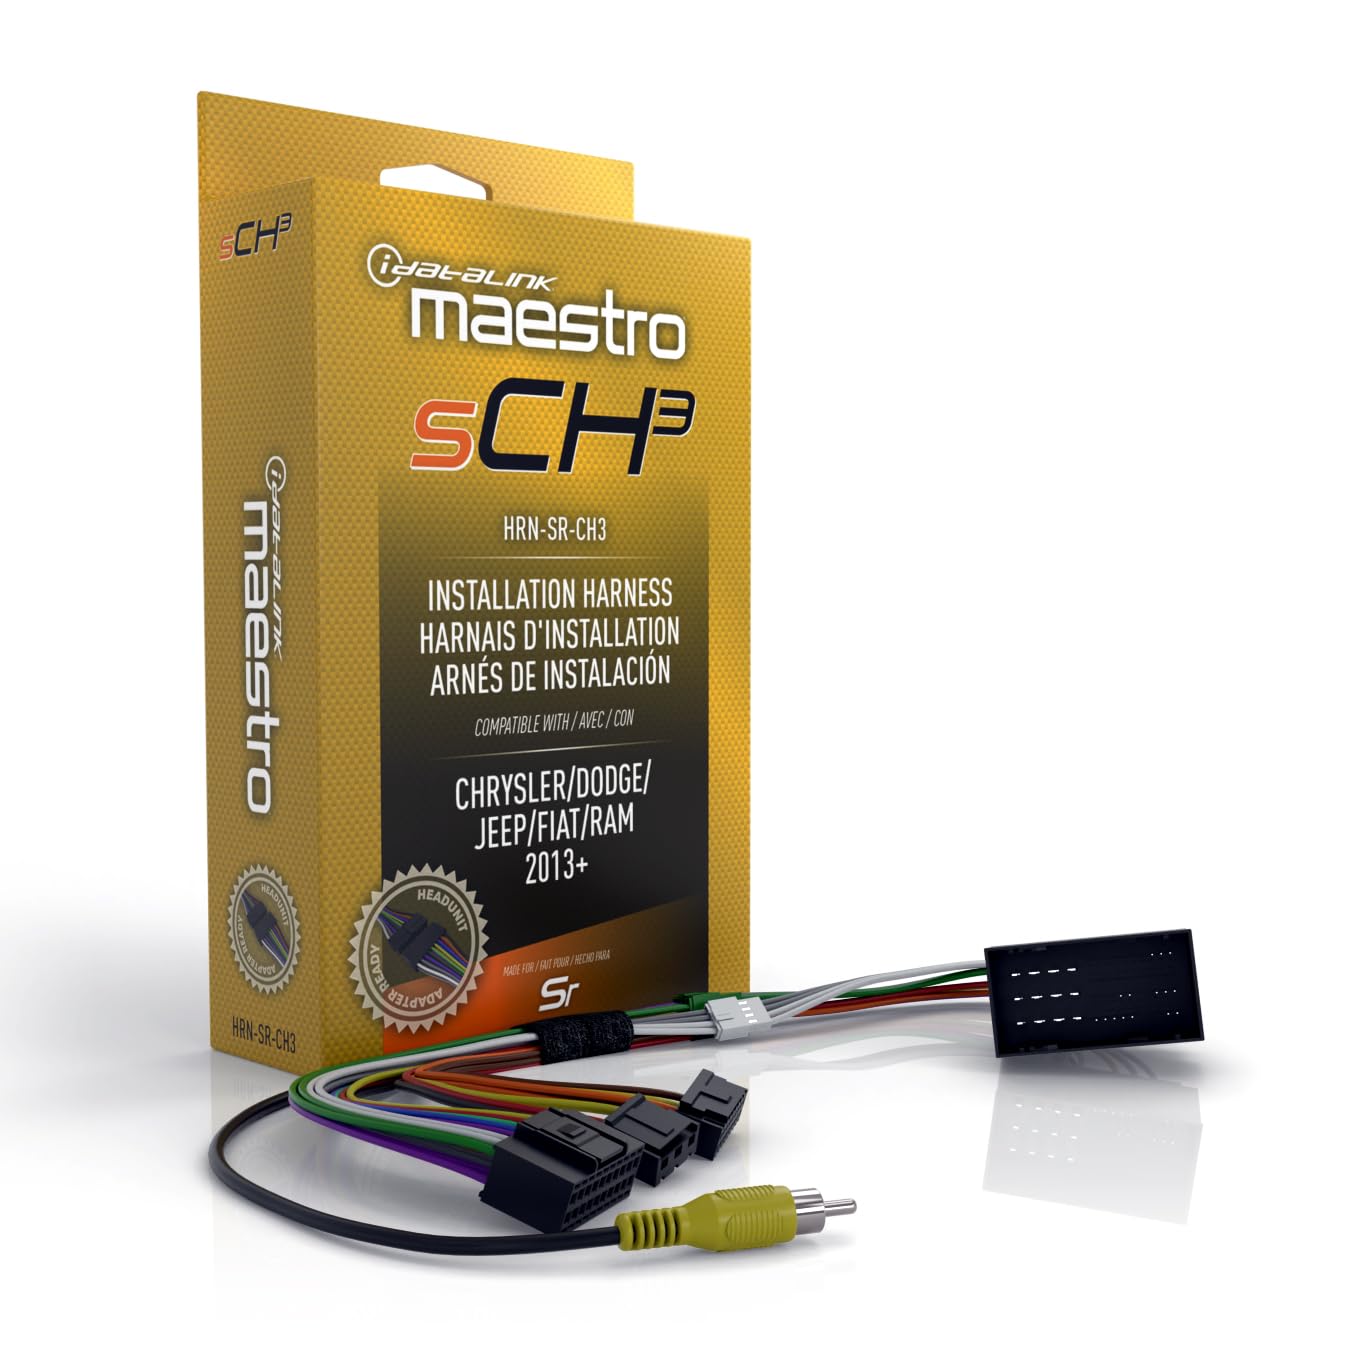
Detaillierte view of the HRN-SR-CH3 T-Harness wiring and connectors.
3. Kompatibilität
The HRN-SR-CH3 T-Harness is specifically designed for use with select Chrysler, Dodge, Jeep, and RAM vehicles from 2013 onwards. It requires the iDatalink Maestro ADS-MSR module and a corresponding Idatalink Maestro Car Stereo Head-Unit ACC-HU series T-Harness (e.g., ACC-HU-ALP1, ACC-HU-PIO1, ACC-HU-SON1, ACC-HU-KEN1, ACC-HU-KEN2, ACC-HU-KEN3, or ACC-HU-BOS1) for complete functionality. These head-unit harnesses are sold separately.
Compatibility chart for RAM vehicles, showing supported models and years.

Compatibility chart for Jeep and Fiat vehicles, showing supported models and years.

Various Maestro Headunit Ready Adapters (ACC-HU series) required for installation.
4. Einrichtung & Programmierung
The iDatalink Maestro ADS-MSR module, which is essential for the HRN-SR-CH3 T-Harness, is web-programmable. This allows for vehicle-specific firmware to be loaded onto the module via a PC, Mac, or mobile device (iOS or Android). This programming step is crucial for the module to correctly integrate with your vehicle's systems and the aftermarket radio.
Weblink Desktop Programming Tutorial
This video provides a step-by-step guide on how to download and install Weblink Desktop, create a Weblink account, and flash your Maestro module on a Windows-based PC. It covers the process of connecting the module, selecting vehicle and radio information, and initiating the flash.
For detailed compatibility information and to begin the programming process, visit the iDatalink Maestro webWebsite: https://l.ead.me/bbSyLG
5. Installation
The HRN-SR-CH3 T-Harness features a plug-and-play design, which significantly simplifies the radio replacement process. Once the iDatalink Maestro ADS-MSR module is programmed, the T-Harness provides the correct connections between the interface and your vehicle, as well as to the aftermarket head unit (with the appropriate ACC-HU series adapter).
The HRN-SR-CH3 T-Harness showing various connections, including RCA cables.
6. Betriebsfunktionen
The Maestro SR system is designed to retain and integrate various factory vehicle features with your new aftermarket radio.
6.1. Retaining Vehicle Settings
Many modern vehicles allow for the adjustment of various settings (e.g., lighting control, door lock options, safety features like collision avoidance) through the factory radio's touchscreen menu. The Maestro SR retains these functionalities, allowing them to be controlled directly from any Maestro-compatible radio or via Bluetooth using a compatible smartphone and the Maestro Central app. This ensures that you do not lose access to critical vehicle customization options after upgrading your radio.
6.2. Camera Integration
The Maestro SR can retain factory reverse cameras, 360-degree cameras, and cargo cameras. If your factory radio supported multiple viewing angles or split-screen views, the Maestro SR will maintain this functionality. Camera views can often be controlled directly from your vehicle's steering wheel buttons, providing an intuitive and familiar user experience.
6.3. Programmable Outputs
The Maestro SR offers two programmable outputs. These outputs can be configured to trigger various functions, such as activating additional lighting, controlling aftermarket cameras, or converting digital data messages from the vehicle's system into analog outputs for other accessories. This provides flexibility for custom installations and expanded vehicle functionality.
Maestro SR Features Overview
Dieses Video bietet einen umfassenden Überblickview of the iDatalink Maestro SR module's features, including its web programmability, compatibility with vehicle-specific T-harnesses and headunit adapters, retention of vehicle settings, camera integration, and programmable outputs.
7. Fehlerbehebung
If you encounter any issues during installation or operation, please refer to the detailed installation guide provided with your Maestro HRN-SR-CH3 T-Harness. For programming-related issues, ensure your Maestro ADS-MSR module is correctly flashed using the Weblink Desktop application. Many common problems can be resolved by verifying connections and ensuring the latest firmware is installed.
8. Spezifikationen
| Besonderheit | Detail |
|---|---|
| Artikelmodellnummer | HRN-SR-CH3 |
| Hersteller | Idatalink |
| Marke | Idatalink |
| Material | Acrylnitril-Butadien-Styrol |
| Kabeltyp | Proprietär |
| Steckertyp | Proprietary Idatalink Connector |
| Verpackungsabmessungen | 7.8 x 4.76 x 1.81 Zoll |
| Artikelgewicht | 4.94 Unzen |
| Ursprungsland | China |
| Datum der ersten Verfügbarkeit | 20. März 2024 |
9. Garantie und Support
For warranty information, technical support, and additional resources, please visit the official iDatalink Maestro website. You can find comprehensive guides, FAQs, and contact information to assist you with any questions or concerns regarding your HRN-SR-CH3 T-Harness or the Maestro system.
Visit iDatalink Maestro Official WebWebsite


