1. Einleitung
This manual provides instructions for the safe and effective use of your Anykit Visual Ear Wax Removal Camera, Model AKE390i. This device is a digital otoscope designed to visualize the ear canal and assist in earwax removal. It features a camera with LED illumination and connects to compatible mobile devices for real-time viewing.
Bitte lesen Sie diese Bedienungsanleitung vor der Inbetriebnahme des Geräts sorgfältig durch und bewahren Sie sie zum späteren Nachschlagen auf.

Figure 1: Anykit Visual Ear Wax Removal Camera with accessories.
2. Wichtige Sicherheitshinweise
- WARNING: THIS IS NOT A TOY. Halten Sie das Produkt von Kindern unter 12 Jahren fern.
- This otoscope camera is not intended to diagnose, treat, cure, or prevent any disease or health condition. Consult a medical professional for any health concerns.
- Do not insert the device too deeply into the ear canal. Excessive force or improper use can cause injury.
- Always use the provided specula and protective covers to prevent direct contact of the camera tip with the ear canal walls.
- Clean the device and accessories thoroughly before and after each use as described in the Maintenance section.
- If you experience pain, discomfort, or bleeding during use, discontinue immediately and seek medical advice.
3. Packungsinhalt
Überprüfen Sie, ob alle Artikel in Ihrem Paket vorhanden sind:
- Anykit Visual Ear Wax Removal Camera (Otoscope)
- USB-Typ-C-Kabel (integriert)
- Soft Silicone Earpicks
- Adjustable Protection Covers
- Replacement Specula
- Bedienungsanleitung
- Aufbewahrungsbeutel (kann je nach Verpackung variieren)

Abbildung 2: Im Produktpaket enthaltene Komponenten.
4. Einrichtung und erste Verwendung
4.1 Kompatibilität
The Anykit Visual Ear Wax Removal Camera is compatible with:
- Android 8.0+ devices (must support OTG functionality).
- iPhone 15/15 Pro/15 Plus/15 Pro Max.
- iPad (12th generation and newer).
Nicht kompatibel mit: PCs, iPad Pro (4th generation), iPad 4, or iPad 2. This otoscope does not include a Type-C to Lightning adapter. If using your own adapter, ensure it supports OTG.
4.2 App-Installation
- Download "Xscope" App: Suchen nach "Xscope" in the Google Play Store (for Android) or Apple App Store (for iOS) and download the application.
- Berechtigungen erteilen: After installation, open the app. When prompted, click "Allow" to grant necessary permissions for the device to function.

Figure 3: App download and connection steps.
4.3 Geräteanschluss
- Connect Otoscope: Plug the USB Type-C connector of the otoscope into your compatible smartphone or tablet.
- App ausführen: Open the "Xscope" application. The device should automatically connect, and you will see a live view von der Kamera.
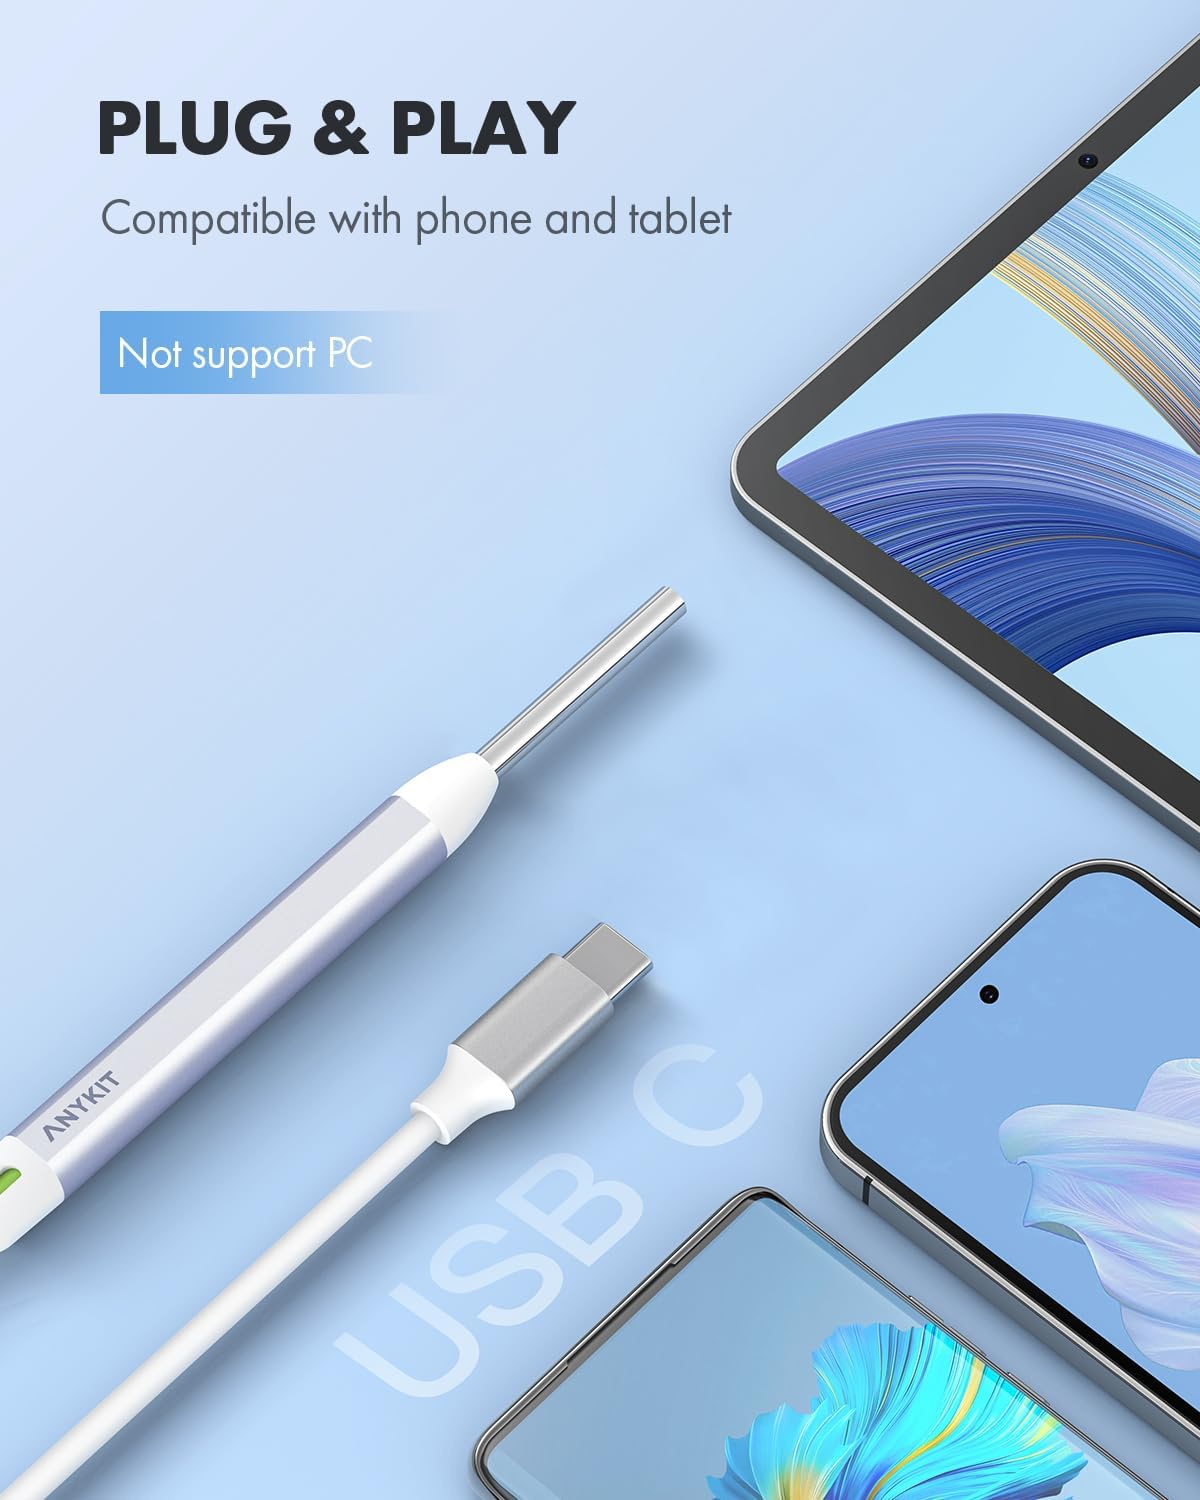
Figure 4: Connecting the otoscope to a mobile device.
5. Bedienungsanleitung
5.1 Anbringen von Zubehör
Before use, attach a clean speculum and an adjustable protection cover to the tip of the otoscope. These accessories ensure safe insertion and prevent over-insertion into the ear canal.
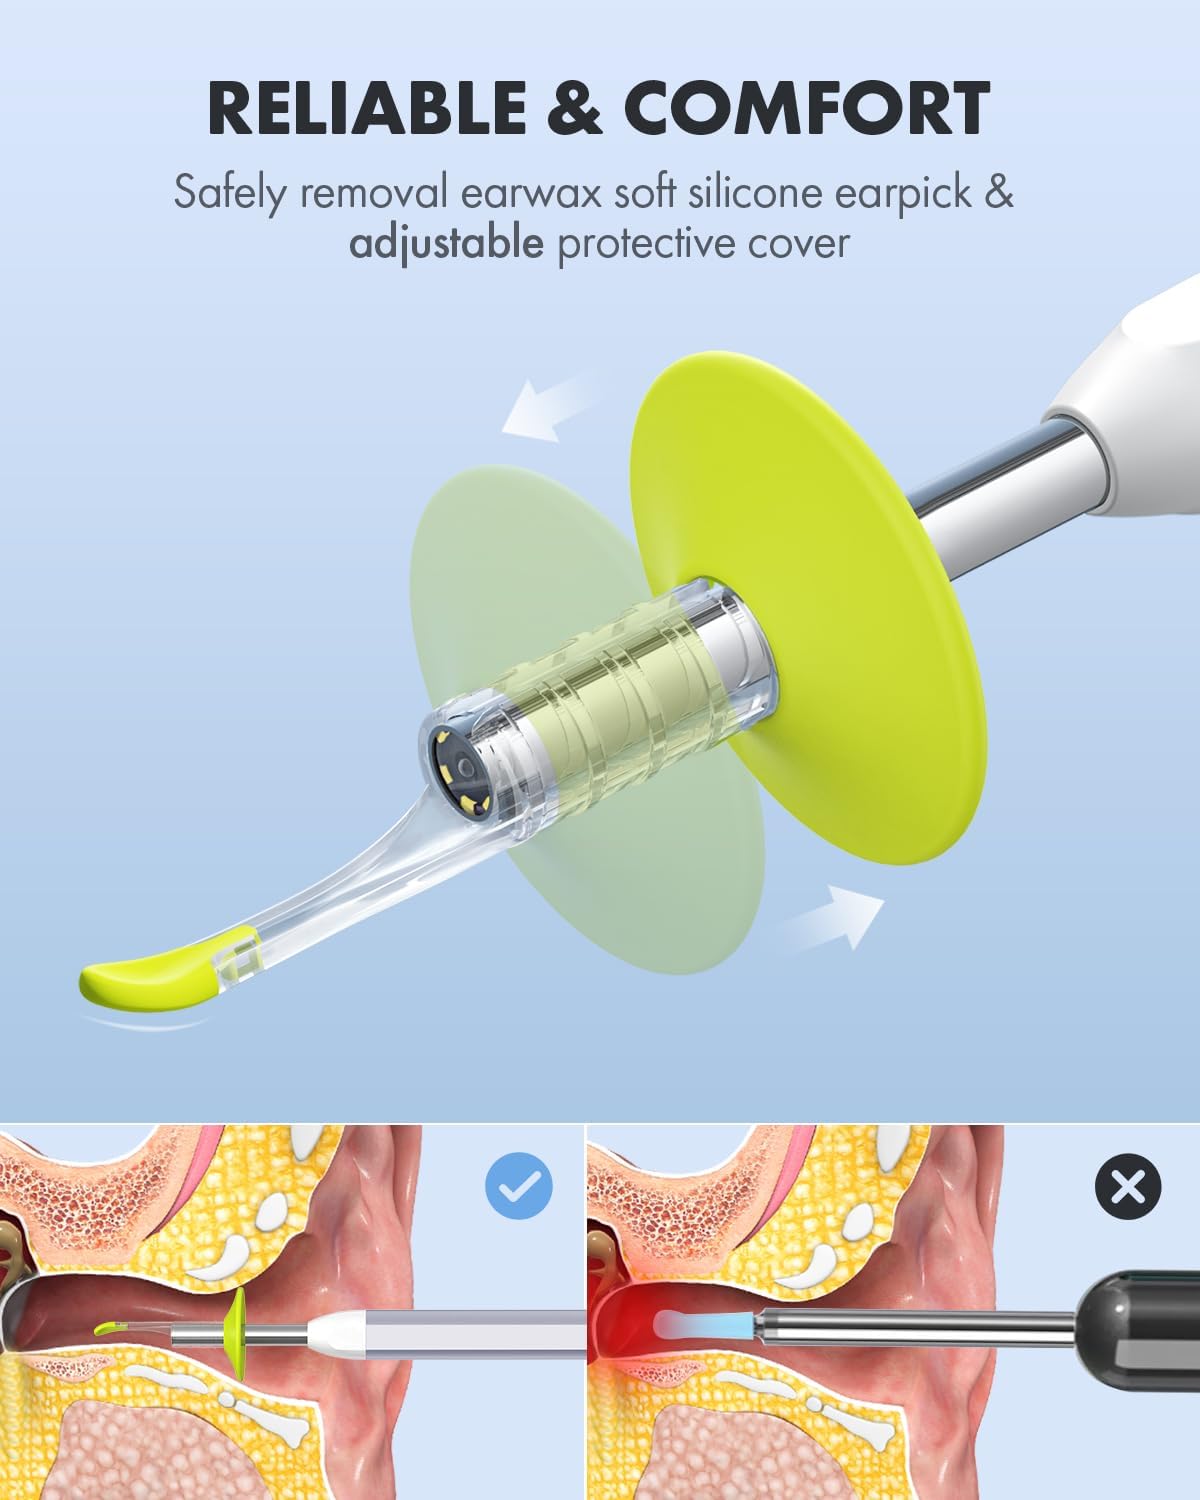
Figure 5: Attaching the protective cover and earpick.

Figure 6: Importance of using specula for safe operation.
5.2 Viewing and Navigation
Once connected and the app is running, you will see a live feed from the otoscope camera on your device screen. The device features a 1080p HD camera lens with 6 illumination LED lights for clear visualization.

Figure 7: High-definition camera lens and LED illumination.
5.3 View Modi
The "Xscope" app offers different view modes for enhanced monitoring:
- Vollbildmodus: Displays the real-time image from the otoscope across the entire screen.
- Split-Screen-Modus: Allows for a clear comparison between a previously captured image and the real-time view. This is useful for tracking changes or progress.

Figure 8: Split-screen mode for ear health tracking.
5.4 Aufnehmen von Bildern und Videos
The app allows you to capture still images and record videos of your ear canal. These can be saved to your device's gallery.
- Foto aufnehmen: Tippen Sie in der App auf das Kamerasymbol, um ein Standbild aufzunehmen.
- Video aufnehmen: Tippen Sie auf das Videosymbol, um die Videoaufnahme zu starten und zu stoppen.
Captured media can be shared with healthcare professionals for remote consultation, saving time and facilitating quick advice.

Figure 9: Sharing images and videos for remote consultation.
6. Wartung und Pflege
6.1 Reinigung des Otoskops
- Kameraobjektiv: Gently wipe the camera lens with a soft, dry cloth or a cotton swab lightly dampened with rubbing alcohol. Ensure no liquid enters the device.
- Gerätekörper: Wipe the main body of the otoscope with a clean, damp cloth. Do not submerge the device in water or any cleaning solutions.
6.2 Reinigungszubehör
- Earpicks and Specula: Wash reusable earpicks and specula with mild soap and water. Rinse thoroughly and allow them to air dry completely before storage or next use. Disposable accessories should be discarded after a single use.
6.3 Speicherung
Store the otoscope and its accessories in the provided storage bag in a clean, dry place, away from direct sunlight and extreme temperatures.

Figure 10: Storage bag for organizing the otoscope and accessories.
7. Fehlerbehebung
| Problem | Mögliche Ursache | Lösung |
|---|---|---|
| Kein Bild auf dem Bildschirm / Gerät wird nicht erkannt |
|
|
| Das Bild ist unscharf oder undeutlich. |
|
|
| App stürzt ab oder friert ein |
|
|
8. Produktspezifikationen
| Besonderheit | Detail |
|---|---|
| Modellnummer | AKE390i |
| Marke | Anykit |
| Kameraauflösung | 1080p HD |
| Beleuchtung | 6 LED-Leuchten |
| Konnektivität | USB Typ-C (kabelgebunden) |
| Kompatibilität | Android 8.0+ (OTG support), iPhone 15 series, iPad (12th Gen+) |
| Verpackungsabmessungen | 6.02 x 2.56 x 1.65 Zoll |
| Artikelgewicht | 3.53 Unzen |
| ASIN | B0D2D8CT8X |
9. Garantie und Support
Specific warranty information is not provided in this manual. For details regarding warranty coverage, please refer to the product packaging or contact Anykit customer support directly.
For technical support, troubleshooting assistance, or inquiries about your Anykit Visual Ear Wax Removal Camera, please visit the official Anykit webSie können die Website besuchen oder sich an den Kundendienst wenden. Die Kontaktdaten finden Sie in der Regel auf der Produktverpackung oder beim Hersteller. webWebsite.
10. Haftungsausschluss
Statements regarding dietary supplements have not been evaluated by the FDA and are not intended to diagnose, treat, cure, or prevent any disease or health condition. This product is not a medical device intended for diagnosis or treatment of medical conditions.


