Einführung
Thank you for choosing the WORKPRO 1/4" Torque Wrench. This manual provides essential information for the safe and effective operation, maintenance, and care of your new tool. Please read this manual thoroughly before use and retain it for future reference.
Packungsinhalt:
- 1 x WORKPRO 1/4" Torque Wrench
- 1 x Tragetasche
- 1 x Bedienungsanleitung (dieses Dokument)
Sicherheitshinweise
Always observe basic safety precautions when using tools to reduce the risk of personal injury. Read and understand all instructions.
- Tragen Sie geeignete persönliche Schutzausrüstung (PSA), wie z. B. eine Schutzbrille.
- Vor dem Anlegen des Drehmoments sicherstellen, dass das Werkstück stabil und gesichert ist.
- Die maximale Drehmomentkapazität des Drehmomentschlüssels (25 Nm) darf nicht überschritten werden.
- Verwenden Sie den Drehmomentschlüssel nicht als Brechstange.
- Halten Sie Kinder und Unbeteiligte fern, während Sie das Werkzeug bedienen.
- Bewahren Sie das Werkzeug an einem trockenen, sicheren Ort auf, wenn es nicht in Gebrauch ist.
- Do not attempt to modify or repair the torque wrench yourself. Contact qualified service personnel.
Komponenten
Familiarize yourself with the parts of your WORKPRO 1/4" Torque Wrench.
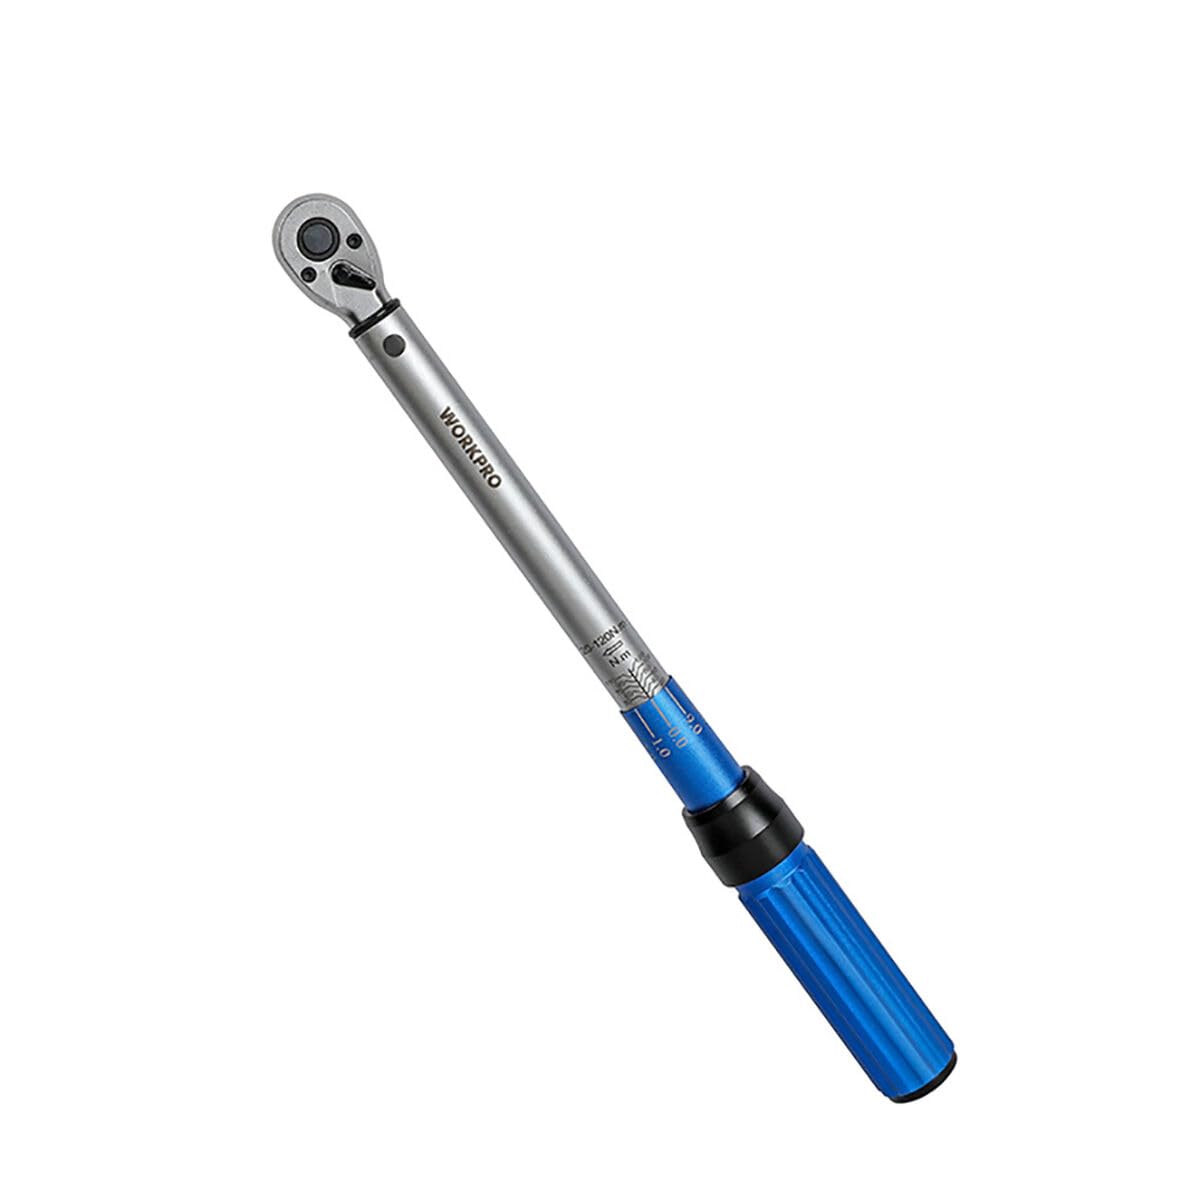
Image: The WORKPRO 1/4" Torque Wrench, typically shown with its protective carrying case. Key components include the drive head, main body with torque scale, adjustment collar, and handle.
Wichtige Teile:
- Laufwerkskopf: 1/4"-Vierkantantrieb für Steckschlüssel.
- Torque Scale: Markings for setting desired torque values (Nm).
- Adjustment Collar/Knob: Used to set the torque value.
- Verriegelungsmechanismus: Secures the set torque value.
- Handhaben: Provides grip during operation.
Aufstellen
1. Auspacken und Inspektion:
Carefully remove the torque wrench from its carrying case. Inspect the tool for any signs of damage that may have occurred during shipping. Do not use the tool if it appears damaged.
2. Setting the Torque Value:
- Unlock the adjustment collar by rotating the locking mechanism (usually a knob at the end of the handle or a collar at the base of the handle).
- Rotate the handle or adjustment collar to align the desired torque value on the main scale with the zero mark on the thimble scale. For example, to set 20 Nm, align the '20' mark on the main scale with the '0' mark on the thimble.
- For finer adjustments, continue rotating the handle until the desired increment on the thimble scale aligns with the main scale line. For example, to set 22 Nm, set to 20 Nm on the main scale, then rotate the thimble until the '2' mark aligns with the main scale line.
- Once the desired torque is set, lock the adjustment collar by rotating the locking mechanism back into its locked position. Ensure it is securely locked to prevent accidental changes during use.
Bedienungsanleitung
1. Attaching the Socket:
Select the correct size socket for your fastener and firmly attach it to the 1/4" square drive head of the torque wrench.
2. Applying Torque:
- Place the socket onto the fastener (nut or bolt).
- Hold the torque wrench by the handle and apply steady, increasing pressure in a clockwise direction for right-hand threads.
- Continue applying pressure until you feel and hear a distinct "click" or "break" from the wrench. This indicates that the preset torque value has been reached.
- Immediately stop applying force once the click is felt/heard. Do not continue to tighten the fastener beyond this point.
- Den Drehmomentschlüssel vom Befestigungselement entfernen.
Wichtige Hinweise:
- Always pull the wrench, do not push, to maintain better control and safety.
- Do not use extensions between the drive head and the socket unless specifically designed for torque wrenches, as this can affect accuracy.
- After use, always return the torque wrench to its lowest torque setting (but not below the minimum) before storing to relieve spring tension and maintain calibration accuracy.
Wartung
Reinigung:
Reinigen Sie den Drehmomentschlüssel nach jedem Gebrauch mit einem weichen, trockenen Tuch. Verwenden Sie keine Lösungsmittel oder aggressive Chemikalien, da diese die Oberfläche oder die internen Bauteile beschädigen können.
Lagerung:
Store the torque wrench in its original carrying case in a dry, clean, and temperature-controlled environment. Always set the wrench to its lowest torque setting before storage to preserve the calibration spring.
Kalibrierung:
Torque wrenches are precision instruments and require periodic calibration to ensure accuracy. It is recommended to have your torque wrench calibrated by a qualified service center annually, or more frequently with heavy use.
Fehlerbehebung
Der Schraubenschlüssel klickt nicht:
- Mögliche Ursache: Torque setting is too high for the fastener, or the fastener is already overtightened.
- Lösung: Recheck the required torque specification. Ensure the wrench is set correctly. Do not force the wrench beyond its capacity.
- Mögliche Ursache: Wrench is being used incorrectly (e.g., too fast, not a steady pull).
- Lösung: Gleichmäßig anwenden, steigernasing pressure. Listen and feel for the click.
Inaccurate torque:
- Mögliche Ursache: Wrench is out of calibration.
- Lösung: Have the wrench professionally calibrated.
- Mögliche Ursache: Incorrect torque setting.
- Lösung: Double-check the torque setting against the required specification.
Technische Daten
| Besonderheit | Spezifikation |
|---|---|
| Modellnummer | Staffel 7923395 |
| Laufwerksgröße | 1/4 Zoll |
| Drehmomentbereich | 5-25 Nm |
| Anzahl der Zähne | 72 Zähne pro Zoll |
| Griffmaterial | Aluminium |
| Abmessungen (L x B x H) | 7 x 49 x 6.8 cm |
| Gewicht | 729 Gramm |
| Mitgeliefertes Zubehör | Tragetasche |
Garantie und Support
WORKPRO products are manufactured to high-quality standards. For warranty information, technical support, or service inquiries, please refer to the contact information provided with your purchase documentation or visit the official WORKPRO webWebsite.
Notiz: Die genauen Garantiebedingungen können je nach Region und Händler variieren. Bitte bewahren Sie Ihren Kaufbeleg für Garantieansprüche auf.
For further assistance, please contact WORKPRO customer service via their official webWebsite: www.workprotools.com