Einführung
This user manual provides comprehensive instructions for the VETEK 8K Video Camera Camcorder (Model: HDV01-8K). Please read this manual thoroughly before operating the device to ensure proper usage and to maximize its features. Keep this manual for future reference.
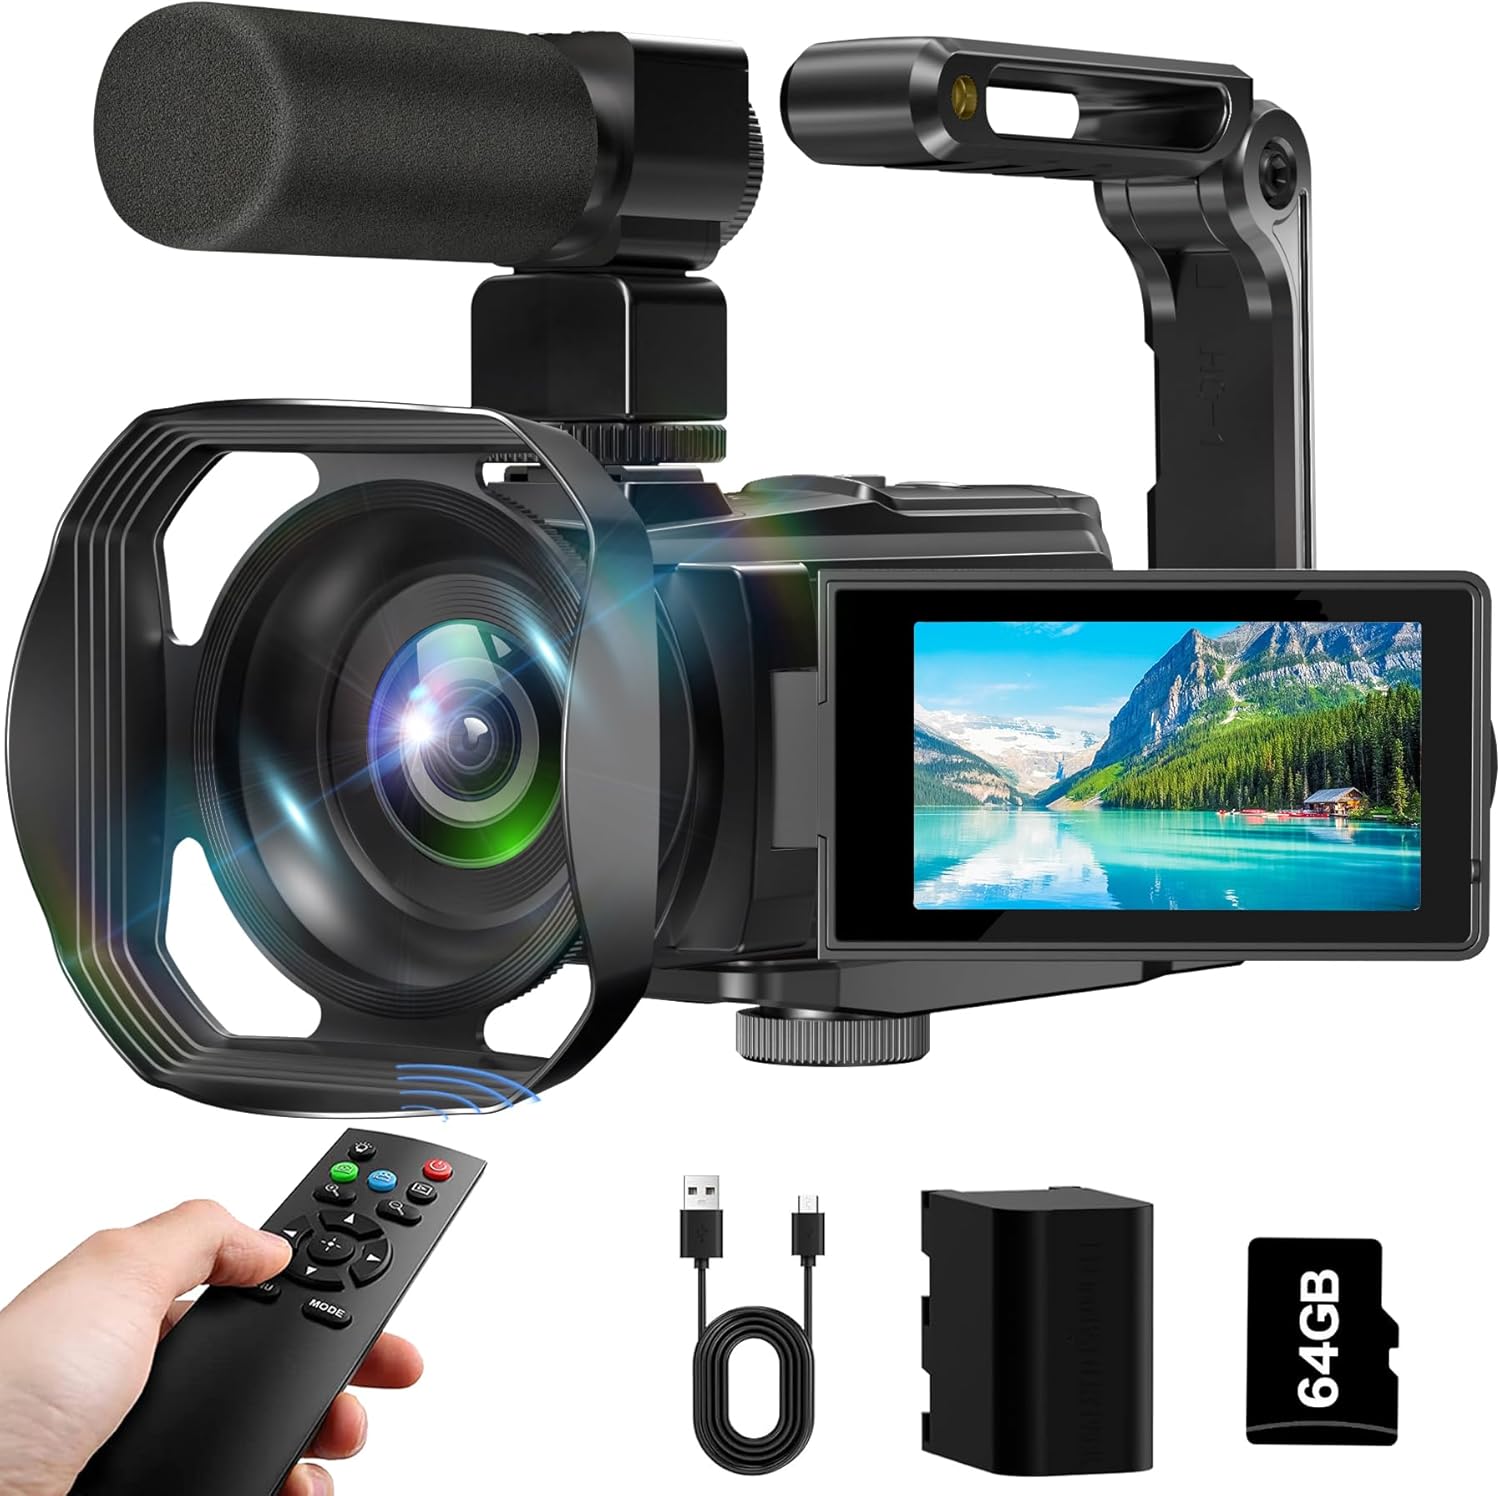
Figure 1: VETEK 8K Video Camera Camcorder with included accessories.
Packungsinhalt
Bitte überprüfen Sie, ob alle unten aufgeführten Artikel in Ihrem Paket enthalten sind:
- VETEK 8K Video Camera Camcorder
- Mikrofon
- Gegenlichtblende
- Stabilizer (Hand Bracket)
- 4500mAh Akku
- 64 GB SD-Karte
- Fernbedienung
- USB-C-Ladekabel
- Staubbeutel
- Reinigungstuch
- Benutzerhandbuch (dieses Dokument)
- After-Sales-Karte

Abbildung 2: Visuelle Darstellung des gesamten mitgelieferten Zubehörs.
Produkt überview
The VETEK 8K Camcorder is designed for ease of use while delivering high-quality video and photo capture. It features a 3-inch 270° rotating touch screen for flexible viewing and control, and supports various recording modes.

Abbildung 3: Überview of 8K 64MP CMOS sensor and 18X digital zoom capability.
Installationshandbuch
1. Installation von Akku und SD-Karte
- Batterie einlegen: Open the battery compartment cover. Insert the 4500mAh battery, ensuring correct polarity. Close the cover securely.
- SD-Karte einlegen: Locate the SD card slot. Insert the provided 64GB SD card (or a compatible card up to 256GB) until it clicks into place. Ensure the card is inserted correctly to avoid damage.

Figure 4: Proper battery installation.
2. Anbringen von Zubehör
- Gegenlichtblende: Screw the lens hood onto the front of the camera lens. This helps reduce glare and improve image contrast.
- Mikrofon: Attach the external microphone to the hot shoe mount on top of the camera. Connect the microphone cable to the designated audio input port.
- Stabilizer (Hand Bracket): Attach the hand bracket to the bottom tripod mount of the camera for improved stability during handheld recording.
Figure 5: Camcorder with all primary accessories attached for enhanced usability.
3. Ein-/Ausschalten
Open the LCD screen to power on the camcorder. Close the LCD screen to power off the camcorder.
Betriebsarten und Funktionen
1. Videoaufzeichnung und Fotoaufnahme
The camcorder supports 8K, 6K, 5K, 4K, and 2.7K video resolutions, and 64MP photo resolution. Use the touch screen to navigate between video and photo modes. The 18X digital zoom allows for closer shots.

Figure 6: Visual comparison of 8K vs 4K resolution capabilities.
2. Infrarot-Nachtsichtgerät und Aufhelllicht
Activate IR Night Vision for clear black and white recording in low-light conditions. The built-in LED fill light provides additional illumination for brighter photos and videos in dim environments.

Figure 7: Demonstration of IR Night Vision capability.
3. WiFi Connectivity and WebNockenfunktion
Download the "Hello Cam" app from your smartphone's app store. Connect your device to the camcorder's Wi-Fi network for real-time viewing, remote control, and file transfer. The camcorder can also function as a webcam when connected to a PC via USB, suitable for live streaming or video calls.

Figure 8: Using the camcorder's WiFi function with a smartphone.

Figure 9: Camcorder connected to a laptop for webcam use or recording while charging.
4. Fernbedienungsbetrieb
The included remote control allows for convenient operation from a distance, including starting/stopping recording and taking photos. It has a range of up to 32 feet.

Figure 10: Remote control for the camcorder.
5. Advanced Recording Functions
Explore various recording options via the touch screen menu:
- Loop-Aufnahme: Continuously records, overwriting older footage wenn der Speicher voll ist.
- Aufnahme mit Bewegungserkennung: Starts recording automatically when motion is detected.
- Intervallaufnahme: Captures frames at set intervals for time-lapse videos.
- Pausenfunktion: Aufnahme innerhalb desselben file.
- Dauerfeuer: Nimmt mehrere Fotos in schneller Folge auf.
- Timed Selfies: Set a timer for self-portraits.

Abbildung 11: Bspamples of Continuous Shooting and Time-Lapse Photography.
Aufladen und Datenübertragung
1. Laden des Akkus
The 4500mAh battery provides up to 4.5 hours of continuous 8K recording. Connect the camcorder to a power source using the provided USB-C cable. You can record while charging.
Figure 12: Battery charging indicator on the screen.
2. Übertragen Files
- USB-Verbindung: Connect the camcorder to your computer using the USB-C cable. The camera will appear as a removable drive, allowing you to drag and drop files.
- WiFi Transfer: Use the "Hello Cam" app to wirelessly transfer photos and videos to your smartphone or tablet.
- SD-Kartenleser: Remove the SD card and insert it into a compatible card reader connected to your computer for direct file Zugang.
- HDMI-Ausgang: Connect the camcorder to an HDTV via an HDMI cable (not included) to playback photos and videos on a larger screen.

Figure 13: Various methods for transferring media from the camcorder.
Wartung
- Reinigung: Use the provided cleaning cloth to gently wipe the camera body and lens. Do not use liquid cleaners or abrasive materials.
- Lagerung: Store the camcorder in the dust bag in a cool, dry place away from direct sunlight and extreme temperatures.
- Batteriepflege: For long-term storage, remove the battery from the camcorder. Recharge the battery periodically to maintain its lifespan.
Fehlerbehebung
| Problem | Mögliche Ursache | Lösung |
|---|---|---|
| Die Kamera lässt sich nicht einschalten. | Die Batterie ist nicht richtig eingesetzt oder ist leer. | Ensure battery is correctly installed. Charge the battery fully. |
| Schlechte Bild-/Videoqualität. | Insufficient lighting, dirty lens, or shooting distance is too close. | Ensure adequate lighting. Clean the lens. Note that the camera has fixed focus and a shooting distance of more than 4 meters is recommended. |
| HDMI-Ausgang funktioniert nicht. | Falsches Kabel oder falscher Anschluss. | Ensure you are using a compatible mini HDMI cable (not included) and it is securely connected to both the camera and the display. |
| Übertragung nicht möglich files via WiFi. | Incorrect app or connection issue. | Ensure "Hello Cam" app is installed. Reconnect to the camera's WiFi network. |
For further assistance, please refer to the contact information provided in the After Sales Card included in your package.
Technische Daten
| Besonderheit | Detail |
|---|---|
| Marke | VETEK |
| Modellnummer | HDV01-8K |
| Videoauflösung | 8K (15FPS), 6K, 5K, 4K, 2.7K |
| Fotoauflösung | 64 Megapixel |
| Zoom | 18-facher Digitalzoom |
| Bildschirm | 3-inch 270° Rotating Touch Screen |
| Nachtsicht | Infrarot-Nachtsichtgerät |
| Konnektivität | WiFi, USB, HDMI (cable not included) |
| Batteriekapazität | 4500 mAh |
| Lagerung | Supports SD Card up to 256GB (64GB included) |
| Fokustyp | Fixed Focus (shooting distance > 4 meters) |
| Maße | 6.11 x 2.64 x 2.64 Zoll |
| Gewicht | 2.09 Pfund |
Offizielle Produktvideos
8K Video Camera Camcorder, IR Night Vision Vlogging Camera
Dieses Video bietet ein Overview of the VETEK 8K Video Camera Camcorder, highlighting its key features including 8K resolution, IR night vision, and vlogging capabilities. It demonstrates the camera's design and some of its functions.
Garantie und Support
VETEK offers quality after-sales service. All products are eligible for a free return within 30 days of purchase. For any questions, concerns, or technical support, please refer to the contact information provided on the After Sales Card included in your product package. We are committed to providing cost-effective entry cameras and continuously improving our products based on customer feedback.


