1. Einleitung
This manual provides essential information for the safe and efficient operation of your VISION VP-621 4K Ultra HD Multimedia Projector. Please read this manual thoroughly before using the projector and retain it for future reference.
The VISION VP-621 is a versatile smart projector featuring 4K Ultra HD support, 11000 lumens brightness, 5G WiFi, Bluetooth 5.0, Auto Focus, Wireless Miracast, and an integrated Android 9.0 operating system. It is designed for various applications including home entertainment, business presentations, and educational purposes.
2. Sicherheitshinweise
- Die Lüftungsöffnungen dürfen nicht blockiert werden. Sorgen Sie für ausreichende Luftzirkulation um den Projektor herum, um eine Überhitzung zu vermeiden.
- Schauen Sie nicht direkt in die Projektorlinse, wenn der lamp ist eingeschaltet. Das helle Licht kann Augenschäden verursachen.
- Stellen Sie den Projektor auf eine stabile, ebene Fläche, um zu verhindern, dass er herunterfällt.
- Halten Sie den Projektor von Wasser, Feuchtigkeit und extremen Temperaturen fern.
- Verwenden Sie ausschließlich das mit dem Projektor gelieferte Netzteil.
- Versuchen Sie nicht, den Projektor selbst zu öffnen oder zu reparieren. Überlassen Sie alle Wartungsarbeiten qualifiziertem Fachpersonal.
- Bei Gewittern oder längerer Nichtbenutzung sollte der Projektor vom Stromnetz getrennt werden.
3. Packungsinhalt
Bitte überprüfen Sie, ob alle unten aufgeführten Artikel in Ihrem Paket enthalten sind:
- VISION VP-621 Projector
- Netzkabel
- Adapter
- Fernbedienung
- AV-Kabel
- Projektorobjektivabdeckung
4. Produktüberschreitungview
Familiarize yourself with the main components and interfaces of your VISION VP-621 projector.

Abbildung: Vorder- und Seitenansicht view of the VISION VP-621 projector, showcasing dank seiner kompakten Bauweise und Linse.
4.1 Vorder- und Oberseite
- Projektionsobjektiv: Gibt das Bild aus.
- Infrarotempfänger: Für Fernsteuersignale.
- Bedientasten: Power, Navigation (OK, Up, Down, Left, Right), Back.
- Lüftungsgitter: For cooling the internal components.

Bild: Oben view of the projector highlighting the integrated control buttons for power and navigation.
4.2 Rear Panel and Connectivity Ports
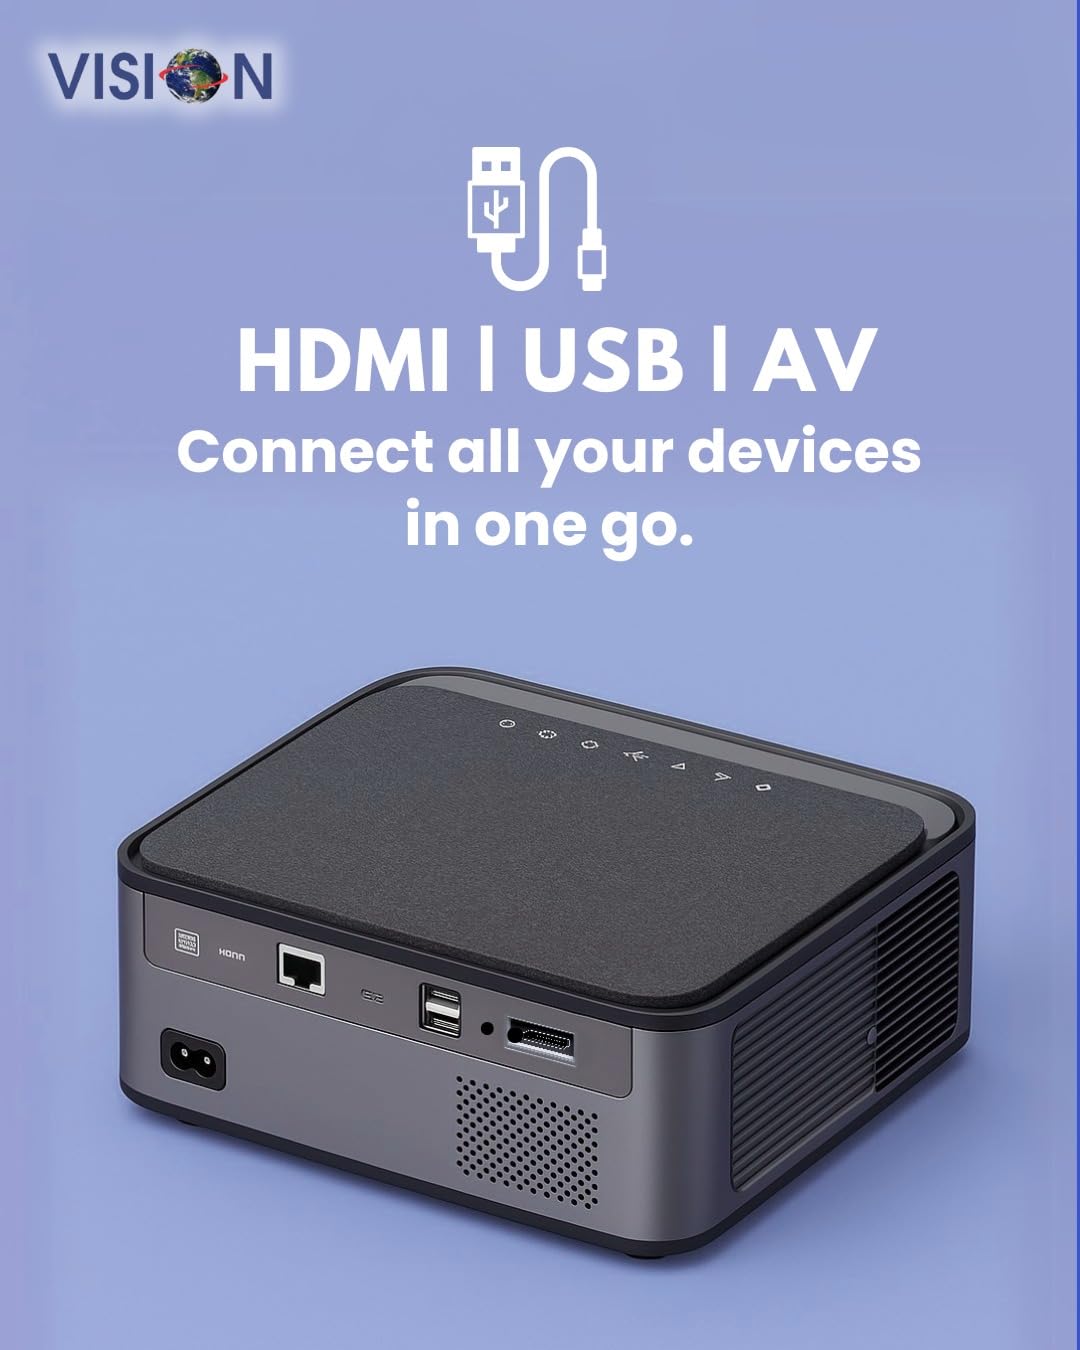
Bild: Rückseite view of the projector displaying the various input and output ports, including HDMI, USB, and AV.
- Leistungsaufnahme: Schließen Sie hier das Netzteil an.
- HDMI-Anschluss: Anschluss an HDMI-fähige Geräte (Laptops, Spielekonsolen, Streaming-Sticks).
- USB-Anschlüsse (x2): Schließen Sie USB-Laufwerke zur Medienwiedergabe oder externe Geräte an.
- AV-Eingang: Verbinden Sie ältere Geräte mit dem mitgelieferten AV-Kabel.
- Audioausgang (3.5 mm): Schließen Sie externe Lautsprecher oder Kopfhörer an.
- LAN-Anschluss: For wired internet connection (if available).
5. Einrichtung
5.1 Aufstellung des Projektors
Choose a flat, stable surface for the projector. Ensure there are no obstructions in front of the lens and that the ventilation grilles are clear.

Image: A projector positioned on a desk, illustrating a typical setup environment.
5.2 Stromanschluss
- Schließen Sie das Netzteil an den Stromeingangsanschluss des Projektors an.
- Stecken Sie das Netzkabel in eine Steckdose.
- Die Betriebsanzeigeleuchte am Projektor leuchtet auf.
5.3 Erstes Einschalten
- Drücken Sie die Einschalttaste am Projektor oder auf der Fernbedienung, um ihn einzuschalten.
- Der Projektor fährt hoch und zeigt den Android 9.0-Startbildschirm an.
5.4 Fokus- und Trapezkorrektur
The VISION VP-621 features automatic focus and 4D keystone correction for a clear and properly aligned image.

Image: Illustrates the projector's automatic focus and keystone correction capabilities, ensuring a sharp and aligned picture.
- Autofokus: The projector will automatically adjust the focus for a sharp image upon startup or movement.
- 4D-Trapezkorrektur: The projector automatically corrects image distortion when placed at an angle. Manual adjustments may be available in the settings menu if needed.
6. Bedienungsanleitung
6.1 Android 9.0 Smart OS
The integrated Android 9.0 system allows direct access to streaming services and apps.
- Navigation: Use the remote control's directional buttons and "OK" button to navigate the interface.
- App-Installation: Access the Google Play Store to download and install applications like YouTube, Netflix, and Prime Video.
- Netzwerkverbindung: Go to Settings > Network to connect to a 5G WiFi network or a wired LAN connection.
6.2 Externe Geräte anschließen
HDMI-Verbindung
- Connect an HDMI cable from your device (laptop, gaming console, Fire TV Stick) to the HDMI port on the projector.
- Wählen Sie auf dem Startbildschirm des Projektors die HDMI-Eingangsquelle aus.
USB-Verbindung
- Insert a USB drive into one of the USB ports on the projector.
- The projector will typically prompt you to open the media player or file browser. If not, navigate to the file manager app on the Android home screen.
AV-Verbindung
- Connect the provided AV cable to the AV input port on the projector and to your external device.
- Select the AV input source on the projector.
Bluetooth 5.0 Audio Output
- Go to Settings > Bluetooth on the projector.
- Aktivieren Sie Bluetooth und suchen Sie nach verfügbaren Geräten.
- Select your Bluetooth speaker or headphones from the list to pair and connect.
Wireless Miracast (Screen Mirroring)
Miracast allows you to wirelessly mirror the screen of your compatible smartphone, tablet, or laptop.
- On the projector's home screen, select the "Miracast" or "Screen Mirroring" application.
- On your mobile device, enable screen mirroring (often found in quick settings or display settings, named "Cast," "Smart View," "Wireless Display," etc.).
- Select the projector from the list of available devices to establish the connection.
7. Wartung
7.1 Reinigung des Projektors
- Linse: Verwenden Sie ein weiches, fusselfreies Tuch, das speziell für optische Linsen entwickelt wurde. Verwenden Sie keine Scheuermittel.
- Casing: Wischen Sie den Projektor ab.asinMit einem weichen, trockenen Tuch abwischen. Bei hartnäckigem Schmutz leicht andrücken.ampDas Tuch mit Wasser befeuchten und anschließend trocken wischen.
- Belüftung: Regularly check and clean the ventilation grilles to ensure proper airflow and prevent dust buildup. Use a soft brush or compressed air.
7.2 Literamp Leben
The VISION VP-621 utilizes advanced LED technology, providing an estimated lamp Eine Lebensdauer von bis zu 50,000 Stunden. Dies reduziert den Wartungsbedarf erheblich.amp Ersatz für herkömmliche Projektoren.
8. Fehlerbehebung
| Problem | Mögliche Ursache | Lösung |
|---|---|---|
| Kein Bild angezeigt |
|
|
| Unscharfes Bild |
|
|
| Kein Ton |
|
|
| Keine Verbindung zum WLAN möglich |
|
|
9. Spezifikationen
| Marke | VISION |
| Modellname | VP-621 AN |
| Display-Technologie | LCD |
| Anzeigetyp | LED |
| Helligkeit | 11000 Lumen |
| Bildkontrastverhältnis | 18000:1 Pixel |
| Native Auflösung | 1920 x 1280 (Full HD) |
| Unterstützte Auflösung | Bis zu 4K Ultra HD |
| Seitenverhältnis | 16:9, 4:3 |
| Betriebssystem | Android 9.0 |
| Konnektivitätstechnologie | Bluetooth 5.0, HDMI, USB, Wi-Fi (5G) |
| Hardware-Schnittstelle | Bluetooth 5, HDMI, USB 3.0 |
| Besondere Merkmale | Built-In 3D, Built-In Cooling System, Built-In Speaker, Electric Focus, Wi-Fi Ready, Auto Focus, 4D Keystone Correction, Wireless Miracast |
| Technische Daten | 30 x 18 x 7 cm |
| Artikelgewicht | 8 kg |
| Lamp Leben | Bis zu 50,000 Stunden |

Image: Illustrates the projector's Full HD (1920x1080) resolution capability for crisp visuals.

Image: Highlights the projector's 11000 lumens brightness, ensuring clear visuals in various lighting conditions.
10. Garantie und Support
Informationen zur Garantie und technische Unterstützung erhalten Sie beim Hersteller:
- Hersteller: Scorpio Infosolutions
- Standort: Delhi, India
- Telefon: +91-7982647130
- WebWebsite: visionsheen.in
Please have your product model (VP-621) and purchase details ready when contacting support.


