1. Einleitung
The Canyon DVR40 is a dash camera designed to record driving footage. It features a Sony Starvis 415 sensor for 4K video recording, a 140° wide field of view, and a 3-inch IPS capacitive touchscreen. The device includes a supercapacitor for reliable operation and supports Wi-Fi connectivity for control via a mobile application.

Bild 1.1: Vorderseite view of the Canyon DVR40 Dash Camera, showing the lens and branding.
2. Packungsinhalt
Verify that all items listed below are present in the product packaging.

Image 2.1: All items included in the Canyon DVR40 Dash Camera package.
- Canyon DVR40 Dash Camera
- Kurzanleitung
- Garantiekarte
- Accessories for Cable Installation
- Kartenleser
- Magnetic suction cup holder with a USB Type-C connector
- Car power adapter (2 output connectors USB Type-A)
- Cable USB Type-C (cable length 3.6 m)
- CPL-Filter
- Cloth for screen cleaning
- Textilhülle
3. Produktüberschreitungview
Familiarize yourself with the main components of the DVR40 dash camera.

Image 3.1: The Canyon DVR40 Dash Camera, highlighting its compact design.
Hauptmerkmale:
- 4K UltraHD-Aufnahme: Captures video at 30 frames per second for clear footage.
- Sony Starvis 415 Sensor: Enhances low-light performance with night vision mode.
- 140° Sichtfeld View: Provides wide coverage of the road.
- 3-Zoll-IPS-kapazitiver Touchscreen: For direct control and playback.
- Superkondensator: Offers improved durability and temperature resistance compared to traditional batteries.
- Magnethalterung: Facilitates easy installation and removal with integrated power supply.
- Wi-Fi-Konnektivität: Allows control and footage management via the Canyon Eye mobile application.
- G-Sensor: Erkennt automatisch Stöße und sperrt die Videoaufnahme. fileum ein Überschreiben zu verhindern.
4. Einrichtung
4.1 Montage der Dashcam
The DVR40 uses a magnetic mount for secure attachment to your vehicle's windshield.
- Reinigen Sie die Stelle an Ihrer Windschutzscheibe, an der Sie die Kamera anbringen möchten.
- Attach the magnetic suction cup holder to the windshield. Ensure it is positioned to provide an unobstructed view der Straße.
- Connect the USB Type-C power cable to the magnetic mount.
- Align the dash camera with the magnetic mount. The camera will snap into place, establishing the power connection.

Image 4.1: The magnetic mount with integrated power supply for easy installation.
4.2 Stromanschluss
Use the provided car power adapter and USB Type-C cable to power the dash camera.
- Plug the car power adapter into your vehicle's 12V power outlet (cigarette lighter socket).
- Connect the USB Type-C cable from the car power adapter to the magnetic mount.
- Sobald die Zündung des Fahrzeugs eingeschaltet wird, schaltet sich die Dashcam automatisch ein und beginnt mit der Aufnahme.
4.3 Initial Setup and MicroSD Card
Before first use, insert a compatible MicroSD card (not included) and format it.
- Insert a high-speed MicroSD card (Class 10 or higher, up to 128GB recommended) into the designated slot on the dash camera.
- Schalten Sie die Kamera ein.
- Access the camera's settings via the touchscreen or the mobile app.
- Locate the "Format SD Card" option and confirm to format the card. This prepares the card for recording and ensures optimal performance.
5. Bedienungsanleitung
5.1 Grundlegende Aufnahmefunktionen
The DVR40 automatically begins loop recording when powered on.
- Loop-Aufnahme: The camera records video in segments (e.g., 1, 3, or 5 minutes). When the MicroSD card is full, the oldest unprotected files werden überschrieben.
- Manuelle Aufnahme: Press the record button on the camera (if available) or use the mobile app to manually start/stop recording.
- Videoqualität: The camera records in 4K UltraHD at 30 frames per second.

Image 5.1: Visual representation of the DVR40's high-quality video capabilities.
5.2 G-Sensor for Accident Recording
Der eingebaute G-Sensor erkennt plötzliche Stöße oder schnelle Beschleunigungen/Verzögerungen.
- When an event is detected, the current video segment is automatically locked and saved to a protected folder on the MicroSD card.
- These protected files werden bei der Loop-Aufnahme nicht überschrieben.
- Adjust the G-Sensor sensitivity in the camera settings if needed.

Image 5.2: Illustration of the G-Sensor's function in accident recording.
5.3 Touchscreen-Display
The 3-inch IPS capacitive touchscreen allows for direct interaction with the camera.
- Navigieren Sie durch Menüs, passen Sie Einstellungen an und...view aufgenommenes footage direkt am Gerät.
- The IPS display offers wide viewing angles and clear visibility.

Image 5.3: The touch screen display in use on the DVR40.
5.4 Wi-Fi and Mobile Application Control
Connect the DVR40 to your smartphone via Wi-Fi using the Canyon Eye mobile application.
- Download the "Canyon Eye" application from your smartphone's app store.
- Enable Wi-Fi on the DVR40 through its settings menu.
- On your smartphone, connect to the DVR40's Wi-Fi network (SSID and password will be displayed on the camera screen).
- Open the Canyon Eye app. You can now view lebe footage, access recorded videos, change settings, and download files direkt auf Ihr Telefon.
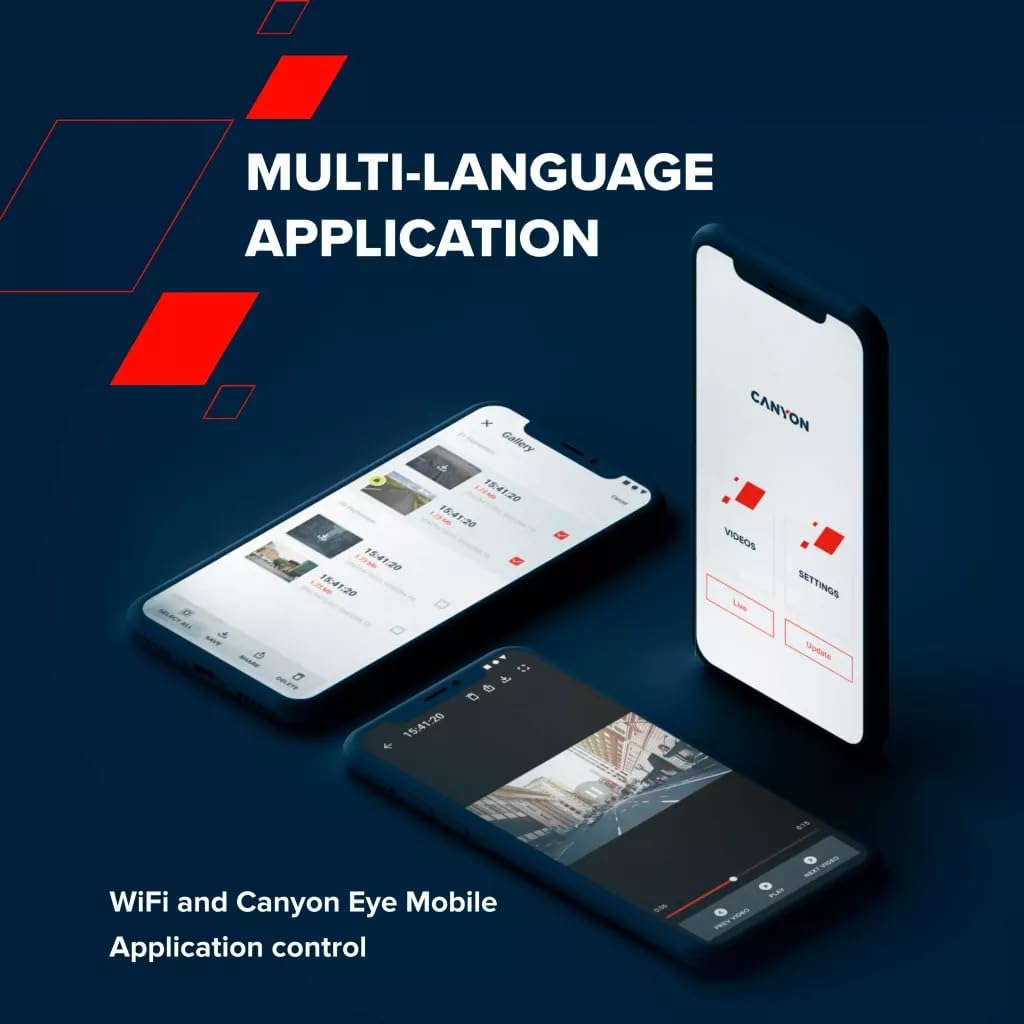
Image 5.4: The Canyon Eye mobile application interface for remote control and file Management.
6. Wartung
6.1 Supercapacitor
The DVR40 is equipped with a supercapacitor instead of a traditional lithium-ion battery.
- Supercapacitors offer enhanced durability and a wider operating temperature range (-30°C to 80°C).
- They are less prone to overheating and have a longer lifespan, making them suitable for automotive environments.
- The supercapacitor provides enough power to safely save the last recording when external power is disconnected.

Image 6.1: The DVR40's supercapacitor ensures reliable operation across a wide temperature range.
6.2 Reinigung und Lagerung
- Use the provided cleaning cloth to gently wipe the screen and lens. Avoid abrasive materials or chemical cleaners.
- Ensure the camera is clean and dry before storing it.
- When not in use for extended periods, store the camera in a cool, dry place, away from direct sunlight.
7. Fehlerbehebung
In der folgenden Tabelle finden Sie häufig auftretende Probleme und deren Lösungen.
| Problem | Mögliche Ursache | Lösung |
|---|---|---|
| Die Kamera lässt sich nicht einschalten. | Keine Stromversorgung; defektes Kabel/Netzteil. | Check car power adapter connection. Ensure vehicle ignition is on. Try a different USB port or adapter if available. |
| Die Aufnahme wird unerwartet abgebrochen. | MicroSD card full or corrupted; low-speed MicroSD card. | Format the MicroSD card. Replace with a high-speed (Class 10 or U3) MicroSD card. |
| Video footage ist verschwommen oder undeutlich. | Protective film on lens; dirty lens; windshield obstruction. | Remove any protective film. Clean the camera lens and windshield. Ensure the camera is securely mounted. |
| Probleme mit der WLAN-Verbindung. | Falsches WLAN-Passwort; Kamera-WLAN nicht aktiviert; App-Probleme. | Ensure Wi-Fi is enabled on the camera. Verify the Wi-Fi password. Restart both the camera and smartphone. Reinstall the Canyon Eye app. |
| Der G-Sensor ist zu empfindlich/nicht empfindlich genug. | Einstellung der G-Sensor-Empfindlichkeit. | Adjust the G-Sensor sensitivity level in the camera settings. |
8. Spezifikationen
Detailed technical specifications for the Canyon DVR40 Dash Camera.
| Besonderheit | Spezifikation |
|---|---|
| Marke | SCHLUCHT |
| Modellname | DVR40 |
| Modellnummer | CND-DVR40 |
| Farbe | Schwarz |
| Auflösung der Videoaufzeichnung | 2160p (4K UltraHD) |
| Bilder pro Sekunde | 30 fps (at 4K) |
| Optische Sensorik | CMOS (Sony Starvis 415) |
| Fotosensorgröße | 1/2.86'' |
| Fachgebiet View | 140° |
| Besondere Merkmale | Integrated Supercapacitor, Touch Screen, Night Vision Mode, Wi-Fi, G-Sensor |
| Anzeige | 3-inch IPS Capacitive Touchscreen |
| Montagetyp | Magnethalterung |
| Stromquelle | Car power adapter (USB Type-C) |
| Betriebstemperaturbereich | -30 °C bis 80 °C (bedingt durch den Superkondensator) |
| Im Lieferumfang enthaltene Komponenten | Dash Camera, Magnetic Mount, Car Power Adapter, USB-C Cable, Card Reader, CPL Filter, Cleaning Cloth, Textile Case, Quick Start Guide, Warranty Card, Cable Installation Accessories |
| Batterien im Lieferumfang enthalten | Nein (nutzt Superkondensator) |
9. Sicherheitshinweise
- Do not operate the camera or adjust settings while driving. Always pull over to a safe location.
- Ensure the camera is securely mounted and does not obstruct your view der Straße.
- Use only the provided power adapter and cables to prevent damage to the device.
- Do not expose the camera to extreme moisture or liquids.
- Avoid disassembling the device. Refer to qualified service personnel for repairs.
- Bewahren Sie Kamera und Zubehör außerhalb der Reichweite von Kindern auf.
10. Garantie und Support
For warranty information and technical support, please refer to the warranty card included in your package or visit the official Canyon webWebsite.
Online-Hilfe: https://canyon.eu/support/


