Einführung
Thank you for choosing the Milex 2 Burner Gas Braai. This manual provides essential information for the safe assembly, operation, and maintenance of your new gas braai. Please read these instructions thoroughly before use and retain them for future reference.
The Milex 2 Burner Gas Braai features powerful burners for precise heat control, a sleek design, and high-quality materials for durability. It includes convenient features such as a warming rack, automatic ignition, and a gas bottle hook.
Wichtige Sicherheitsinformationen
- Nur für den Außenbereich: This appliance is designed for outdoor use only. Do not operate indoors.
- Belüftung: Ensure adequate ventilation. Do not operate in an enclosed area.
- Gaszylinder: Store gas cylinders in a well-ventilated area, away from heat sources.
- Brennbare Materialien: Keep flammable materials, liquids, or aerosols away from the appliance.
- Dichtheitsprüfung: Always perform a leak test on all gas connections before first use and after any gas cylinder change.
- Kinder und Haustiere: Halten Sie Kinder und Haustiere von dem heißen Gerät fern.
- Aufsicht: Lassen Sie das Gerät während des Betriebs niemals unbeaufsichtigt.
- Anweisungen lesen: Always read and follow all instructions in this booklet before operating the appliance.
Einrichtung und Montage
Carefully unpack all components and ensure all parts are present before beginning assembly. Refer to the included assembly diagram for detailed steps.
- Assemble the Main Body: Follow the instructions to connect the base and main grill housing.
- Seitliche Regale anbringen: Secure the side shelves to the main body using the provided hardware. These shelves offer convenient space for utensils and platters.
- Räder montieren: Attach the wheels to the designated locations on the base for easy mobility.
- Place Cooking Grills and Warming Rack: Position the black matte enamel cast iron cooking grill and the iron wire warming rack inside the braai.
- Connect Gas Regulator and Hose: The braai comes with a ZA regulator and 60cm PVC hose. Connect the hose to the braai's gas inlet and the regulator to your gas bottle. Ensure all connections are tight.
- Dichtigkeitsprüfung durchführen: Before first use, apply a soapy water solution to all gas connections. Bubbles indicate a leak. Tighten connections or replace parts as necessary. Do not use the braai if a leak is detected.
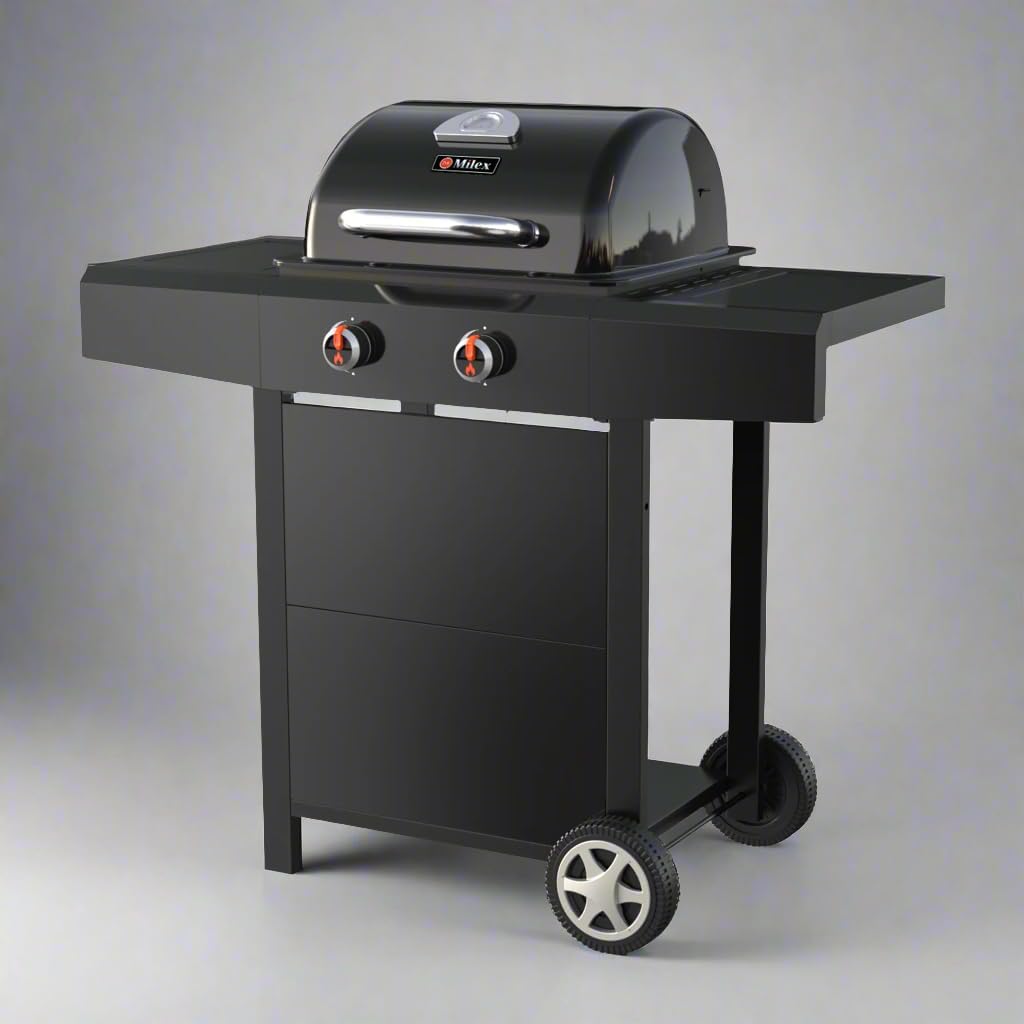
Abbildung 1: Vorderseite view of the Milex 2 Burner Gas Braai, illustrating its compact design and side shelves.
Bedienungsanleitung
Anzünden der Brenner:
- Deckel öffnen: Always open the braai lid before lighting.
- Turn on Gas Supply: Stellen Sie sicher, dass das Ventil der Gasflasche vollständig geöffnet ist.
- Ignite First Burner: Push and turn the control knob for the left burner to the "HIGH" position. Immediately push and hold the ignitor button for 3-5 seconds. You should hear a click and see the burner ignite.
- Ignite Second Burner: Once the left burner is lit, turn its control knob to "HIGH". The right burner will automatically ignite from the flame of the left burner.
- Hitze anpassen: Once both burners are lit, adjust the control knobs to your desired heat level (LOW to HIGH).
- Troubleshooting Ignition: If a burner does not light within 5 seconds, turn off the gas supply, wait 5 minutes, and repeat the lighting procedure. If ignition issues persist, refer to the Troubleshooting section.
Cooking with Your Braai:
- Vorwärmen: Close the lid and allow the braai to preheat for 10-15 minutes on medium heat before placing food on the grill.
- Temperaturkontrolle: Use the control knobs to adjust the flame intensity for different cooking requirements. The integrated thermometer in the hood allows for accurate temperature monitoring.
- Warmhalterost: Utilize the warming rack to keep cooked food warm or to gently toast buns.
- Gleichmäßiges Kochen: The black matte enamel cast iron cooking grill ensures even heat distribution for consistent results.

Figure 2: The Milex 2 Burner Gas Braai in use, demonstrating the cooking surface and side shelves.
Produkt überview Video
Dieses Video bietet einen visuellen Überblick überview of the Milex 2 Burner Gas Braai, showcasing its design, features, and ease of use, including the push-button ignition and cooking capabilities.
Wartung und Pflege
- Grillroste reinigen: After each use, once the braai has cooled, clean the black matte enamel cast iron cooking grill. The product care instructions specify "Hand Wash Only" for these components. Use a grill brush to remove food residue.
- Außenreinigung: Wipe down the steel hood and front panel with a damp Tuch und mildem Reinigungsmittel. Vermeiden Sie Scheuermittel, die die Oberfläche beschädigen könnten.
- Brennerwartung: Periodically check burner ports for blockages (e.g., from food debris or insects). Clean with a wire brush if necessary.
- Lagerung: When not in use for extended periods, store the braai in a dry, protected area. Disconnect the gas bottle.
Fehlerbehebung
| Problem | Mögliche Ursache | Lösung |
|---|---|---|
| Brenner zündet nicht | Gas bottle empty or valve closed; Ignitor not sparking; Blocked burner ports. | Check gas level and open valve; Check ignitor battery (if applicable) or connection; Clean burner ports. |
| Ungleichmäßige Erwärmung | Blocked burner ports; Incorrect gas pressure. | Clean burner ports; Ensure regulator is correctly attached and gas flow is adequate. |
| Gas leak detected (soapy water test) | Loose connections; Damaged hose or regulator. | Tighten all gas connections; Replace damaged hose or regulator immediately. Do not use the braai until the leak is fixed. |
Produktspezifikationen
- Marke: Milex
- Modell: 2 Burner Gas Braai
- Farbe: Schwarz
- Material: Stainless Steel (Burner, Thermometer, Handle), Steel (Hood & Front Panel), Cast Iron (Cooking Grill), Iron Wire (Warming Rack)
- Paketabmessungen: 79 x 58 x 44 cm
- Artikelgewicht: 13 kg
- Brenner: 2, #409 Stainless Steel
- Zündung: Automatische Zündung
- Enthaltene Komponenten: Gas Braai, ZA Regulator, 60cm PVC Hose
- Empfohlene Verwendung: Outdoor Home Use
Garantie und Support
For warranty information or technical support, please contact Milex customer service. Spare part information is not available or provided directly in this manual. Please refer to the official Milex website or your retailer for further assistance.
You can visit the official Milex store for more products and information: Milex Store on Amazon.co.za


