1. Produktüberschreitungview
The BESTHERM ILLO CONNECT 2000W is a Wi-Fi connected ceramic dry inertia electric radiator designed for efficient and homogeneous heating of indoor spaces. It features a ceramic heating core that provides lasting warmth even after the unit is switched off. This radiator offers smart control options via mobile applications and includes various energy-saving modes.
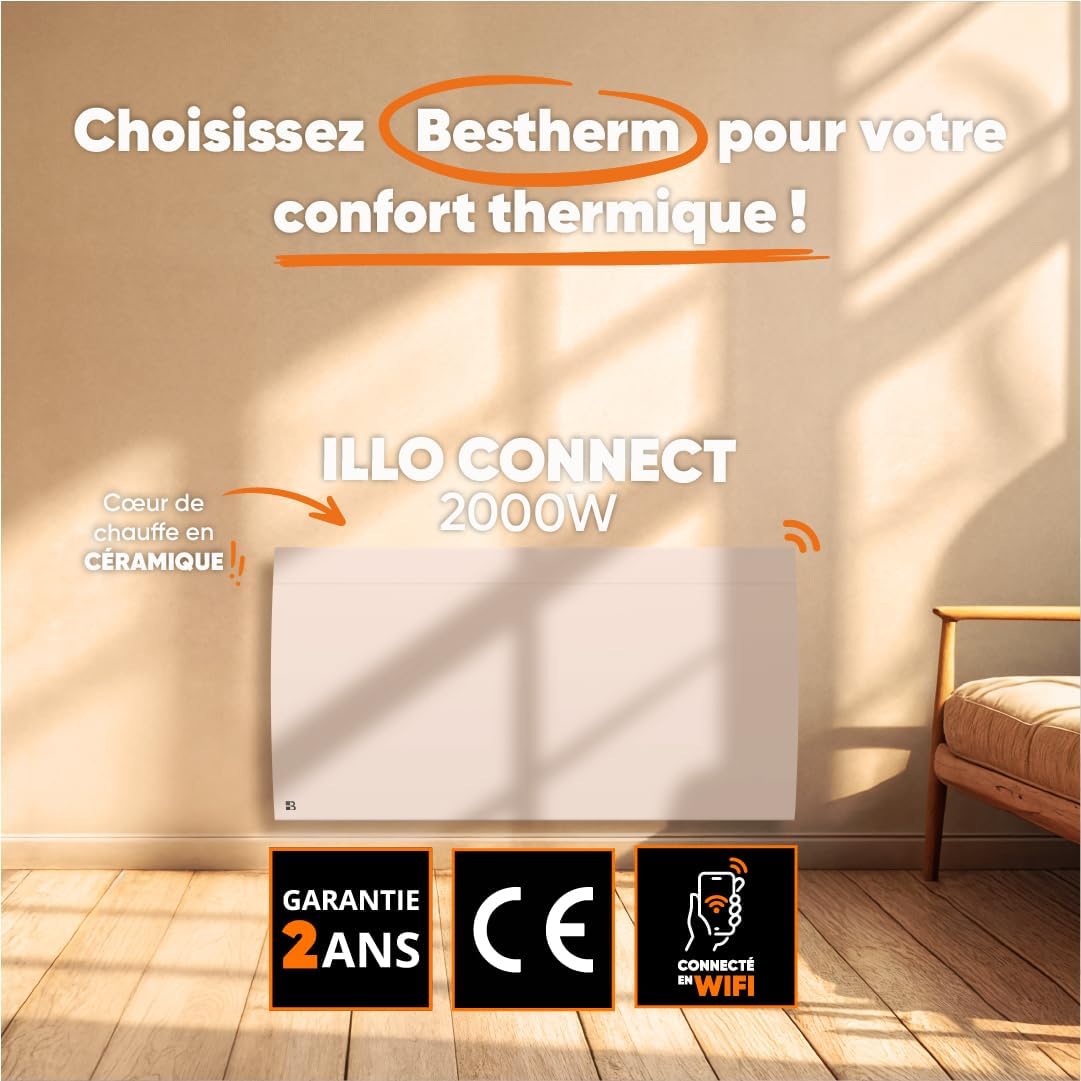
Bild 1.1: Vorderseite view of the BESTHERM ILLO CONNECT 2000W electric radiator.
2. Sicherheitshinweise
Bitte lesen Sie vor der Installation und Inbetriebnahme alle Sicherheitshinweise sorgfältig durch. Bewahren Sie diese Anleitung zum späteren Nachschlagen auf.
- Elektrische Sicherheit: Ensure the power supply matches the radiator's requirements. Do not operate with a damaged cord or plug. Avoid overloading electrical circuits.
- Platzierung: Install the radiator on a stable, flat surface or securely wall-mount it. Maintain adequate clearance from combustible materials (curtains, furniture). Do not cover the radiator.
- Kinder und schutzbedürftige Personen: Dieses Gerät kann von Kindern ab 8 Jahren und von Personen mit eingeschränkten physischen, sensorischen oder geistigen Fähigkeiten oder mangelnder Erfahrung und Kenntnissen verwendet werden, wenn sie beaufsichtigt werden oder Anweisungen zur sicheren Verwendung des Geräts erhalten haben und die damit verbundenen Gefahren verstehen. Kinder dürfen nicht mit dem Gerät spielen. Reinigung und Benutzerwartung dürfen nicht von Kindern ohne Aufsicht durchgeführt werden.
- Überhitzungsschutz: The radiator is equipped with an overheat protection system. If it overheats, it will automatically shut off. Unplug the unit and allow it to cool before restarting.
- Reinigung: Vor der Reinigung immer den Heizkörper vom Stromnetz trennen. Verwenden Sie ein weiches, fusselfreies Tuch.amp Mit einem Tuch abwischen. Keine Scheuermittel verwenden und das Gerät nicht in Wasser tauchen.
- Nur zur Verwendung im Innenbereich: Dieses Gerät ist nur für den Gebrauch in Innenräumen bestimmt. Nicht im Freien oder in feuchten Umgebungen verwenden.
3. Packungsinhalt
Überprüfen Sie, ob alle Komponenten im Paket vorhanden sind:
- BESTHERM ILLO CONNECT 2000W Electric Radiator
- Wall mounting kit (brackets, screws, anchors)
- Bedienungsanleitung
4. Produktmerkmale
- Ceramic Dry Inertia Heating Core: Provides homogeneous and long-lasting heat distribution.
- Wi-Fi-Konnektivität: Remote control via Tuya or Smart Life mobile applications.
- Smart Energy Savings: Customizable weekly programming, 6 Pilot Wire modes, and 4 operating modes.
- Elegantes Design: Discreet finish with an integrated LCD screen.
- Erhöhte Sicherheit: Electronic thermostat, parental lock, and overheat protection.

Image 4.1: Detail of the ceramic heating core, highlighting its efficient design.
5. Installation
The BESTHERM ILLO CONNECT 2000W radiator is designed for wall mounting. Ensure you have the appropriate tools and follow local electrical codes.
5.1. Wahl eines Standorts
- Select a wall location away from direct drafts, windows, and doors for optimal performance.
- Ensure there is sufficient clearance around the radiator (minimum 15 cm from the floor, 30 cm from the ceiling, and 20 cm from sides).
- The wall must be capable of supporting the radiator's weight (approximately 11.1 kg).
5.2. Montage des Kühlers
- Mark the desired mounting points on the wall using the provided template or by measuring the bracket positions on the back of the radiator.
- Bohren Sie an den markierten Stellen Löcher und setzen Sie die Wandanker ein.
- Befestigen Sie die Montagehalterungen mit den Schrauben an der Wand.
- Heben Sie den Heizkörper vorsichtig an und hängen Sie ihn in die montierten Wandhalterungen ein. Stellen Sie sicher, dass er fest sitzt.
- Schließen Sie den Heizkörper an eine geeignete Steckdose an.

Abbildung 5.1: Rückseite view of the radiator, showing mounting points for wall installation.

Image 5.2: Radiator dimensions (85 cm width, 45 cm height, 11 cm depth) and weight (11.1 kg).
For detailed visual instructions on installation and programming, scan the QR code below or visit the BESTHERM YouTube channel:

Image 5.3: Scan this QR code to access installation and programming videos.
Video resources: BESTHERM YouTube-Kanal
6. Einrichtung
6.1. Erstes Einschalten
After installation, plug the radiator into a grounded electrical outlet. The LCD screen will illuminate, indicating the unit is powered on. Follow the on-screen prompts for initial setup, such as setting the current time and date.
6.2. WiFi Verbindung
The ILLO CONNECT 2000W radiator can be controlled remotely via a mobile application. This requires a 2.4 GHz Wi-Fi network.
- Laden Sie die Tuya Smart or Intelligentes Leben Anwendung aus dem App Store Ihres Smartphones (verfügbar für iOS und Android).
- Registrieren Sie sich oder melden Sie sich in Ihrem Konto innerhalb der Anwendung an.
- Ensure your radiator is powered on and in pairing mode (refer to the radiator's display for specific instructions, usually indicated by a blinking Wi-Fi icon).
- In the app, tap '+' to add a new device. Select 'Heater' or 'Radiator' from the device list.
- Follow the in-app instructions to connect the radiator to your Wi-Fi network. This typically involves entering your Wi-Fi password.
- Once connected, you can control the radiator, monitor consumption, and set programming schedules from your smartphone. The radiator is also compatible with voice assistants like Amazon Alexa and Google Assistant.

Image 6.1: The radiator supports Wi-Fi connectivity via the Tuya Smart or Smart Life app, and is compatible with Alexa and Google Assistant for smart home integration.
7. Bedienungsanleitung
7.1. Systemsteuerung überview
The radiator features an integrated LCD screen and control buttons for direct operation. Refer to the specific icons and button functions detailed in the full product manual for precise control.
7.2. Betriebsarten
The radiator offers 4 distinct operating modes to suit various heating needs:
- Komfortmodus: Maintains a set comfortable temperature.
- Energiesparmodus: Reduces the temperature by a few degrees compared to Comfort Mode for energy savings.
- Frostschutzmodus: Hält eine Mindesttemperatur (z. B. 7 °C) aufrecht, um ein Einfrieren zu verhindern.
- Programmmodus: Folgt einem voreingestellten wöchentlichen Heizplan.
7.3. Wöchentliches Programm
Customize your heating schedule for each day of the week to optimize energy consumption. This can be done directly on the radiator's control panel or more conveniently through the Tuya/Smart Life mobile application.
7.4. Pilot Wire Modes (6 Modes)
For installations with a pilot wire system, the radiator supports 6 different pilot wire commands, allowing integration into a centralized heating management system. Consult a qualified electrician for pilot wire connection and configuration.
7.5. Kindersicherung
To prevent accidental changes to settings, activate the child lock feature. This will disable the physical control buttons on the radiator. The child lock can typically be activated and deactivated by pressing and holding a specific button combination on the control panel, or via the mobile app.
8. Wartung
8.1. Reinigung
Regular cleaning helps maintain the radiator's efficiency and appearance.
- Before cleaning, always unplug the radiator from the power outlet and allow it to cool completely.
- Wischen Sie die Außenflächen mit einem weichen, damp Mit einem Tuch abwischen. Verwenden Sie keine Scheuermittel, Lösungsmittel oder aggressive Chemikalien, da diese die Oberfläche beschädigen können.
- Es ist sicherzustellen, dass kein Wasser in die internen Bauteile eindringt.
- Dust the air vents regularly to ensure proper airflow.
8.2. Speicherung
Wenn Sie den Heizkörper längere Zeit lagern, achten Sie darauf, dass er sauber und trocken ist. Bewahren Sie ihn an einem kühlen, trockenen Ort auf, am besten in der Originalverpackung, um ihn vor Staub und Beschädigungen zu schützen.
9. Fehlerbehebung
Sollten Sie Probleme mit Ihrem Heizkörper haben, beachten Sie bitte die folgenden häufigen Probleme und Lösungen:
| Problem | Mögliche Ursache | Lösung |
|---|---|---|
| Der Heizkörper schaltet sich nicht ein. | Kein Strom, Netzkabel lose, Überhitzungsschutz aktiviert. | Check power outlet, ensure cord is securely plugged in. Unplug and allow to cool for 30 minutes if overheat protection is suspected. |
| Keine Heizleistung. | Temperature setting too low, operating mode incorrect, child lock active. | Increase target temperature. Select an appropriate operating mode (e.g., Comfort). Deactivate child lock. |
| Die WLAN-Verbindung schlägt fehl. | Incorrect Wi-Fi password, router too far, 5 GHz network used, radiator not in pairing mode. | Verify Wi-Fi password. Move radiator closer to router. Ensure router is broadcasting 2.4 GHz. Put radiator into pairing mode. |
| Der Heizkörper macht ungewöhnliche Geräusche. | Normal expansion/contraction, loose mounting. | Minor clicking is normal during heating/cooling. Check mounting screws for tightness. If noise persists or is loud, contact support. |
If the problem persists after attempting these solutions, please contact BESTHERM customer support.
10. Spezifikationen
| Besonderheit | Spezifikation |
|---|---|
| Marke | Bestherm |
| Modell | ILLO CONNECT 2000W |
| Leistungsabgabe | 2000 W |
| Heizmethode | Convection, Ceramic Dry Inertia |
| Farbe | Weiß |
| Besonderheit | Child Lock, Wi-Fi Connectivity |
| Innen-/Außenbereich | Innenbereich |
| Stromquelle | Stromkabel |
| Produktabmessungen (T x B x H) | 11 cm x 85 cm x 45 cm |
| Produktgewicht | 11.1 kg |
| Montagetyp | Wandhalterung |
| Empfohlene Raumgröße | 15 bis 20 m² |
11. Garantie und Support
11.1. Gewährleistung
The BESTHERM ILLO CONNECT 2000W radiator comes with a 2 Jahr Garantie from the date of purchase, covering manufacturing defects under normal use conditions. Please retain your proof of purchase for warranty claims.
11.2. Kundendienst
Our after-sales service is based in France, providing fast and efficient support to ensure your satisfaction.

Image 11.1: BESTHERM After-Sales Service contact information.
- Online-FAQ: Besuchen Sie unsere webWebseite mit häufig gestellten Fragen: www.bestherm.fr/pages/faq
- Telefonischer Support: 03 20 47 05 37
- E-Mail-Support: sav@hom-y.fr