1. Einleitung
This manual provides essential information for setting up, operating, and maintaining your GenMachine Mini PC AMD Ryzen 7 7735HS. Please read this manual thoroughly before using the device to ensure proper functionality and safety.
2. Sicherheitshinweise
Beachten Sie die folgenden Sicherheitsrichtlinien, um Schäden am Gerät oder Verletzungen zu vermeiden:
- Das Gerät darf weder Wasser, Feuchtigkeit noch extremen Temperaturen ausgesetzt werden.
- Sorgen Sie für ausreichende Belüftung, um eine Überhitzung zu vermeiden. Blockieren Sie die Belüftungsöffnungen nicht.
- Verwenden Sie nur das mitgelieferte Netzteil.
- Lassen Sie das Gerät nicht fallen und setzen Sie es keinen starken Stößen aus.
- Versuchen Sie nicht, das Gerät selbst zu öffnen oder zu reparieren. Überlassen Sie alle Wartungsarbeiten qualifiziertem Fachpersonal.
3. Packungsinhalt
Überprüfen Sie, ob alle Artikel im Paket vorhanden sind:
- GenMachine Mini PC
- Bedienungsanleitung
- Netzteil
- HDMI-Kabel
- Montagehalterung (mit Schrauben)

Abbildung: Packungsinhalt. This image displays the items included in the GenMachine Mini PC box: the Mini PC unit, user manual, power adapter, HDMI cable, and a mounting bracket with screws.
4. Produktüberschreitungview
The GenMachine Mini PC is a compact, high-performance computer designed for various applications, from home office tasks to multimedia consumption. Its small footprint allows for versatile placement.

Bild: Vorderseite View of GenMachine Mini PC. This image shows the front panel of the GenMachine Mini PC, featuring the power button, USB-C port, audio jack, and two USB 3.0 ports.
4.1 Frontplatte
- Netzschalter: Drücken, um das Gerät ein-/auszuschalten.
- USB-C-Anschluss: Zur Datenübertragung und Bildschirmausgabe.
- Audiobuchse: Für Kopfhörer oder externe Lautsprecher.
- USB 3.0-Anschlüsse (x2): Zum Anschluss von Peripheriegeräten wie Tastaturen, Mäusen oder externen Speichermedien.
4.2 Rückseite

Bild: Rückseite View of GenMachine Mini PC. This image illustrates the rear panel of the Mini PC, highlighting the power input, HDMI ports, Ethernet ports, and additional USB ports.
- Stromeingang (DC IN): Schließen Sie hier das Netzteil an.
- HDMI-Anschlüsse (x2): Connect to monitors or TVs for video output. Supports 4K resolution.
- Ethernet-Anschlüsse (x2): For wired network connections (Dual 2.5G).
- USB 2.0-Anschlüsse (x2): Zum Anschluss verschiedener USB-Geräte.
4.3 Konstruktion und Abmessungen

Image: GenMachine Mini PC Size Comparison. This image compares the compact size of the GenMachine Mini PC to a traditional tower chassis, illustrating its space-saving design. Dimensions are shown as 126mm x 130mm x 40mm.
The GenMachine Mini PC features an ultra-durable, lightweight metal casing. Its compact design (approximately 126 x 130 x 40 mm) makes it significantly smaller than traditional desktop computers, ideal for any work environment.
5. Einrichtung
5.1 Anschließen von Peripheriegeräten
- Connect your monitor(s) to the HDMI ports or the USB-C port using appropriate cables.
- Schließen Sie Ihre USB-Tastatur und -Maus an die verfügbaren USB-Anschlüsse an.
- If using wired internet, connect an Ethernet cable to one of the Ethernet ports.
- Connect the power adapter to the DC IN port on the Mini PC, then plug it into a power outlet.
5.2 Einschalten
Press the power button on the front panel of the Mini PC. The power indicator light will illuminate, and the system will begin to boot.
5.3 Erste Einrichtung des Betriebssystems
Upon first boot, you will be guided through the operating system setup process (e.g., Windows 11). Follow the on-screen instructions to configure language, region, network, and user accounts.
6. Bedienungsanleitung
6.1 Netzwerkverbindungen
- W-lan: During initial setup or via the operating system's network settings, select your Wi-Fi network and enter the password. The Mini PC supports Wi-Fi 6 for faster and more stable wireless connections.
- Ethernet: If an Ethernet cable is connected, the system should automatically detect and connect to the wired network. The Mini PC features dual 2.5G network ports for enhanced connectivity.
6.2 Bluetooth-Geräte
The Mini PC supports Bluetooth 5.2. To pair a Bluetooth device (e.g., headphones, keyboard, mouse):
- Enable Bluetooth on your device and set it to pairing mode.
- On the Mini PC, go to the operating system's Bluetooth settings.
- Suchen nach and select your device from the list, then follow any on-screen prompts to complete pairing.
6.3 Multi-Display-Setup
The GenMachine Mini PC supports up to four displays simultaneously, utilizing its two HDMI ports and one full-function USB-C port (which supports 4K display output).
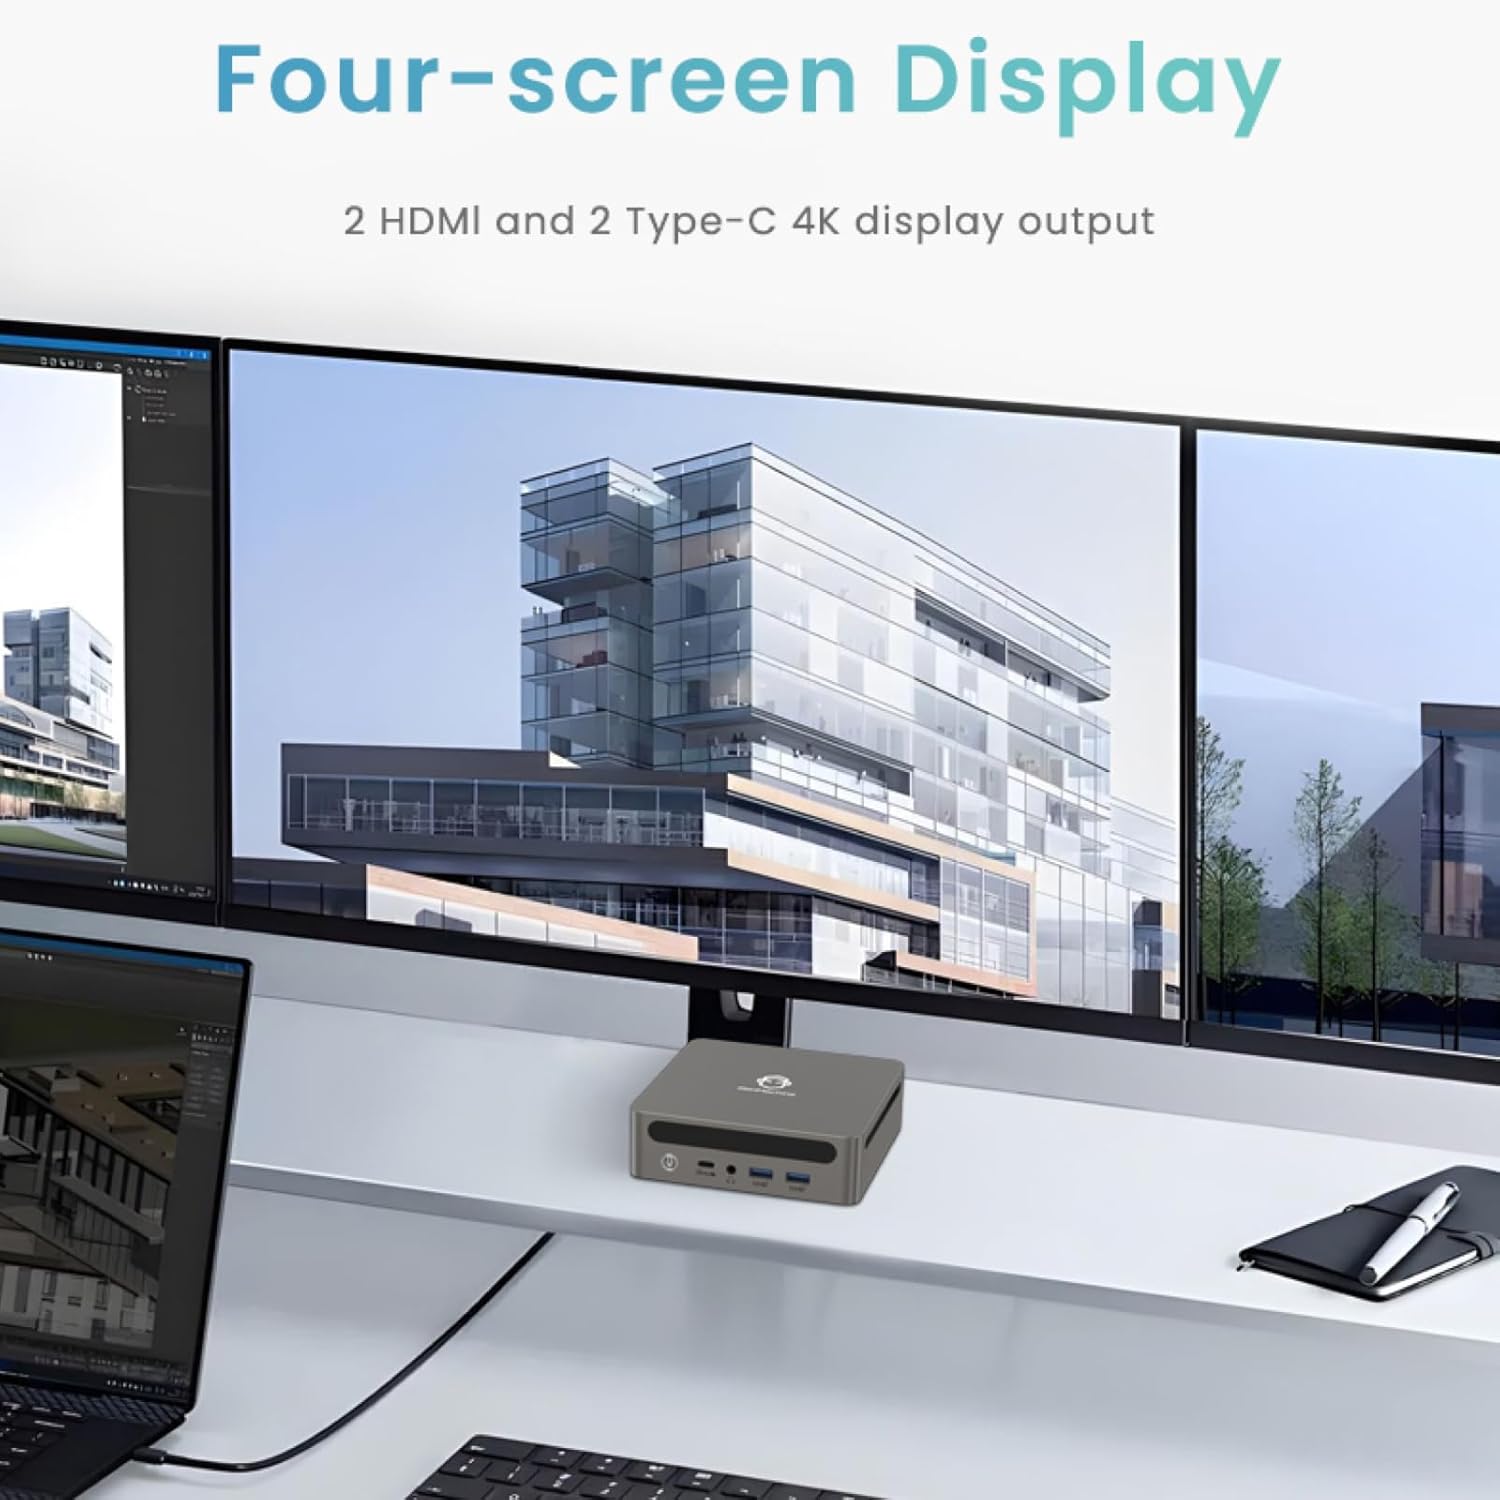
Image: Four-Screen Display Setup. This image demonstrates the GenMachine Mini PC connected to four monitors, showcasing its multi-display capabilities for enhanced productivity.
To configure multiple displays, connect your monitors and then adjust display settings within your operating system (e.g., Extend, Duplicate, or Second screen only).
7. Wartung
7.1 Reinigung
Regularly clean the exterior of the Mini PC with a soft, dry cloth. For stubborn dirt, slightly dampen the cloth with water. Do not use harsh chemicals or abrasive cleaners. Ensure ventilation openings are free of dust buildup.
7.2 Softwareaktualisierungen
Halten Sie Ihr Betriebssystem und Ihre Treiber auf dem neuesten Stand, um optimale Leistung und Sicherheit zu gewährleisten. Prüfen Sie regelmäßig über die Einstellungen Ihres Betriebssystems, ob Updates verfügbar sind.
7.3 Speicherung
Bei längerer Nichtbenutzung sollte der Mini-PC an einem kühlen, trockenen Ort, fern von direkter Sonneneinstrahlung und extremen Temperaturen aufbewahrt werden.
8. Fehlerbehebung
| Problem | Mögliche Ursache | Lösung |
|---|---|---|
| Kein Strom | Netzteil nicht angeschlossen; Steckdose defekt. | Stellen Sie sicher, dass das Netzteil fest mit dem Mini-PC und einer funktionierenden Steckdose verbunden ist. Versuchen Sie es mit einer anderen Steckdose. |
| Kein Bild auf dem Monitor | Monitor nicht angeschlossen; falsche Eingangsquelle am Monitor ausgewählt; Kabel defekt. | Überprüfen Sie die HDMI-/USB-C-Kabelverbindungen. Stellen Sie sicher, dass der Monitor auf die richtige Eingangsquelle eingestellt ist. Versuchen Sie es mit einem anderen Kabel oder Monitor. |
| WLAN verbindet sich nicht | Incorrect password; router issue; Wi-Fi adapter driver issue. | Verify Wi-Fi password. Restart your router. Check operating system settings for Wi-Fi adapter status and drivers. |
| Das System ist langsam oder reagiert nicht. | Zu viele Anwendungen laufen gleichzeitig; nicht genügend freier Speicherplatz; veraltete Treiber. | Close unnecessary applications. Free up disk space. Update operating system and drivers. Restart the Mini PC. |
9. Spezifikationen
The following table details the technical specifications of the GenMachine Mini PC AMD Ryzen 7 7735HS:
| Besonderheit | Detail |
|---|---|
| Prozessor | AMD Ryzen 7 7735HS (3.2 GHz, 8 Cores, 16 Threads, up to 4.75 GHz Max Boost Clock) |
| Grafik | AMD Radeon Graphics (Integrated, 680 MB RAM) |
| RAM | 32GB LPDDR5 (up to 6400 Mb/s) |
| Lagerung | 512GB 2280 SSD (PCIE x 16 interface) |
| Betriebssystem | OS (Windows 11 typically pre-installed) |
| Videoausgang | 2x HDMI (4K @ 60Hz), 1x USB-C (4K display output), supports up to 3 displays |
| USB-Anschlüsse | 2x USB 3.0, 2x USB 2.0, 1x USB-C (full-function USB 4.0 port) |
| Vernetzung | Wi-Fi 6, Bluetooth 5.2, Dual 2.5G Ethernet |
| Audio | Audio-Buchse |
| Maße | 6.34 x 6.3 x 3.62 Zoll (ca. 16.1 x 16 x 9.2 cm) |
| Gewicht | 2.4 Pfund (ca. 1.09 kg) |
| Farbe | Silber |

Image: AMD Ryzen 7 7735HS Processor. This image highlights the specifications of the AMD Ryzen 7 7735HS processor, including its 8 cores, 16 threads, and up to 4.75 GHz max boost clock.

Image: LPDDR5 Memory Performance. This image illustrates the enhanced speed of LPDDR5 RAM, showing a 50% increase in maximum DRAM bandwidth compared to LPDDR4X, reaching up to 6400 Mb/s.
10. Garantie und Support
For warranty information and technical support, please refer to the documentation included with your purchase or visit the official GenMachine webBewahren Sie Ihren Kaufbeleg für Garantieansprüche auf.
For further assistance, you may contact GenMachine customer service through their official channels.


