1. Einleitung
The Tera P150 is a robust Android 12 handheld barcode scanner PDA designed for efficient data collection in various environments such as logistics, warehouses, retail, and construction. It features a high-precision Zebra SE4710 scanning head, a powerful octa-core processor, and advanced wireless connectivity options to streamline operations.
2. Packungsinhalt
Bitte überprüfen Sie, ob alle unten aufgeführten Artikel in Ihrem Paket enthalten sind. Sollten Artikel fehlen oder beschädigt sein, kontaktieren Sie bitte unseren Kundenservice.
- 1x Tera P150 Android 12 Handheld Barcode Scanner
- 1x USB-Kabel
- 1x Displayschutzfolie
- 1x SIM Tray Auswerfer
- 1x Tragegurt
- 1x Benutzerhandbuch (dieses Dokument)
- 1x SDK (Software Development Kit)
- 1x Rugged Rubber Boot
- 1x Handschlaufe

Image: Tera P150 Android Barcode Scanner and its included accessories, such as the USB cable, screen protector, hand strap, and rugged rubber boot.
3. Produktüberschreitungview
The Tera P150 is designed for ergonomic handling and durability. It features a 5.5-inch full touch screen, a rear-mounted barcode scanner, and various ports and buttons for operation.
Schlüsselkomponenten:
- 5.5-Zoll-Display: High-resolution touch screen, responsive even with gloves or wet hands.
- Barcode-Scanner: Integrated Zebra SE4710 for 1D, 2D, and QR code scanning.
- Netzschalter: Befindet sich an der Seite zum Ein- und Ausschalten des Geräts sowie zur Bildschirmsperre.
- Lautstärketasten: Audiopegel anpassen.
- USB-C-Anschluss: Zum Aufladen und zur Datenübertragung.
- SIM-/SD-Kartensteckplatz: For cellular connectivity and expandable storage.
- Hand Strap Attachment Points: For securing the included hand strap.
4. Einrichtung
4.1 Erstaufladung
Before first use, fully charge the Tera P150. Connect the provided USB cable to the device's USB-C port and a compatible power adapter. A full charge typically takes approximately 3 hours for the 5000mAh battery.

Image: The Tera P150 Barcode Scanner displaying its battery status, indicating it is designed for all-day use with a 5000mAh battery, offering over 300 hours standby and 12 hours working time.
4.2 Einlegen der SIM-/SD-Karte
- Suchen Sie das SIM-/SD-Kartenfach an der Seite des Geräts.
- Verwenden Sie das mitgelieferte SIM-Karten-Auswurfwerkzeug, um das Fach zu öffnen.
- Carefully place your Nano-SIM card(s) and/or microSD card into the designated slots.
- Schieben Sie das Fach vorsichtig zurück in das Gerät, bis es einrastet.
4.3 Ein-/Ausschalten
- So schalten Sie das Gerät ein: Press and hold the Power button until the Tera logo appears on the screen.
- So schalten Sie das Gerät aus: Halten Sie die Ein-/Aus-Taste gedrückt, bis das Menü mit den Energieoptionen erscheint. Wählen Sie „Ausschalten“.
- Neustarten: Halten Sie die Ein-/Aus-Taste gedrückt, bis das Menü mit den Energieoptionen erscheint. Wählen Sie „Neustart“.
4.4 Erste Android-Einrichtung
Upon first power-on, follow the on-screen prompts to complete the Android 12 setup process. This includes selecting your language, connecting to a Wi-Fi network, and setting up your Google account (optional).
5. Bedienungsanleitung
5.1 Barcode-Scanning
The Tera P150 is equipped with a Zebra SE4710 scanning head for rapid and accurate barcode capture.
- Öffnen Sie die Scan-Anwendung auf Ihrem Gerät.
- Point the scanner window at the barcode you wish to scan. Ensure the red aiming line or dot covers the entire barcode.
- Press the dedicated scan button (usually on the side or front of the device).
- Ein erfolgreicher Scan wird in der Regel durch einen akustischen Signalton und/oder eine visuelle Bestätigung auf dem Bildschirm angezeigt.

Image: A worker in a warehouse environment using the Tera P150 handheld device, demonstrating the use of its integrated Zebra SE4710 scanner to read barcodes on inventory.
5.2-Zoll-Display und Touchscreen
The 5.5-inch full touch screen offers a clear display and responsive interaction. It supports operation even when wearing gloves or with wet hands, enhancing usability in various work conditions.
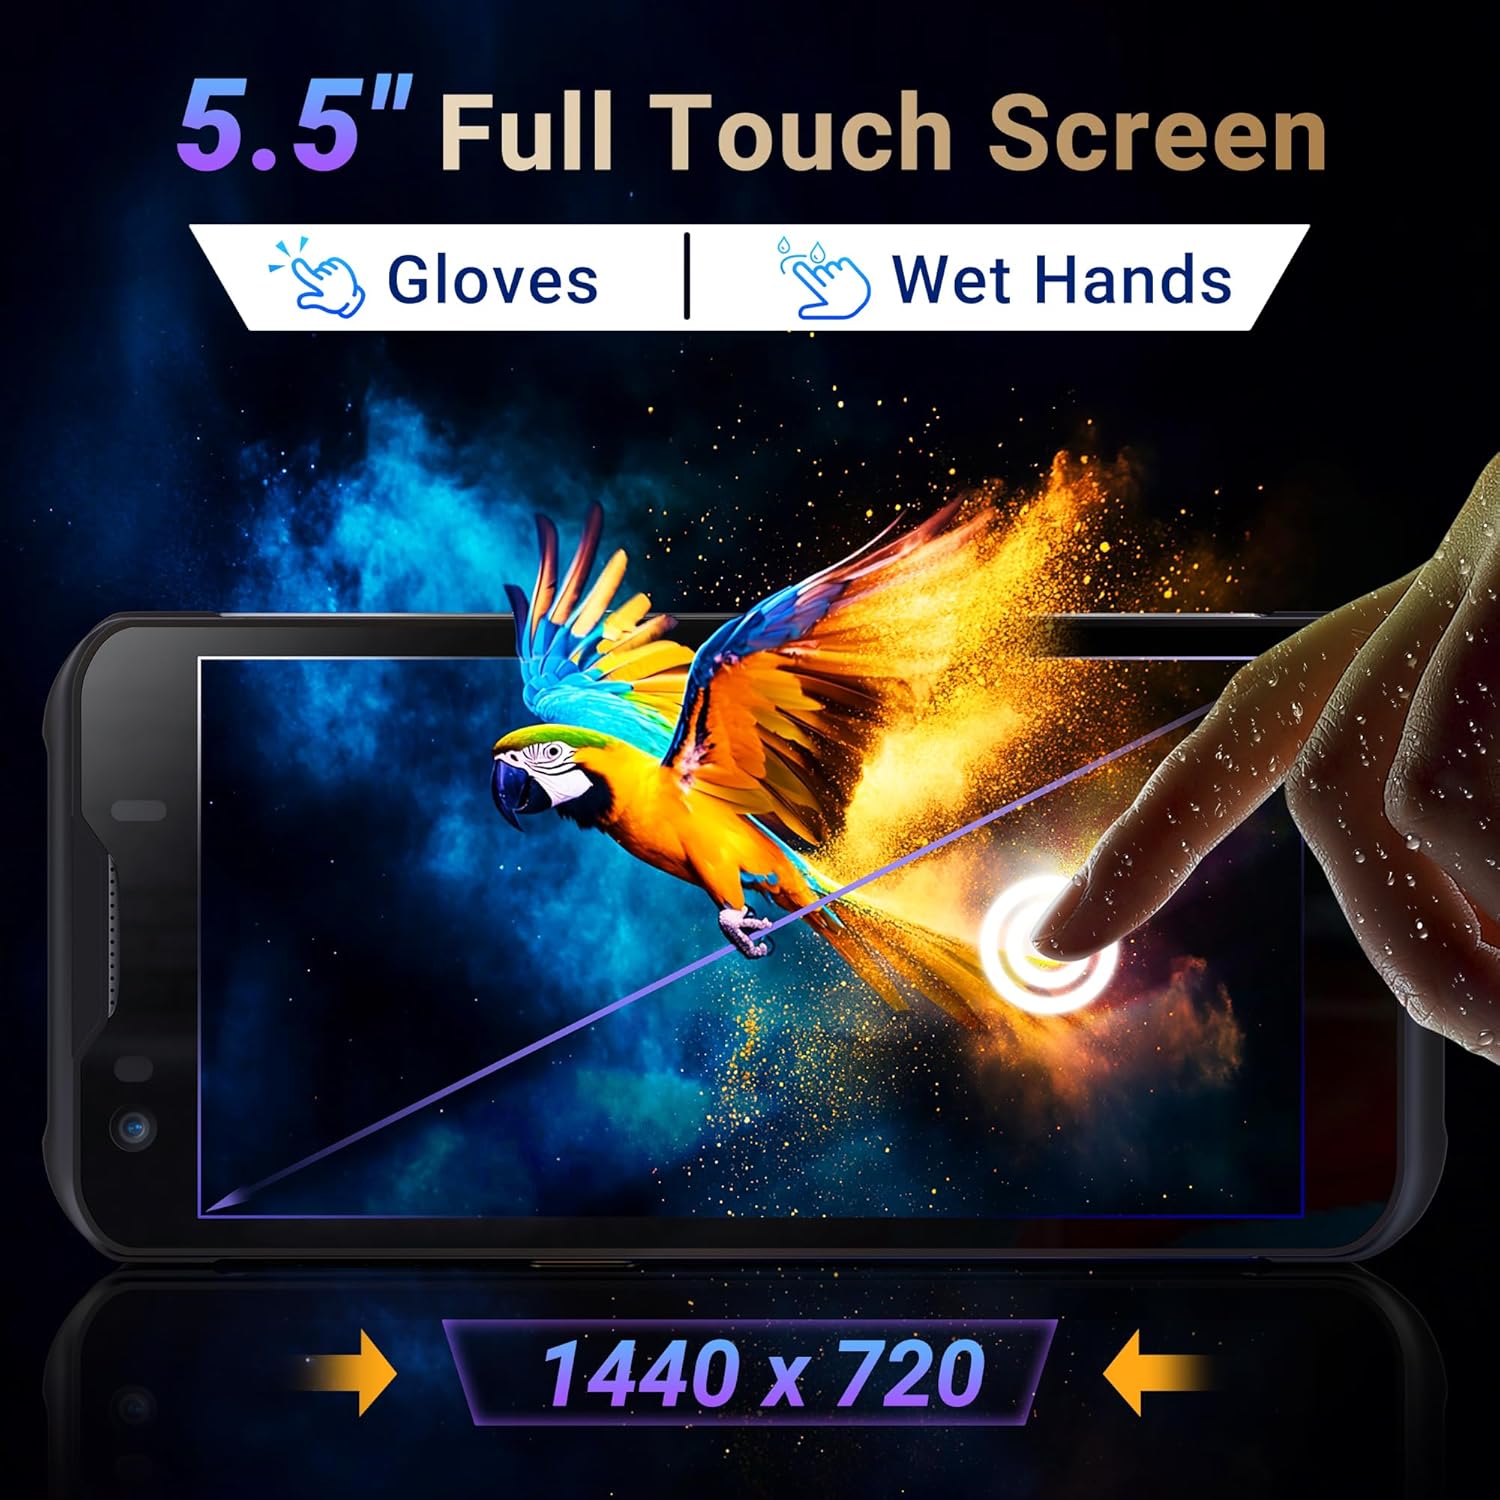
Image: The Tera P150's 5.5-inch full touch screen, highlighting its 1440x720 resolution and compatibility with both gloved and wet-hand operation.
5.3 Konnektivität
The device supports multiple connectivity options for seamless data transmission.
- W-lan: Go to Settings > Network & internet > Wi-Fi to connect to available wireless networks. Supports dual-band Wi-Fi for stable connections.
- Bluetooth 5.0: Go to Settings > Connected devices > Bluetooth to pair with Bluetooth-enabled accessories. Bluetooth 5.0 offers faster speeds and extended range.
- 4G/3G Mobilfunk: Insert a SIM card (as described in Section 4.2) to enable cellular data and communication.
- Geographisches Positionierungs System: The integrated GPS module allows for location tracking and navigation.
5.4 Leistung und Multitasking
Powered by an MTK 2.0GHz octa-core processor with 4GB RAM and 64GB storage, the Tera P150 ensures smooth operation and efficient multitasking.

Image: The Tera P150 device highlighting its MTK 2.0GHz Octa-core processor and 4GB RAM + 64GB memory, indicating superior processing and performance compared to other devices.

Image: The Tera P150 device showcasing its Android 12 operating system and 4GB RAM + 64GB storage, illustrating its capability for seamless multitasking with multiple applications open.
6. Wartung
6.1 Gerät reinigen
To maintain optimal performance and appearance, clean the device regularly.
- Mit einem weichen, fusselfreien Tuch leichtampMit Wasser oder einem milden Bildschirmreiniger abspülen.
- Vermeiden Sie die Verwendung aggressiver Chemikalien, Scheuermittel oder Lösungsmittel, da diese den Bildschirm und die Elektronik beschädigen können.asing.
- Vor der Reinigung sicherstellen, dass das Gerät ausgeschaltet und von jeglicher Stromquelle getrennt ist.
6.2 Batteriepflege
The Tera P150 features a 5000mAh battery designed for extended use. Proper battery care can prolong its lifespan.
- Vermeiden Sie extreme Temperaturen, sowohl Hitze als auch Kälte, da diese die Leistungsfähigkeit der Batterie beeinträchtigen können.
- Do not fully discharge the battery frequently. Charge it before it drops to very low levels.
- Verwenden Sie ausschließlich das mitgelieferte oder zugelassene Ladezubehör.
6.3 Merkmale der Langlebigkeit
The Tera P150 is built with industrial-grade materials, featuring IP67 waterproofing and a 1.5-meter drop rating, making it suitable for harsh working environments.
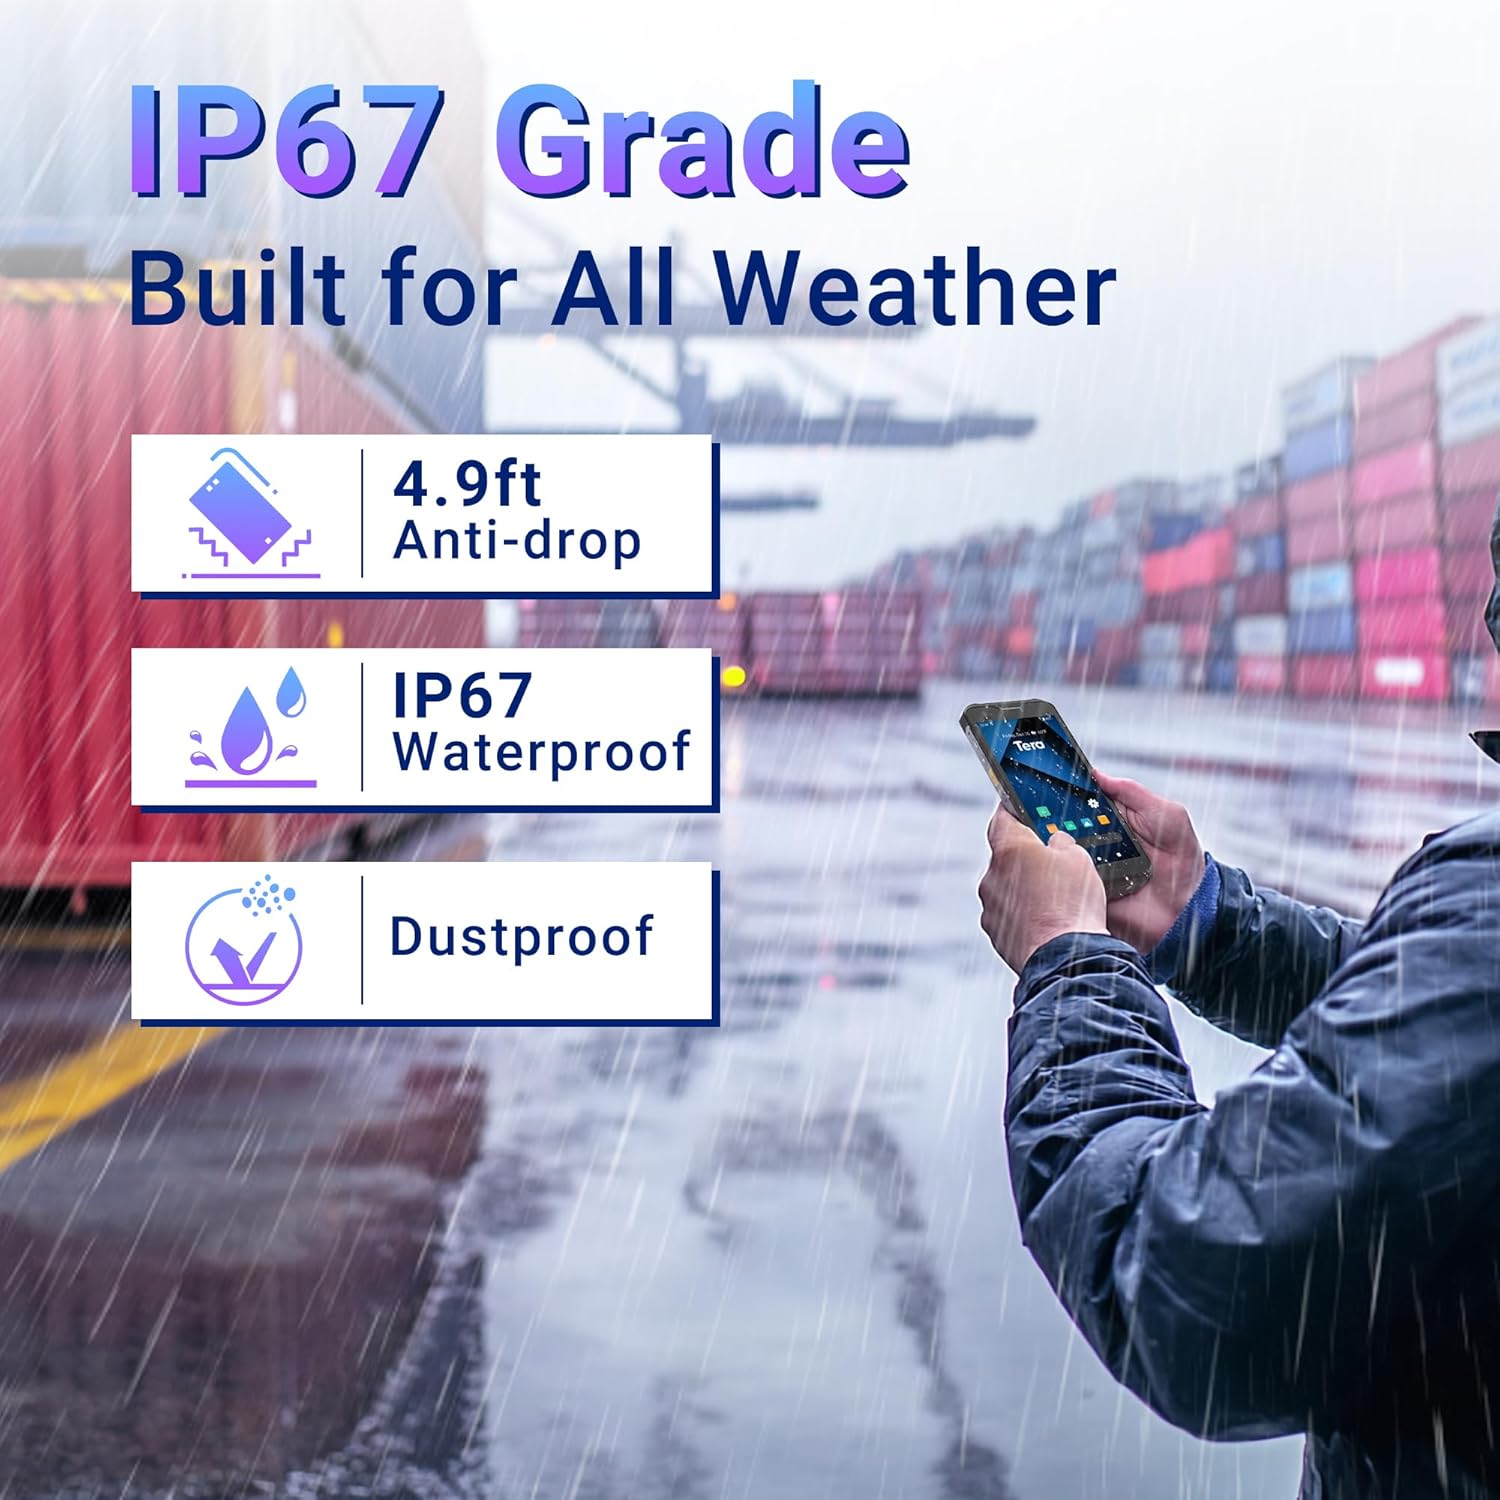
Image: The Tera P150 device highlighting its IP67 grade, 4.9ft anti-drop, IP67 waterproof, and dustproof capabilities, indicating its suitability for all-weather and rugged use.
7. Fehlerbehebung
This section addresses common issues you might encounter with your Tera P150.
| Problem | Mögliche Ursache | Lösung |
|---|---|---|
| Gerät lässt sich nicht einschalten | Niedriger Akkustand; Systemabsturz | Laden Sie das Gerät mindestens 30 Minuten lang auf. Sollte es weiterhin nicht reagieren, erzwingen Sie einen Neustart, indem Sie die Ein-/Aus-Taste 10–15 Sekunden lang gedrückt halten. |
| Barcode scanner not working | Scanning application not open; Barcode damaged/unreadable; Scanner module issue | Ensure the scanning application is active. Try scanning a different, known-good barcode. Clean the scanner window. Restart the device. |
| Keine Verbindung zum WLAN möglich | Falsches Passwort; Außerhalb der Reichweite; Routerproblem | Überprüfen Sie das WLAN-Passwort. Gehen Sie näher an den WLAN-Router heran. Starten Sie das Gerät und den Router neu. |
| Touchscreen reagiert nicht | Vorübergehender Softwarefehler; Störungen durch Displayschutzfolie | Restart the device. Ensure the screen protector is correctly applied and not interfering. |
8. Spezifikationen
Detailed technical specifications for the Tera P150 Android Barcode Scanner PDA.
- Modell: P150
- Betriebssystem: Android 12
- Prozessor: MTK 2.0GHz Octa-core
- RAM: 4 GB
- Lagerung: 64 GB
- Anzeige: 5.5-inch Full Touch Screen (1440 x 720 resolution)
- Barcode-Scanner: Zebra SE4710 (1D, 2D, QR)
- Batterie: 5000mAh (Standby >300H, Working >12H, Charging >3H)
- Konnektivität: 4G, 3G, Dual-band Wi-Fi, Bluetooth 5.0, GPS
- Haltbarkeit: IP67 Waterproof, 1.5-meter Drop Rating, Industrial-grade materials
- Kompatible Geräte: Android devices (smartphones, tablets), POS systems
- Paketabmessungen: 20 x 11 x 8 cm
- Gewicht: 540 g
9. Garantie und Support
Tera products are manufactured to high-quality standards. For warranty information, please refer to the warranty card included with your product or visit the official Tera webWebsite.
For technical support, troubleshooting assistance, or inquiries regarding your Tera P150, please contact Tera customer service:
- Kontaktnummer: +1 (626)438-1404
- Online-Hilfe: Refer to the official Tera webWebsite mit häufig gestellten Fragen und Support-Ressourcen.


