1. Einleitung
The xTool M1 Ultra is a versatile 4-in-1 craft machine designed for laser engraving, blade cutting, inkjet printing, and pen drawing. This device offers a comprehensive solution for various crafting needs, supporting over 1000 different materials. This manual provides essential information for the safe and effective operation, setup, and maintenance of your xTool M1 Ultra.

Figure 1.1: The xTool M1 Ultra machine with its interchangeable modules and examples of crafted items.
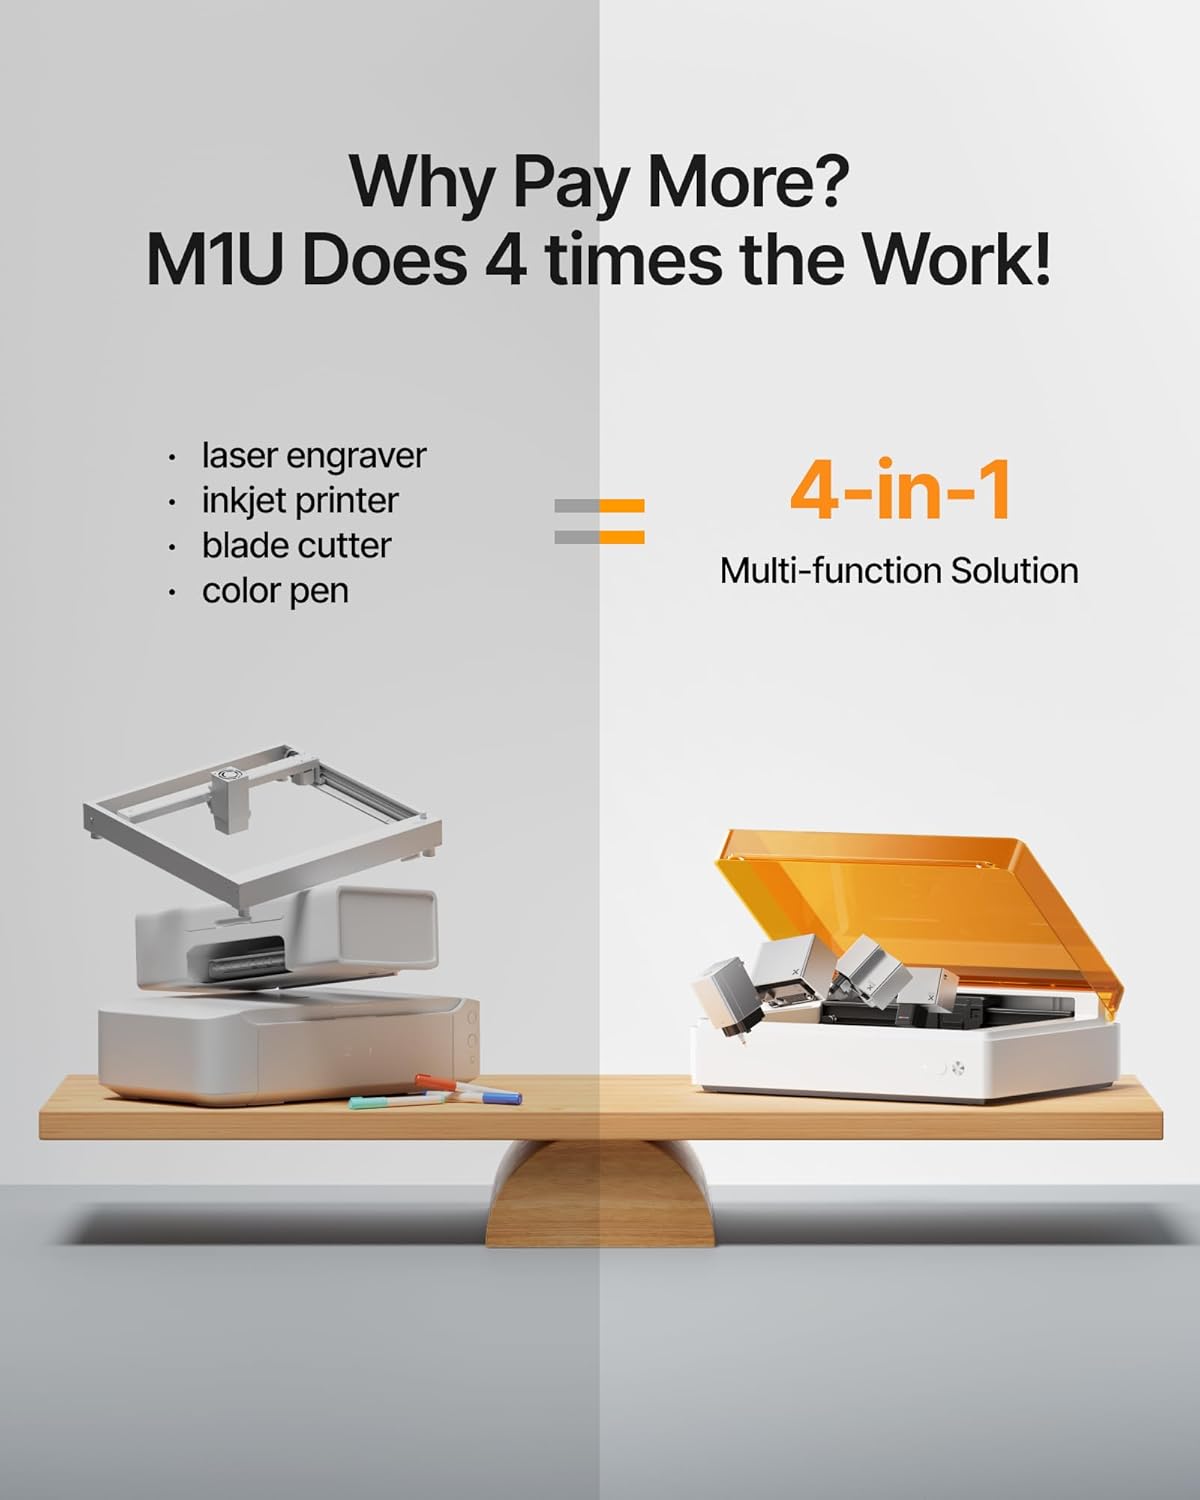
Figure 1.2: Illustration of the xTool M1 Ultra's integrated 4-in-1 capabilities: laser engraver, inkjet printer, blade cutter, and color pen.
2. Sicherheitshinweise
Operating the xTool M1 Ultra requires adherence to safety guidelines to prevent injury and damage. This device is a Class I laser product. Always follow these instructions:
- Augenschutz: Never look directly at the laser beam. The machine is designed with a protective cover; ensure it is closed during laser operation.
- Belüftung: Operate the machine in a well-ventilated area. Laser engraving and cutting can produce fumes and smoke. Consider using an external smoke purifier for optimal air quality.
- Materialverträglichkeit: Only process materials approved for laser or blade use. Certain materials can produce toxic fumes or catch fire when processed.
- Aufsicht: Lassen Sie die Maschine während des Betriebs nicht unbeaufsichtigt.
- Not-Halt: Familiarize yourself with the location of the emergency stop button on the machine.
- Kinder und Haustiere: Halten Sie Kinder und Haustiere während des Betriebs von der Maschine fern.
3. Einrichtung
The xTool M1 Ultra is designed for quick setup. Follow these steps to prepare your machine for first use:
- Auspacken: Nehmen Sie die Maschine und sämtliches Zubehör vorsichtig aus der Verpackung. Bewahren Sie die Verpackung für späteren Transport oder Lagerung auf.
- Platzierung: Place the machine on a stable, level surface in a well-ventilated area. Ensure adequate space around the machine for air circulation and access.
- Stromanschluss: Connect the power adapter to the machine and then to a suitable power outlet.
- Modulinstallation: The machine features an Easy Swap Design for modules. Select the desired module (laser, blade, inkjet, or pen) and securely install it into the designated slot. Refer to the module-specific instructions for detailed installation.
- Softwareinstallation: Download and install the xTool Creative Space (XCS) software on your computer or mobile device. The software is essential for controlling the machine and designing projects.
- Erstkalibrierung: Follow the on-screen instructions in the XCS software for initial machine calibration, including camera calibration for snapshot preview und punktgenaue Positionierung.

Abbildung 3.1: Überview of the simple 3-step workflow: Place Material, Design and Start, Done Easily.
4. Bedienungsanleitung
The xTool M1 Ultra offers multiple functionalities. This section outlines general operating procedures.
4.1. General Workflow
- Material vorbereiten: Place your chosen material inside the machine's working area. Ensure it is flat and properly secured if necessary.
- Connect to Software: Open the XCS software on your computer or mobile device and connect to your xTool M1 Ultra.
- Design or Import: Create a new design or import an existing one into the XCS software.
- Positionierung: Use the snapshot preview feature to accurately position your design on the material. Adjust as needed.
- Betriebsmodus auswählen: Choose the appropriate mode (Laser Engrave, Laser Cut, Blade Cut, Inkjet Print, Pen Draw) based on your project and installed module.
- Parameter einstellen: Select the material type from the preset parameters or manually adjust settings like power, speed, and passes.
- Betrieb starten: Initiate the process from the software. The machine will begin working. Monitor the process and ensure the protective cover remains closed during laser operations.
4.2. Specific Operation Modes
The M1 Ultra supports various crafting techniques:
- Laser Cutting & Engraving: Utilizes the 10W laser for precise cutting and detailed engraving on a wide range of materials.
- Klingenschneiden: Ideal for cutting softer materials like vinyl, paper, and thin fabrics.
- Tintenstrahldruck: Allows for color printing directly onto materials, expanding creative possibilities.
- Federzeichnung: Enables drawing and writing with various pens for custom designs.
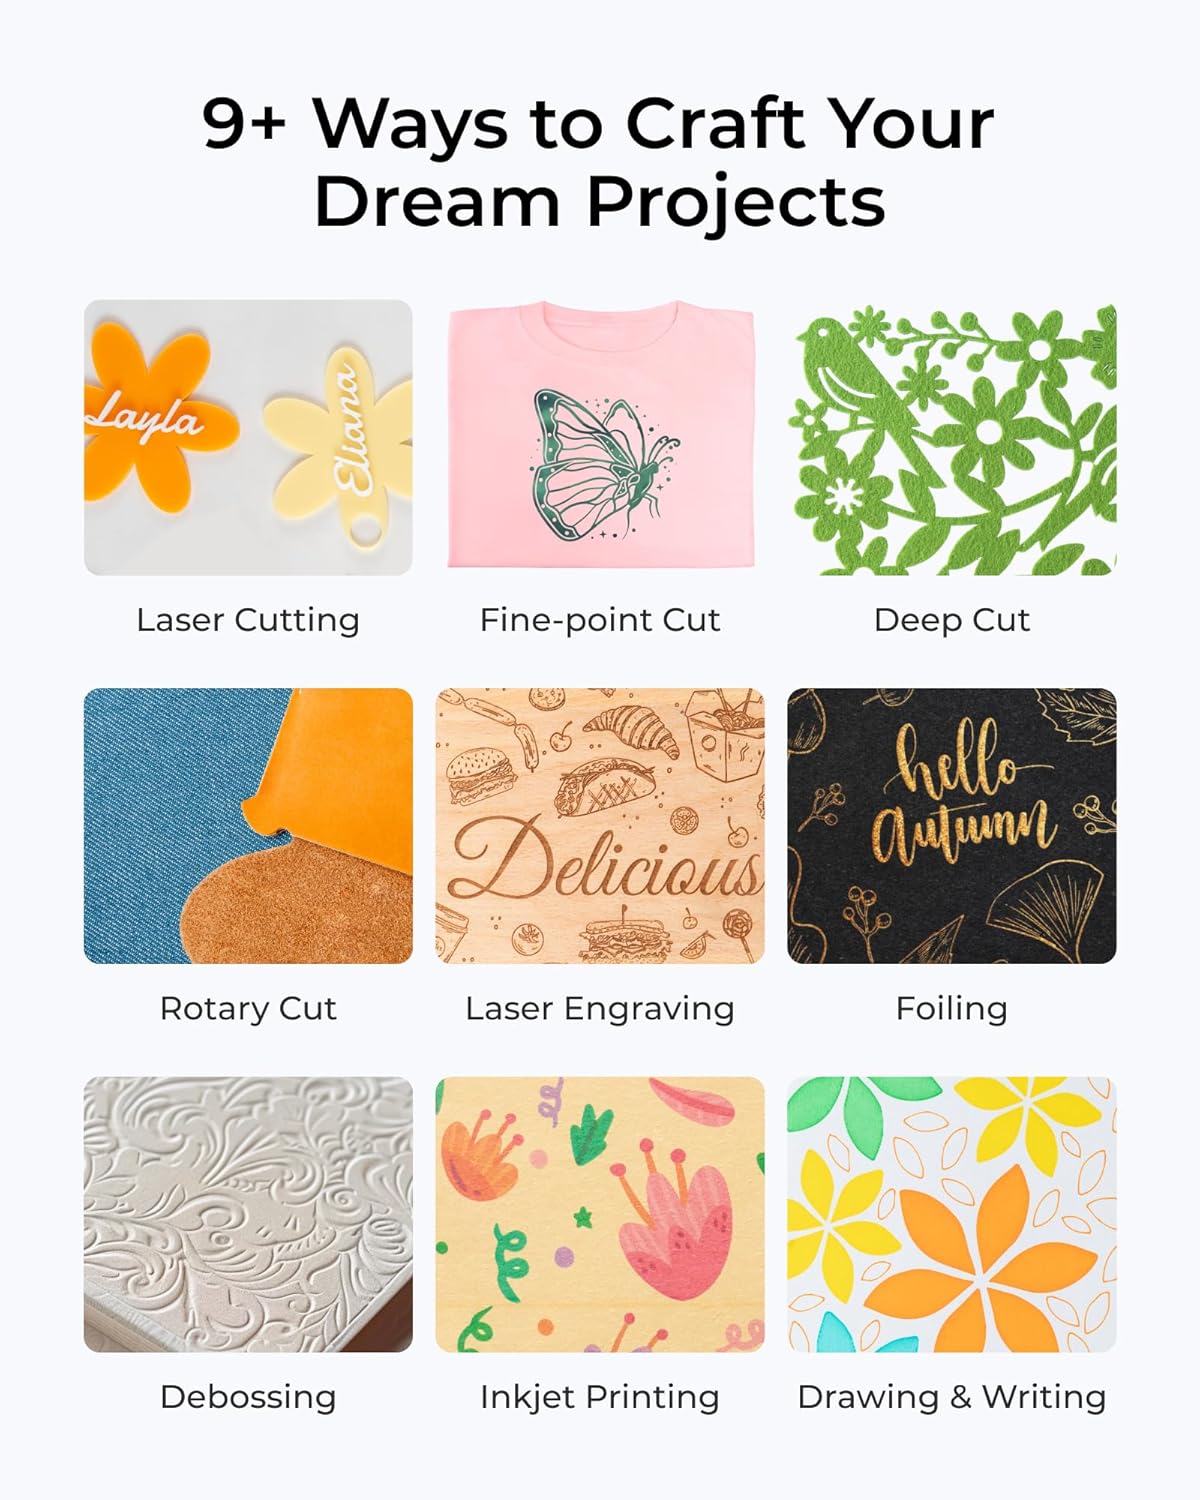
Abbildung 4.1: Bspamples of diverse crafting methods achievable with the xTool M1 Ultra.

Figure 4.2: Illustrations of complex projects created by combining multiple functions of the M1 Ultra.
4.3. Materialverträglichkeit
The xTool M1 Ultra is compatible with over 1000 materials, including but not limited to:
- Wood (various types)
- Acryl
- Leder
- Paper & Cardstock
- Vinyl
- Stoff
- Gefühlt
- Gummi
- Kork
- Some metals (for engraving)
- Glass (for engraving)
- Ceramics (for engraving)
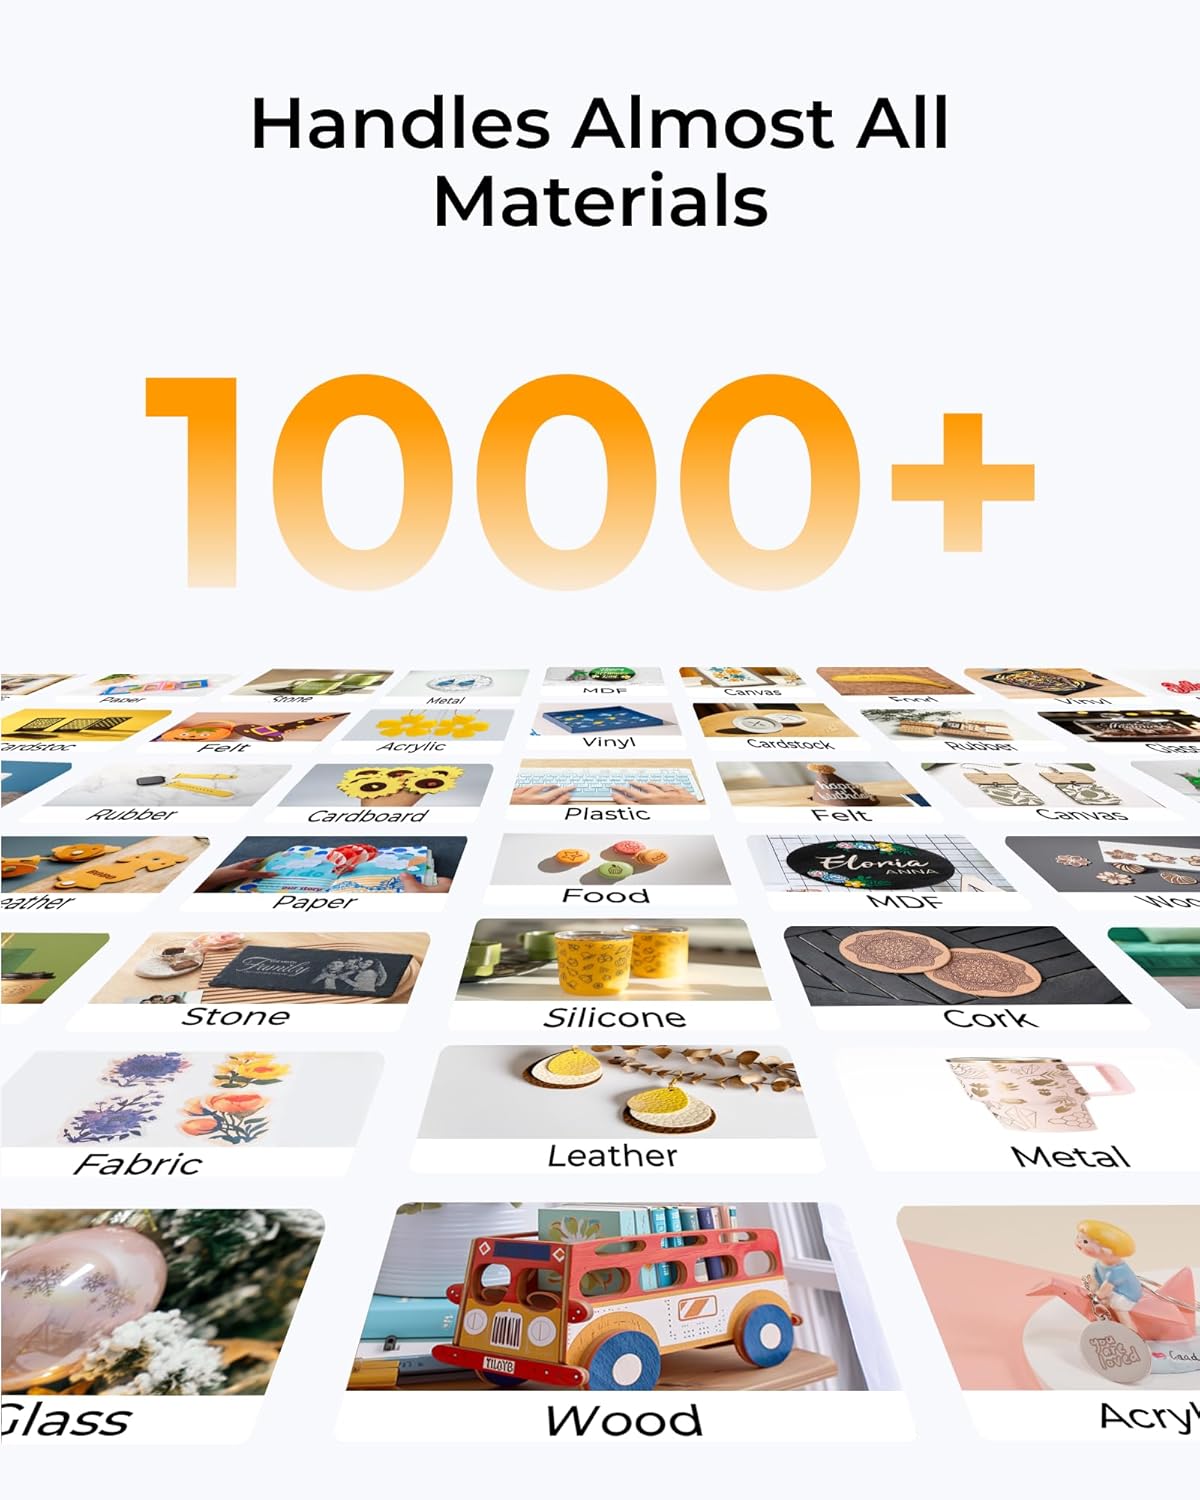
Figure 4.3: A visual representation of the wide range of materials compatible with the M1 Ultra.
4.4. Verwendung von Zubehör
For enhanced capabilities, the M1 Ultra supports various accessories:
- Riser Base: Increases the working height, allowing for processing of thicker materials or objects.
- RA2 Pro Rotary Attachment: Enables engraving on cylindrical objects like tumblers and bottles.
- Smoke Purifier: Filters fumes and odors produced during laser operations, improving air quality.
- Luftunterstützung: Directs a stream of air to the laser's focal point, improving cutting performance and reducing charring.
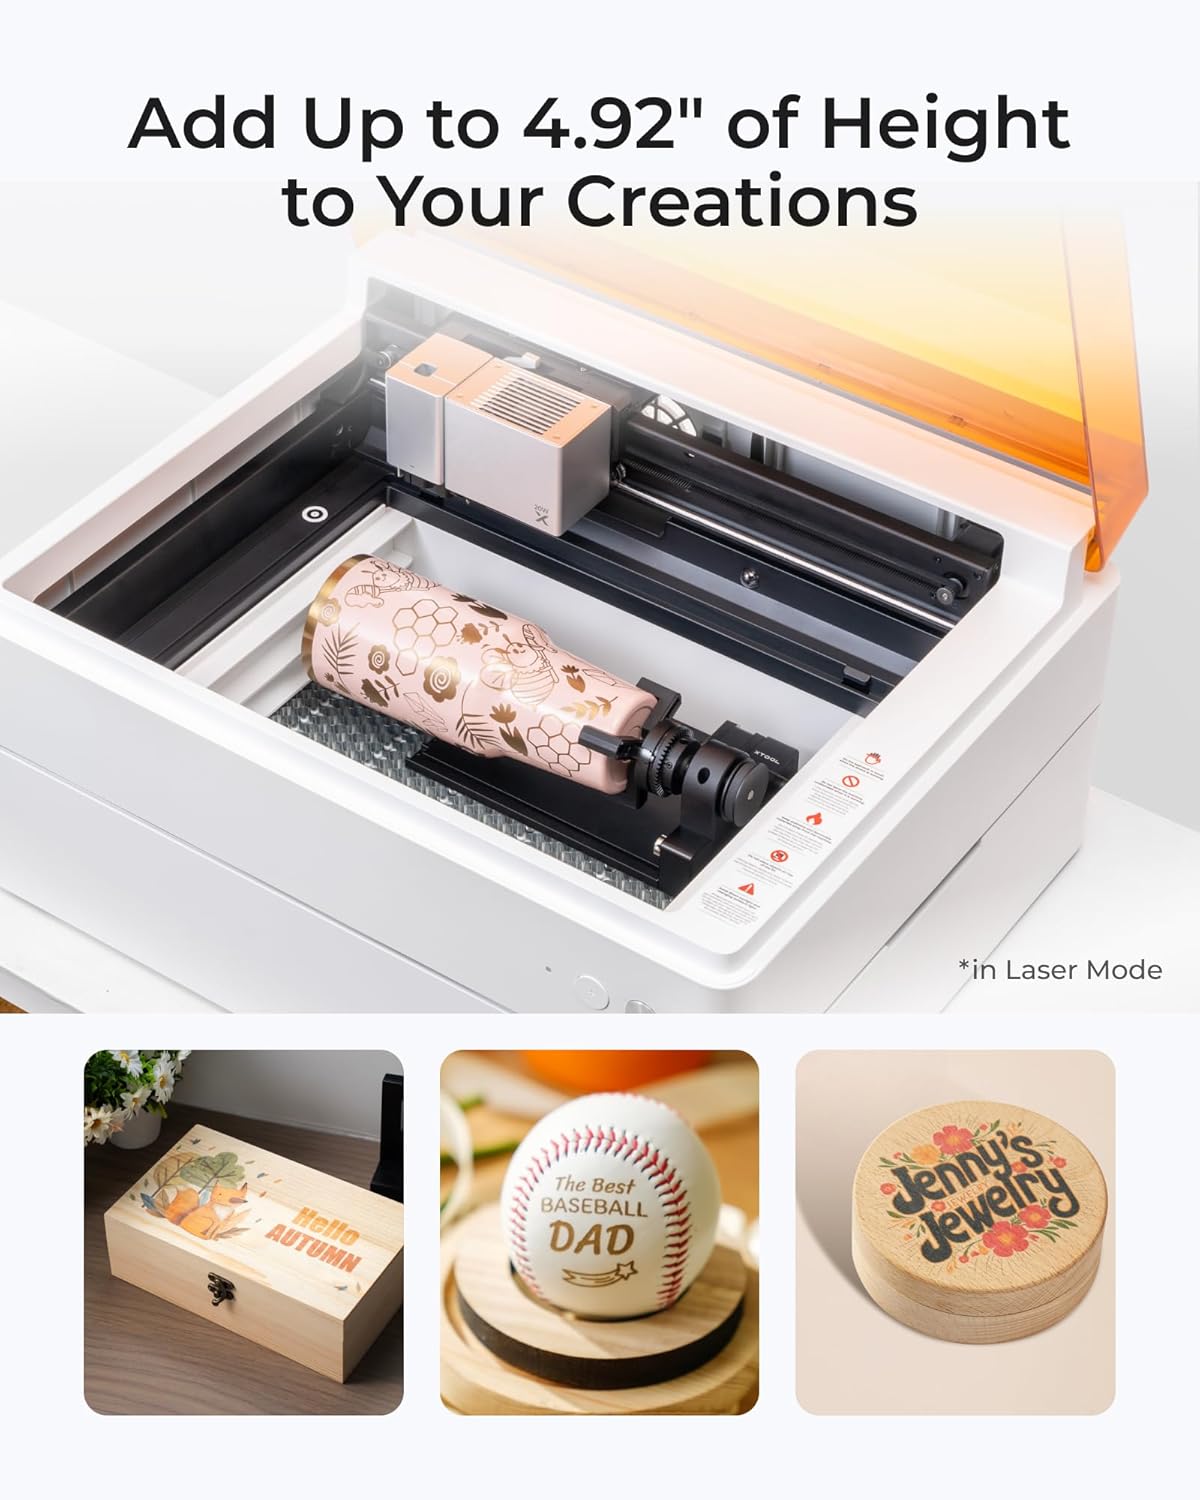
Figure 4.4: The M1 Ultra with the rotary attachment, demonstrating its ability to engrave on cylindrical and taller objects.
5. Software (xTool Creative Space - XCS)
The xTool Creative Space (XCS) software is the primary interface for controlling your M1 Ultra. It features:
- Benutzerfreundliche Oberfläche: Designed for ease of use, suitable for beginners and experienced crafters.
- Schnappschuss vorview & Pinpoint Positioning: Utilizes the machine's camera for accurate material placement and design alignment.
- Artimind AI: Assists in converting text to artwork and optimizing designs.
- Preset Parameters: Offers optimized settings for over 500 materials, simplifying parameter selection.
- Extensive Tutorials: Access to a library of tutorials to guide you through various projects and techniques.

Figure 5.1: Key features of the xTool Creative Space software, including tutorials, preset parameters, easy editing, and AI drawing.
6. Wartung
Regular maintenance ensures the longevity and optimal performance of your xTool M1 Ultra.
- Innenreinigung: Regularly clean the inside of the machine, especially after laser operations, to remove dust and debris. Use a soft cloth and avoid abrasive cleaners.
- Laserlinsenreinigung: Periodically inspect and clean the laser lens and protective cap. Refer to the detailed cleaning instructions in the full user manual for proper technique.
- Klingenwechsel: Replace the blade when it becomes dull or damaged to ensure clean cuts.
- Inkjet Cartridge Replacement: Replace inkjet cartridges as needed.
- Belüftungssystem: Ensure the ventilation system is clear of obstructions. Clean the exhaust fan and ducts if necessary.
- Firmware-Updates: Keep the machine's firmware and XCS software updated to benefit from new features and performance improvements.
7. Fehlerbehebung
In diesem Abschnitt werden häufig auftretende Probleme behandelt.
| Problem | Mögliche Ursache | Lösung |
|---|---|---|
| Maschine lässt sich nicht einschalten | Power cable disconnected, faulty power adapter, power outlet issue | Check power connections, try a different outlet, contact support if issue persists. |
| Laser feuert nicht oder ist zu schwach | Dirty laser lens, incorrect parameters, material not in focus | Clean the laser lens, verify material settings in XCS, ensure material is within focal range. |
| Blade cutting issues (uneven, incomplete) | Dull blade, incorrect blade depth, material not secured | Replace the blade, adjust blade depth, ensure material is firmly placed on the cutting mat. |
| Software connection problems | Bluetooth/USB issue, outdated software/firmware | Restart machine and software, check Bluetooth/USB connection, update XCS and machine firmware. |
| Schlechte Druckqualität | Low ink, clogged nozzle, incorrect print settings | Check ink levels, perform a nozzle clean from software, adjust print quality settings. |
For more detailed troubleshooting or issues not listed here, please refer to the official xTool support resources or contact customer service.
8. Spezifikationen
| Besonderheit | Detail |
|---|---|
| Marke | xWerkzeug |
| Modellnummer | M1 Ultra |
| Laserausgangsleistung | 10 W (10000 mW) |
| Laserklasse | Klasse I |
| Funktionen | Laser Engraving, Blade Cutting, Inkjet Printing, Pen Drawing |
| Aktive Oberfläche | 139.56 Quadratzoll |
| Material | Plastik |
| Farbe | Weiß |
| Betriebsmodus | Automatisch |
| Druckmedien (Tintenstrahl) | Card stock, Labels, Paper (plain) |
| Technische Daten | 19.61 x 11.91 x 24.41 Zoll |
| Artikelgewicht | 78.8 Pfund |
9. Support und Garantie
For technical assistance, product inquiries, or warranty information, please refer to the official xTool website or contact xTool customer support. Details regarding warranty coverage and service options are typically provided with your product documentation or available online.


