1. Einleitung
Thank you for choosing the DOGNESS 9L Automatic Pet Feeder. This device is designed to provide your pet with scheduled and portion-controlled meals, ensuring a consistent feeding routine even when you are away. Please read this manual thoroughly before operating the feeder to ensure proper use and maintenance.
2. Wichtige Sicherheitshinweise
- Dieses Gerät ist nur für den Gebrauch in Innenräumen bestimmt.
- Use only dry pet food with kibble sizes between 0.2 and 0.6 inches (0.5 to 1.5 cm) to prevent clogging.
- Tauchen Sie das Hauptgerät nicht in Wasser oder andere Flüssigkeiten.
- Keep the feeder out of reach of children and pets when not in use or during cleaning.
- Vor der Reinigung oder Wartung muss immer der Netzstecker des Futterautomaten gezogen werden.
- Ensure the power adapter cable is not damaged or chewed by pets.
- Do not attempt to repair or modify the feeder yourself. Contact customer support for assistance.
3. Packungsinhalt
Bitte überprüfen Sie den Packungsinhalt, um sicherzustellen, dass alle Artikel vorhanden sind:
- DOGNESS 9L Automatic Pet Feeder Main Unit
- Food Hopper Lid
- Food Bowl (Base)
- Netzteil
- Benutzerhandbuch (dieses Dokument)
4. Produktüberschreitungview
Familiarize yourself with the components of your DOGNESS Automatic Pet Feeder.

Abbildung 4.1: Front view of the DOGNESS 9L Automatic Pet Feeder.
- Food Hopper: Large capacity container for dry pet food.
- Deckel: Secures the food hopper.
- Control Panel & LCD Display: For programming and operating the feeder.
- Gastronomiebetrieb: Dort, wo Lebensmittel ausgegeben werden.
- Futternapf: Detachable tray for pet to eat from.
- Stromanschluss: Zum Anschließen des Netzteils.
- Batteriefach: For backup batteries (located at the bottom).
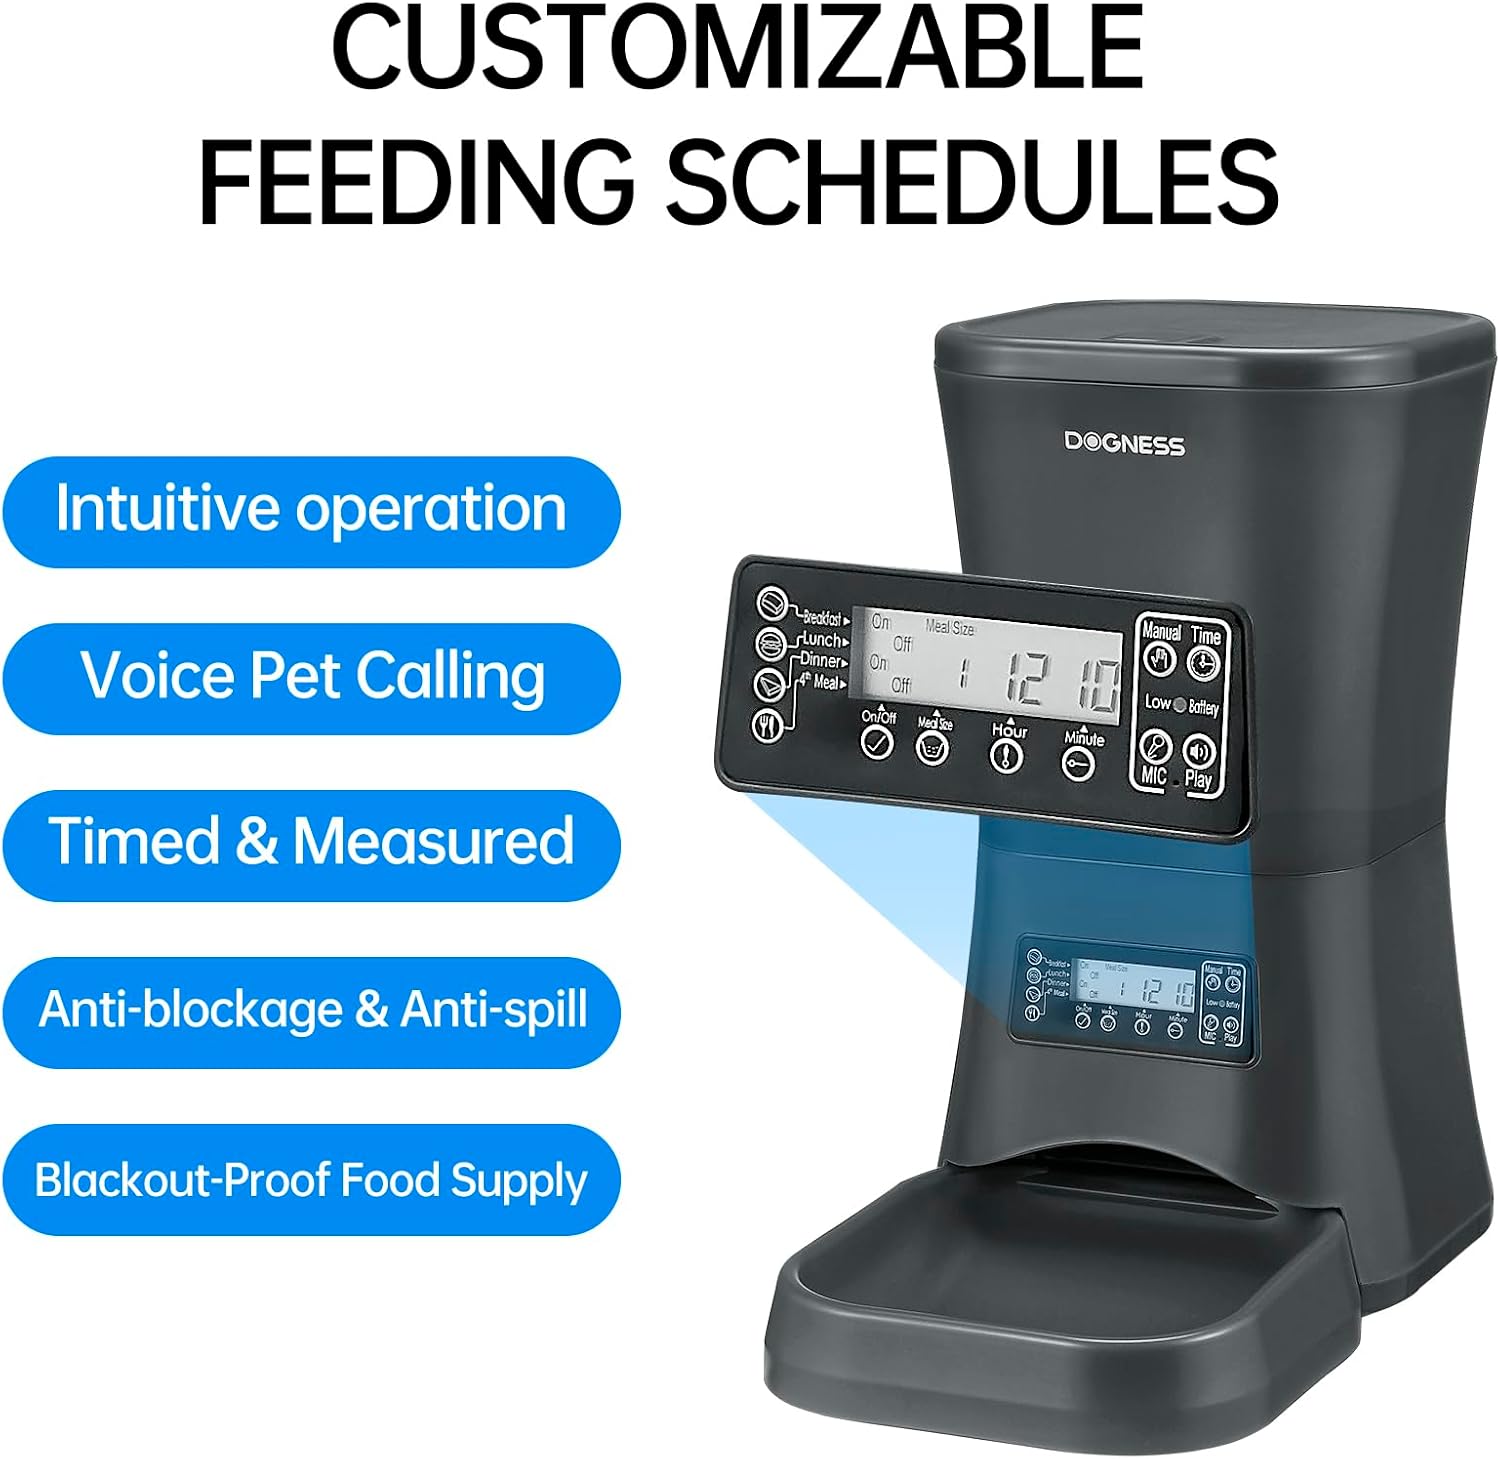
Abbildung 4.2: Detaillierte view des Bedienfelds und des LCD-Displays.
5. Installationsanleitung
5.1 Auspacken und Zusammenbau
- Entnehmen Sie vorsichtig alle Komponenten aus der Verpackung.
- Stellen Sie das Hauptgerät auf eine ebene, stabile Oberfläche.
- Attach the food bowl to the main unit by sliding it into place until it clicks securely.
5.2 Powering the Feeder
The feeder can be powered by an AC adapter or backup batteries.
- Wechselstromversorgung: Connect the power adapter to the feeder's power port and then plug it into a standard wall outlet.
- Batterie-Backup: Für Machttages, the feeder supports D-cell batteries (not included). Open the battery compartment at the bottom of the unit and insert the required number of D-cell batteries, ensuring correct polarity. The internal Lithium-ion battery included is for maintaining settings.
5.3 Befüllen des Futterbehälters
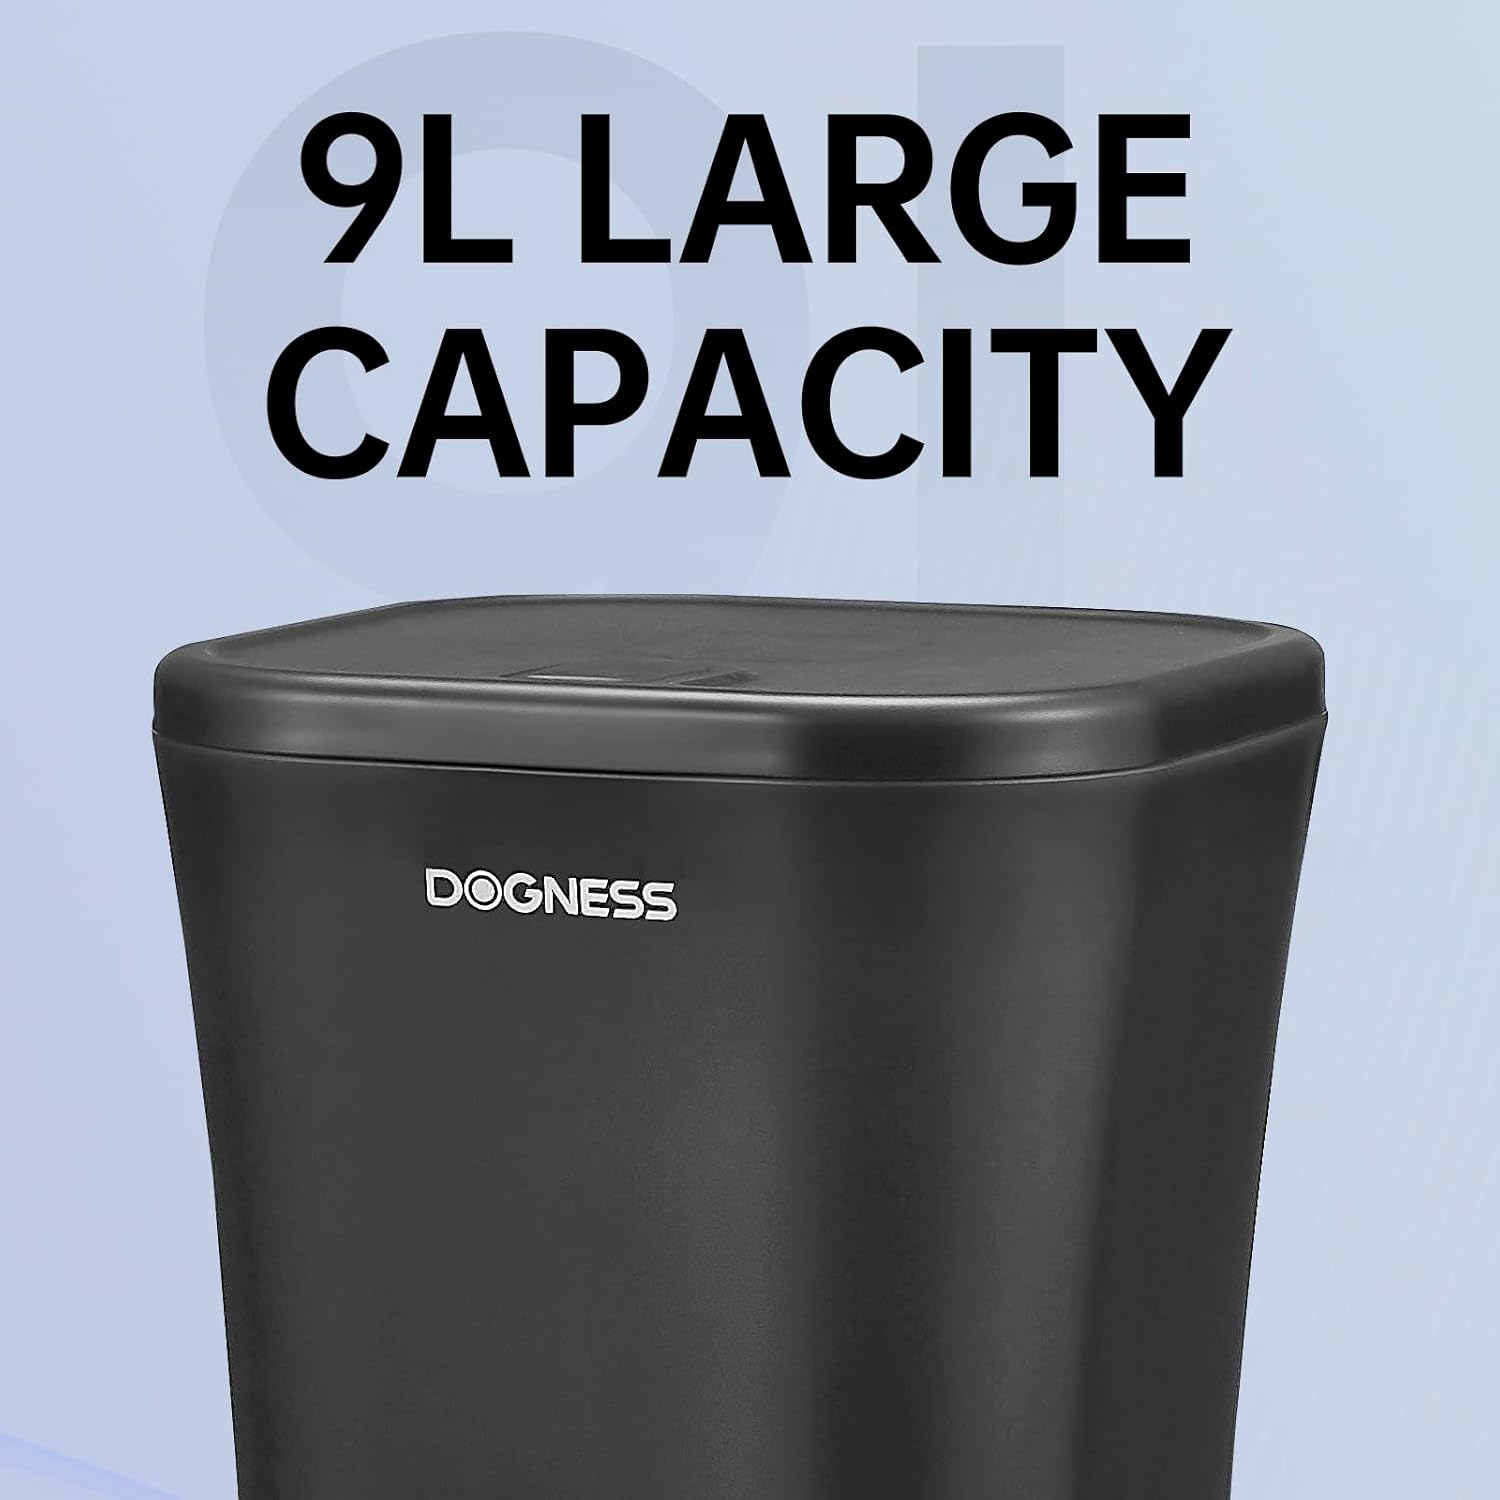
Abbildung 5.1: The large 9-liter capacity food hopper.
- Open the lid of the food hopper.
- Pour dry pet food into the hopper. Ensure the kibble size is appropriate (0.2 to 0.6 inches).
- Schließen Sie den Deckel fest, um die Frische der Lebensmittel zu erhalten und ein Verschütten zu verhindern.
6. Bedienungsanleitung
6.1 Einstellen der aktuellen Uhrzeit
Before programming meal times, set the current time on the feeder's LCD display.
- Drücken Sie die "SATZ" Taste, um in den Zeiteinstellungsmodus zu wechseln.
- Verwenden Sie die "HOUR" Und "MINUTE" buttons to adjust the current hour and minute.
- Drücken "SATZ" erneut, um zu bestätigen und zu beenden.
6.2 Programming Meal Times and Portions
The feeder allows you to schedule up to 4 meals per day with customizable portion sizes.
- Drücken Sie die "MEAL" button to cycle through Meal 1, Meal 2, Meal 3, and Meal 4 settings.
- For each meal, use the "HOUR" Und "MINUTE" buttons to set the desired feeding time.
- Verwenden Sie die "PORTION" button to adjust the number of servings for that meal. Each serving dispenses a specific amount of kibble. Refer to the specifications for approximate serving size.
- After setting each meal, press "SATZ" to save the settings and move to the next meal or exit programming mode.
- Ensure the meal schedule is activated (usually indicated by an "ON" or active icon on the display for each meal).

Abbildung 6.1: The feeder providing automatic, scheduled meals.
6.3 Sprachaufzeichnung
You can record a personalized voice message (up to 10 seconds) that will play before each meal to call your pet.
- Halten Sie die "REC" button until the display indicates recording mode.
- Speak clearly into the microphone (usually located near the control panel).
- Lassen Sie den "REC" Taste zum Speichern der Aufnahme.
- Drücken Sie die "PLAY" button to listen to your recorded message.
6.4 Manuelle Fütterung
To dispense food instantly outside of scheduled meal times:
- Drücken Sie die "MANUAL" button once to dispense one serving.
- Press multiple times for additional servings.

Abbildung 6.2: Food being dispensed, demonstrating the anti-clogging design.
7. Wartung und Reinigung
7.1 Reinigung des Futterautomaten
- Ziehen Sie den Netzstecker des Futterautomaten aus der Steckdose und entfernen Sie alle vorhandenen Notstrombatterien.
- Remove any remaining food from the hopper and food bowl.
- The food bowl is detachable and can be washed with mild soap and water. Rinse thoroughly and dry completely before reattaching.
- Wipe the interior of the food hopper and the exterior of the main unit with a damp Tuch. Keine Scheuermittel verwenden.
- Stellen Sie sicher, dass alle Teile vollständig trocken sind, bevor Sie sie wieder zusammenbauen und mit Lebensmitteln befüllen.
7.2 Refilling Food
Regularly check the food level in the hopper. Refill as needed to ensure continuous feeding for your pet.
7.3 Batteriewechsel
If using D-cell batteries for backup, replace them when the low battery indicator appears on the LCD display or approximately every 6-12 months, depending on usage.
8. Fehlerbehebung
| Problem | Mögliche Ursache | Lösung |
|---|---|---|
| Futterautomat gibt kein Futter aus. |
|
|
| Incorrect portion size dispensed. |
|
|
| LCD display is blank or not responding. |
|
|
9. Spezifikationen

Abbildung 9.1: Dimensions of the DOGNESS 9L Automatic Pet Feeder.
| Modellnummer | F09 |
| Kapazität | 9 Liter |
| Abmessungen (L x B x H) | 23.6 cm x 40.6 cm x 38.2 cm |
| Gewicht | 2.52 Kilogramm |
| Material | Plastik |
| Stromversorgung | AC Adapter (included), D-cell Batteries (not included) for backup |
| Empfohlene Krokettengröße | 0.2 - 0.6 Zoll (0.5 - 1.5 cm) |
| Farbe | Schwarz-9L |
| Nutzungsumgebung | Nur für den Innenbereich geeignet. |
10. Garantie und Support
DOGNESS products are manufactured to high-quality standards. For warranty information, please refer to the warranty card included with your purchase or visit the official DOGNESS website. If you encounter any issues or have questions regarding your pet feeder, please contact DOGNESS customer support for assistance.
Kundendienst: Bitte konsultieren Sie Ihre Kaufunterlagen oder die Herstellerangaben. webWebsite für Kontaktdaten.


