1. Einleitung
Thank you for choosing the Acer B277UD6b monitor. This manual provides essential information for setting up, operating, and maintaining your monitor. Please read this manual thoroughly before using the product to ensure proper installation and optimal performance. Keep this manual for future reference.

Bild 1.1: Vorderseite view of the Acer B277UD6b monitor, showcasing sein schlankes Design und seine Ausstellungsfläche.
2. Sicherheitshinweise
Beachten Sie die folgenden Sicherheitsvorkehrungen, um Schäden am Monitor zu vermeiden und Ihre Sicherheit zu gewährleisten:
- Stellen Sie den Monitor nicht auf einen instabilen Wagen, Ständer oder Tisch.
- Belüftungsöffnungen nicht blockieren.
- Nicht in der Nähe von Wasser oder in Umgebungen mit hoher Luftfeuchtigkeit verwenden.
- Verwenden Sie ausschließlich das vom Hersteller mitgelieferte Netzkabel und den Adapter.
- Überlassen Sie sämtliche Wartungsarbeiten qualifiziertem Servicepersonal.
- Ziehen Sie vor der Reinigung den Netzstecker des Monitors aus der Steckdose.
3. Packungsinhalt
Prüfen Sie, ob alle Artikel in Ihrem Paket enthalten sind. Sollten Artikel fehlen oder beschädigt sein, wenden Sie sich bitte an Ihren Händler.
- Acer B277UD6b Monitor
- Monitorständer (Fuß und Hals)
- Power Cord (AC-In C14)
- DisplayPort-Kabel
- HDMI-Kabel
- VGA-Kabel
- Benutzerhandbuch und Dokumentation
4. Einrichtung
4.1. Zusammenbau des Monitorständers
- Nehmen Sie die Monitor- und Standfußkomponenten vorsichtig aus der Verpackung.
- Befestigen Sie den Standfuß am Monitor. Achten Sie darauf, dass er sicher einrastet oder, falls vorhanden, mit den mitgelieferten Schrauben fixiert wird.
- Befestigen Sie den Stativfuß am Stativhals. Ziehen Sie die Rändelschraube(n) an der Unterseite des Fußes fest, um ihn zu sichern.
- Stellen Sie den zusammengebauten Monitor auf eine stabile, ebene Fläche.

Abbildung 4.1: Seite view of the Acer B277UD6b monitor, illustrating its profile and stand attachment point.
4.2. Monitor anschließen
Verbinden Sie den Monitor mit Ihrem Computer und der Stromversorgung mithilfe der entsprechenden Kabel.
- Stromanschluss: Connect the power cord to the AC-In C14 port on the monitor and then to a wall outlet.
- Videoverbindung: Choose one of the following video connections:
- DisplayPort: Verbinden Sie ein Ende des DisplayPort-Kabels mit dem DisplayPort-Eingang des Monitors und das andere Ende mit dem DisplayPort-Ausgang Ihres Computers.
- HDMI: Connect one end of the HDMI cable to the monitor's HDMI 1.4 input and the other end to your computer's HDMI output.
- VGA: Connect one end of the VGA cable to the monitor's VGA input and the other end to your computer's VGA output.
- Stellen Sie sicher, dass alle Verbindungen sicher sind.
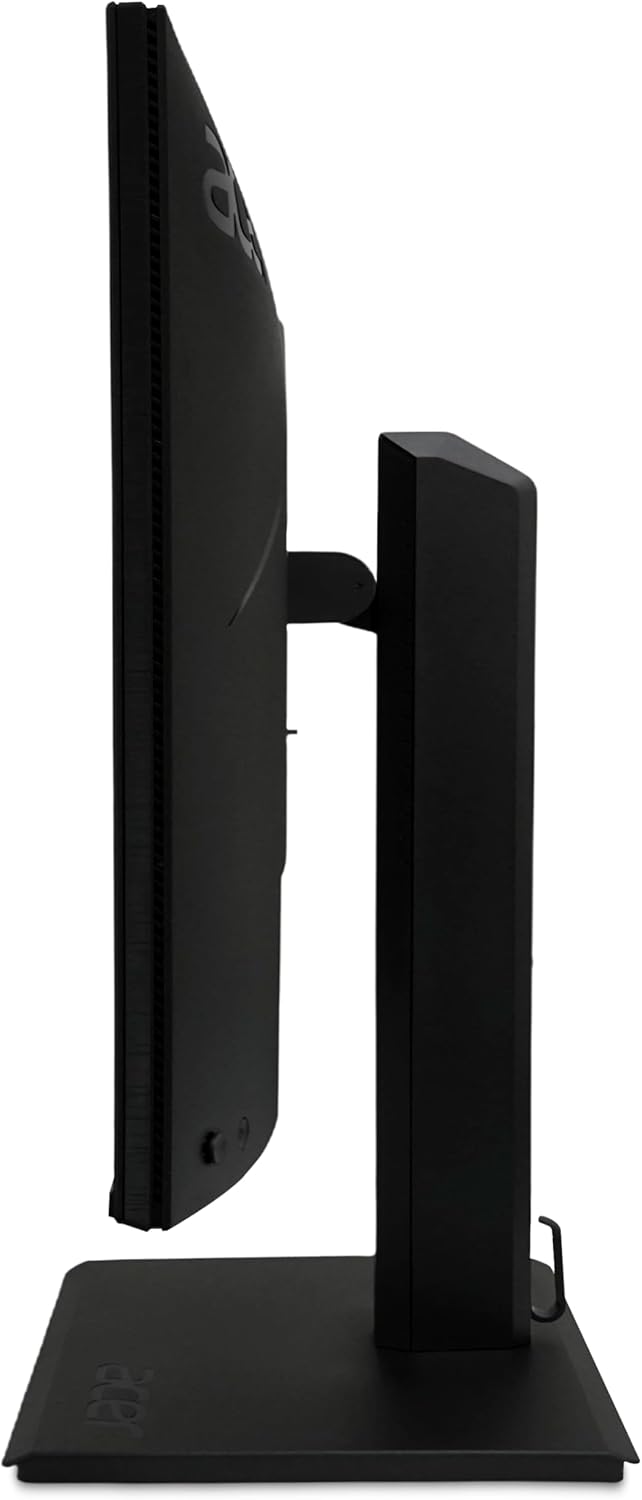
Abbildung 4.2: Rückseite view of the Acer B277UD6b monitor, highlighting the various input ports including DisplayPort, HDMI, VGA, and AC-In.
5. Bedienungsanleitung
5.1. Ein-/Ausschalten
Drücken Sie den Netzschalter, der sich normalerweise unten rechts oder auf der Rückseite des Monitors befindet, um den Monitor ein- oder auszuschalten. Die Betriebsanzeige leuchtet, wenn der Monitor eingeschaltet ist.
5.2. Bildschirmmenü (OSD)
The OSD menu allows you to adjust various monitor settings such as brightness, contrast, color, input source, and more. Access the OSD menu using the buttons located on the monitor (typically on the back or bottom edge).
- Press an OSD button to activate the menu.
- Verwenden Sie die Navigationstasten (oben/unten/links/rechts oder Joystick), um durch die Menüoptionen zu blättern.
- Drücken Sie die Auswahl-/Eingabetaste, um eine Auswahl zu bestätigen oder ein Untermenü aufzurufen.
- Drücken Sie die Exit-Taste, um das OSD-Menü zu schließen.
5.3. Auswahl der Eingangsquelle
If you have multiple devices connected to the monitor, you can switch between input sources using the OSD menu or a dedicated input select button.
6. Wartung
6.1. Monitor reinigen
To clean the monitor, ensure it is powered off and unplugged from the power outlet.
- Bildschirm: Wischen Sie den Bildschirm vorsichtig mit einem weichen, fusselfreien Tuch ab. Bei hartnäckigen Flecken leicht andrücken.ampBefeuchten Sie das Tuch mit Wasser oder einem ammoniak- und alkoholfreien Bildschirmreiniger. Sprühen Sie den Reiniger nicht direkt auf den Bildschirm.
- Casing: Verwenden Sie ein weiches, trockenes Tuch, um den Monitor abzuwischen.asing. Vermeiden Sie scheuernde Reinigungsmittel.
6.2. Speicherung
If storing the monitor for an extended period, disconnect all cables and pack it in its original packaging to protect it from dust and physical damage.
7. Fehlerbehebung
Sollten Sie Probleme mit Ihrem Monitor haben, beachten Sie bitte die folgenden gängigen Schritte zur Fehlerbehebung:
| Problem | Mögliche Lösung |
|---|---|
| Kein Bild auf dem Bildschirm | Ensure the power cable is securely connected. Check if the monitor is powered on. Verify the video cable is connected to both the monitor and the computer. Select the correct input source via the OSD menu. |
| Das Bild ist unscharf oder verzerrt. | Check the video cable connection. Ensure the display resolution and refresh rate are set correctly in your computer's display settings (2560x1440 at 120Hz recommended). |
| Kein Ton (falls zutreffend) | Check audio cable connections (if external speakers are used). Adjust volume settings on the monitor and computer. |
| Monitor flackert | Ensure the video cable is securely connected. Try a different video cable or port. Update your graphics card drivers. |
8. Spezifikationen
Detailed technical specifications for the Acer B277UD6b monitor:
- Modellname: Vero B277UD6bmiiprczx
- Serie: B277UD6b
- Bildschirmgröße: 27 Zoll (68.6 cm)
- Auflösung: 2560 x 1440 (QHD)
- Seitenverhältnis: 16:9
- Aktualisierungsrate: 120 Hz
- Ansprechzeit: 1 Millisekunde
- Farbunterstützung: 8 bits (16.7 million colors, 6 bits + 2 bits FRC)
- Anzeigeoberfläche: Anti-glare (Antirreflectores), Hardness 3H
- Konnektivität:
- 1x DisplayPort 1.2 (supports 75Hz@1920x1080)
- 1x HDMI 1.4 (supports 75Hz@1920x1080)
- 1x VGA (supports 60Hz@1920x1080)
- 1x AC-In C14 (Power Connection)
- Abmessungen (B x T x H): 57.1 x 61.1 x 36.5 cm
- Gewicht: 8 kg
- Farbe: Schwarz
9. Garantie und Support
Informationen zur Garantie und zum technischen Support finden Sie auf der Ihrem Produkt beiliegenden Garantiekarte oder auf der offiziellen Acer-Supportseite. webFür die Kontaktaufnahme mit dem Support benötigen Sie möglicherweise die Seriennummer Ihres Produkts und einen Kaufbeleg.
Acer-Support WebWebsite: www.acer.com/support


