1. Wichtige Sicherheitshinweise
Please read these instructions carefully before using the Audizio Canzo DAB+ Internet Radio. Keep this manual for future reference.
- Um Brände oder Stromschläge zu vermeiden, setzen Sie das Gerät weder Regen noch Feuchtigkeit aus.
- Öffnen Sie nicht das casing. Im Inneren befinden sich keine vom Benutzer wartbaren Teile. Alle Wartungsarbeiten dürfen nur von qualifiziertem Fachpersonal durchgeführt werden.
- Verwenden Sie nur das mit dem Gerät gelieferte Netzteil.
- Sorgen Sie für ausreichende Belüftung rund um das Gerät. Blockieren Sie keine Belüftungsöffnungen.
- Vermeiden Sie es, das Gerät in der Nähe von Wärmequellen oder in direktem Sonnenlicht aufzustellen.
- Clean the unit only with a dry, soft cloth. Do not use liquid cleaners.
2. Produktüberschreitungview
The Audizio Canzo is a versatile DAB+ Internet Radio designed for high-quality audio reception and playback. It features multiple connectivity options including Wi-Fi, Bluetooth 5.3, AUX, and USB, along with a remote control for convenient operation. The elegant wooden finish and clear display make it suitable for various home environments.
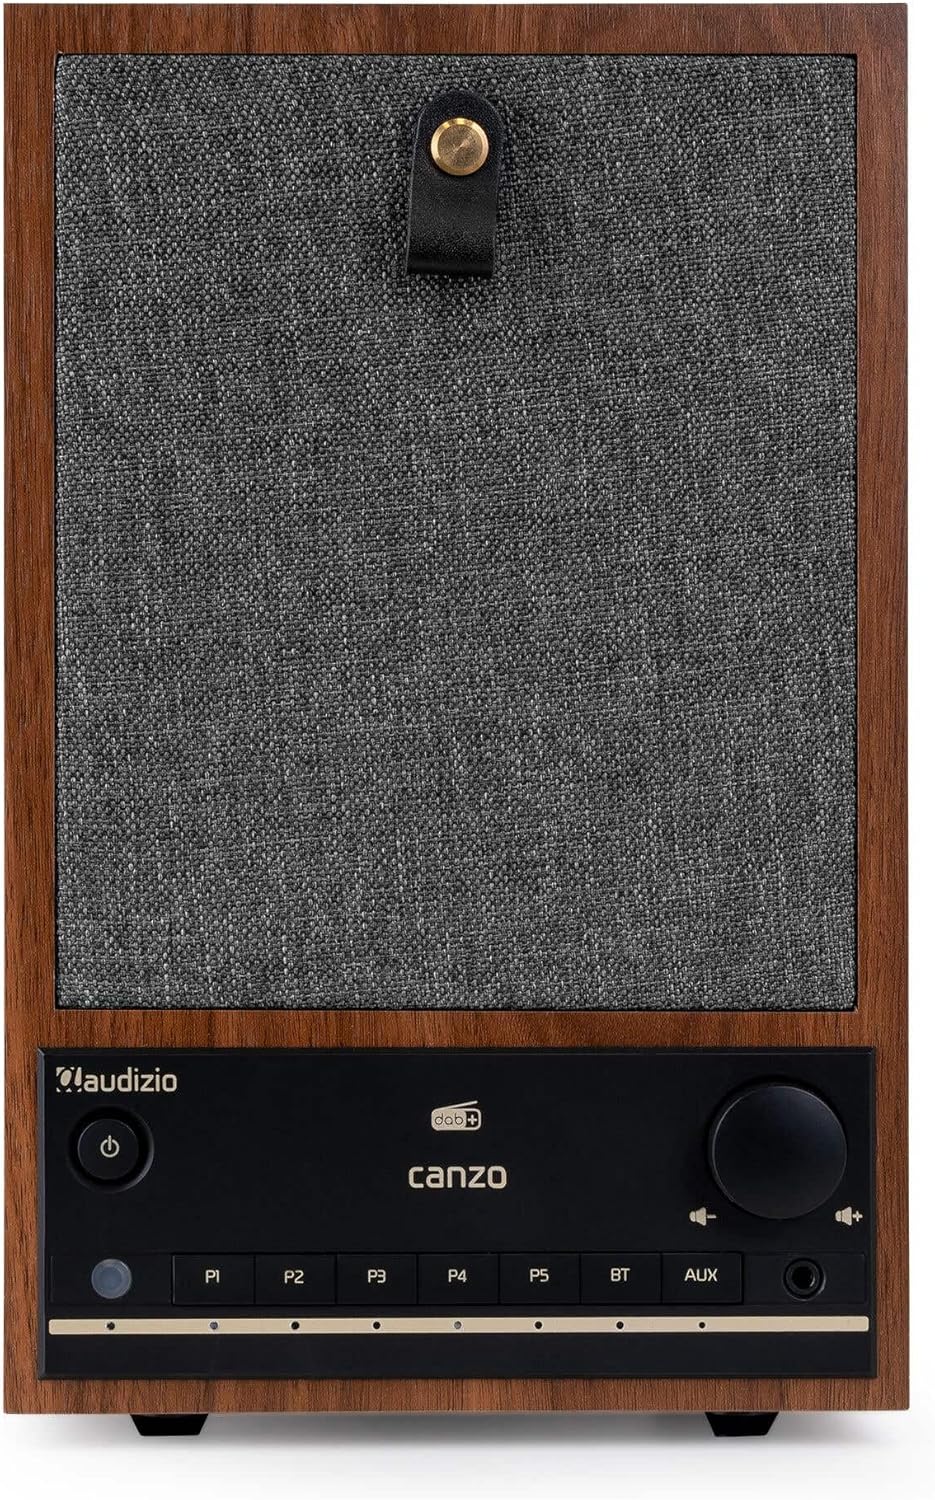
Abbildung 2.1: Vorderseite view of the Audizio Canzo DAB+ Internet Radio in walnut finish.

Abbildung 2.2: Vorderseite view with speaker grille removed, highlighting the speaker, display, and control panel.
3. Lieferumfang
Packen Sie den Karton vorsichtig aus und vergewissern Sie sich, dass alle Artikel vorhanden sind:
- Audizio Canzo DAB+ Internet Radio
- Netzteil
- Fernbedienung
- Kurzanleitung
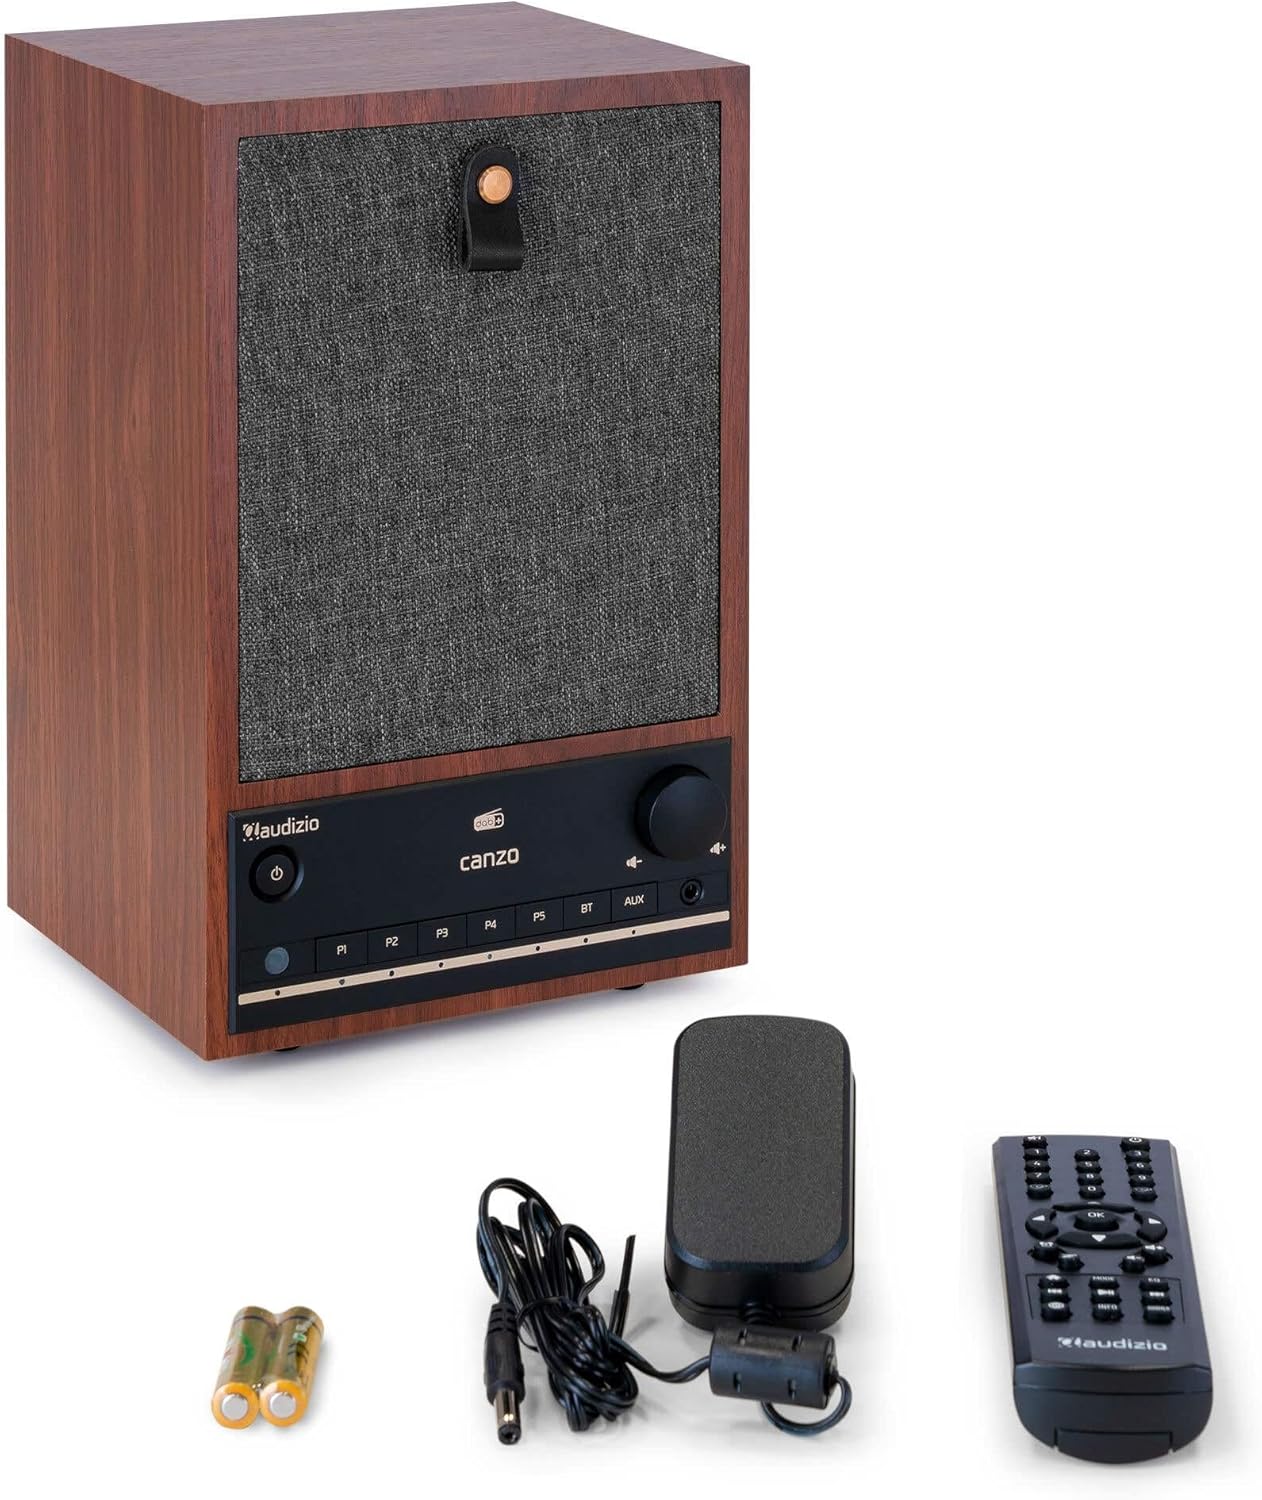
Figure 3.1: Audizio Canzo radio with its accessories.
4. Einrichtung
4.1 Stromversorgung anschließen
- Insert the DC plug of the power adapter into the DC-Eingang port on the back of the radio.
- Plug the power adapter into a standard wall outlet (220V).
- Drehen Sie den EIN/AUS switch on the back of the unit to the ON Position.
4.2 Antennenanschluss
For optimal DAB+ and FM reception, extend the telescopic antenna located on the back of the unit. Adjust its position for the best signal.

Figure 4.1: Rear panel with power input, audio ports, USB, LAN, and antenna.
4.3 Erstes Einschalten und Netzwerk-Setup
- Drücken Sie die Leistung button on the front panel or remote control to turn on the radio.
- The display will show the Audizio logo and then guide you through the initial setup wizard.
- Wählen Sie Ihre bevorzugte Sprache.
- The radio will prompt you to connect to a network. Choose W-lan or LAN.
- Für WLAN: Select your Wi-Fi network from the list and enter the password using the navigation buttons and OK Taste.
- For LAN: Verbinden Sie Ihren Router mit einem Ethernet-Kabel mit dem LAN port on the back of the radio. The connection should be established automatically.
- Once connected, the radio will update the time and date automatically.
5. Bedienungsanleitung
5.1 Grundlegende Bedienelemente
The front panel features a power button, preset buttons (P1-P5), Bluetooth (BT) and AUX input buttons, a volume knob, and navigation controls. The remote control provides full access to all functions.
5.2 Modusauswahl
Drücken Sie die MODUS button on the radio or remote control to cycle through available modes: Internet Radio, DAB+, FM, Bluetooth, AUX, and USB Playback.
5.3 Internetradio
- Wählen Internetradio Modus.
- Nutzen Sie die Navigationsschaltflächen, um Sender nach Standort, Genre oder per Suche zu durchsuchen.
- Drücken OK um einen Sender auszuwählen.
- Um einen Sender als Voreinstellung zu speichern, halten Sie eine der folgenden Tasten gedrückt: P1-P5 Drücken Sie die Tasten, bis die Anzeige dies bestätigt.
5.4 DAB+ Radio
- Wählen DAB+ Modus.
- Das Radio sucht automatisch nach verfügbaren DAB+-Sendern.
- Use the navigation buttons to scroll through the list of found stations.
- Drücken OK um einen Sender auszuwählen.
- Um einen Sender als Voreinstellung zu speichern, halten Sie eine der folgenden Tasten gedrückt: P1-P5 Schaltflächen.
5.5 UKW-Radio
- Wählen FM Modus.
- Halten Sie die Scan button (usually on the remote or via menu) to auto-scan for FM stations.
- Use the navigation buttons to tune manually or select from scanned stations.
- Um einen Sender als Voreinstellung zu speichern, halten Sie eine der folgenden Tasten gedrückt: P1-P5 Schaltflächen.
5.6 Bluetooth-Wiedergabe
- Wählen Bluetooth mode. The radio will enter pairing mode, indicated on the display.
- Aktivieren Sie auf Ihrem Smartphone oder Tablet Bluetooth und suchen Sie nach verfügbaren Geräten.
- Select "Audizio Canzo" from the list to pair.
- Sobald die Kopplung hergestellt ist, können Sie Audio von Ihrem Gerät über das Radio abspielen.
5.7 AUX-Eingang
- Schließen Sie ein externes Audiogerät (z. B. einen MP3-Player) an den/die/das an. AUX IN port on the back of the radio using a 3.5mm audio cable.
- Wählen AUX Modus.
- Audio from the connected device will now play through the radio.
5.8 USB-Wiedergabe
- Stecken Sie einen USB-Stick mit Audio ein files in die USB-WIEDERGABE port on the back of the radio.
- Wählen USB Modus.
- Use the navigation buttons to browse and select audio files für die Wiedergabe.
5.9 Wecker und Schlaftimer
- Alarm: Access the Alarm settings via the menu. Set up to two alarms with desired time, source (buzzer, radio), and volume.
- Schlaf-Timer: Access the Sleep Timer settings via the menu. Set a duration (e.g., 15, 30, 60 minutes) after which the radio will automatically turn off.
- Schlummern: Wenn ein Alarm ertönt, drücken Sie die Taste Schlummern button on the remote or radio to temporarily silence it.
6. Wartung
6.1 Reinigung
To clean the radio, use a soft, dry, lint-free cloth. Do not use abrasive cleaners, waxes, or solvents as they may damage the finish or internal components.
6.2 Speicherung
Wenn Sie das Gerät über einen längeren Zeitraum lagern, trennen Sie es vom Stromnetz und bewahren Sie es an einem kühlen, trockenen Ort fern von direkter Sonneneinstrahlung und extremen Temperaturen auf.
7. Fehlerbehebung
| Problem | Mögliche Ursache | Lösung |
|---|---|---|
| Kein Strom | Netzteil nicht angeschlossen; Ein-/Ausschalter ist ausgeschaltet. | Ensure power adapter is securely connected and ON/OFF switch is ON. |
| Kein Ton | Lautstärke zu niedrig; falsche Quelle ausgewählt; Kopfhörer angeschlossen. | Lautstärke erhöhen; richtigen Eingangsmodus auswählen; Kopfhörer abziehen. |
| Keine Verbindung zum WLAN möglich | Falsches Passwort; Router zu weit entfernt; Netzwerkproblem. | Verify Wi-Fi password; move radio closer to router; restart router. |
| Schlechter DAB+/FM-Empfang | Antenne nicht ausgefahren; schwaches Signal. | Fully extend and adjust the telescopic antenna; try repositioning the radio. |
| Fernbedienung funktioniert nicht | Batteries depleted; obstruction between remote and radio. | Replace remote control batteries; ensure clear line of sight to the radio's sensor. |
8. Spezifikationen
| Besonderheit | Spezifikation |
|---|---|
| Modellnummer | Canzo |
| Technische Daten | 22.5 x 20.5 x 34 cm |
| Artikelgewicht | 2.9 Kilogramm |
| Farbe | Nussbaum |
| Bildschirmgröße | 2.4 Zoll |
| Konnektivitätstechnologie | Aux, Bluetooth, Wi-Fi, LAN |
| Bluetooth-Version | 5.3 |
| Unterstützte Funkbänder | DAB+, FM, Internetradio |
| Stromquelle | Corded Electric (220 Volt) |
| Besondere Merkmale | Integrated Clock, Sleep Timer, Alarm, Remote Control, Preset Stations |
| Kompatible Geräte | Smartphone, Tablet, Headphones, MP3 Player, USB Storage Device |
9. Garantie und Support
Informationen zur Garantie und technische Unterstützung finden Sie auf der Ihrem Produkt beiliegenden Garantiekarte oder wenden Sie sich an Ihren Händler. Bewahren Sie Ihren Kaufbeleg für eventuelle Garantieansprüche auf.


