1. Einleitung
This manual provides detailed instructions for the installation, operation, and maintenance of your Cooler Master Elite 481 Wood Computer Case. Please read this manual thoroughly before beginning installation to ensure proper setup and safe usage. Keep this manual for future reference.
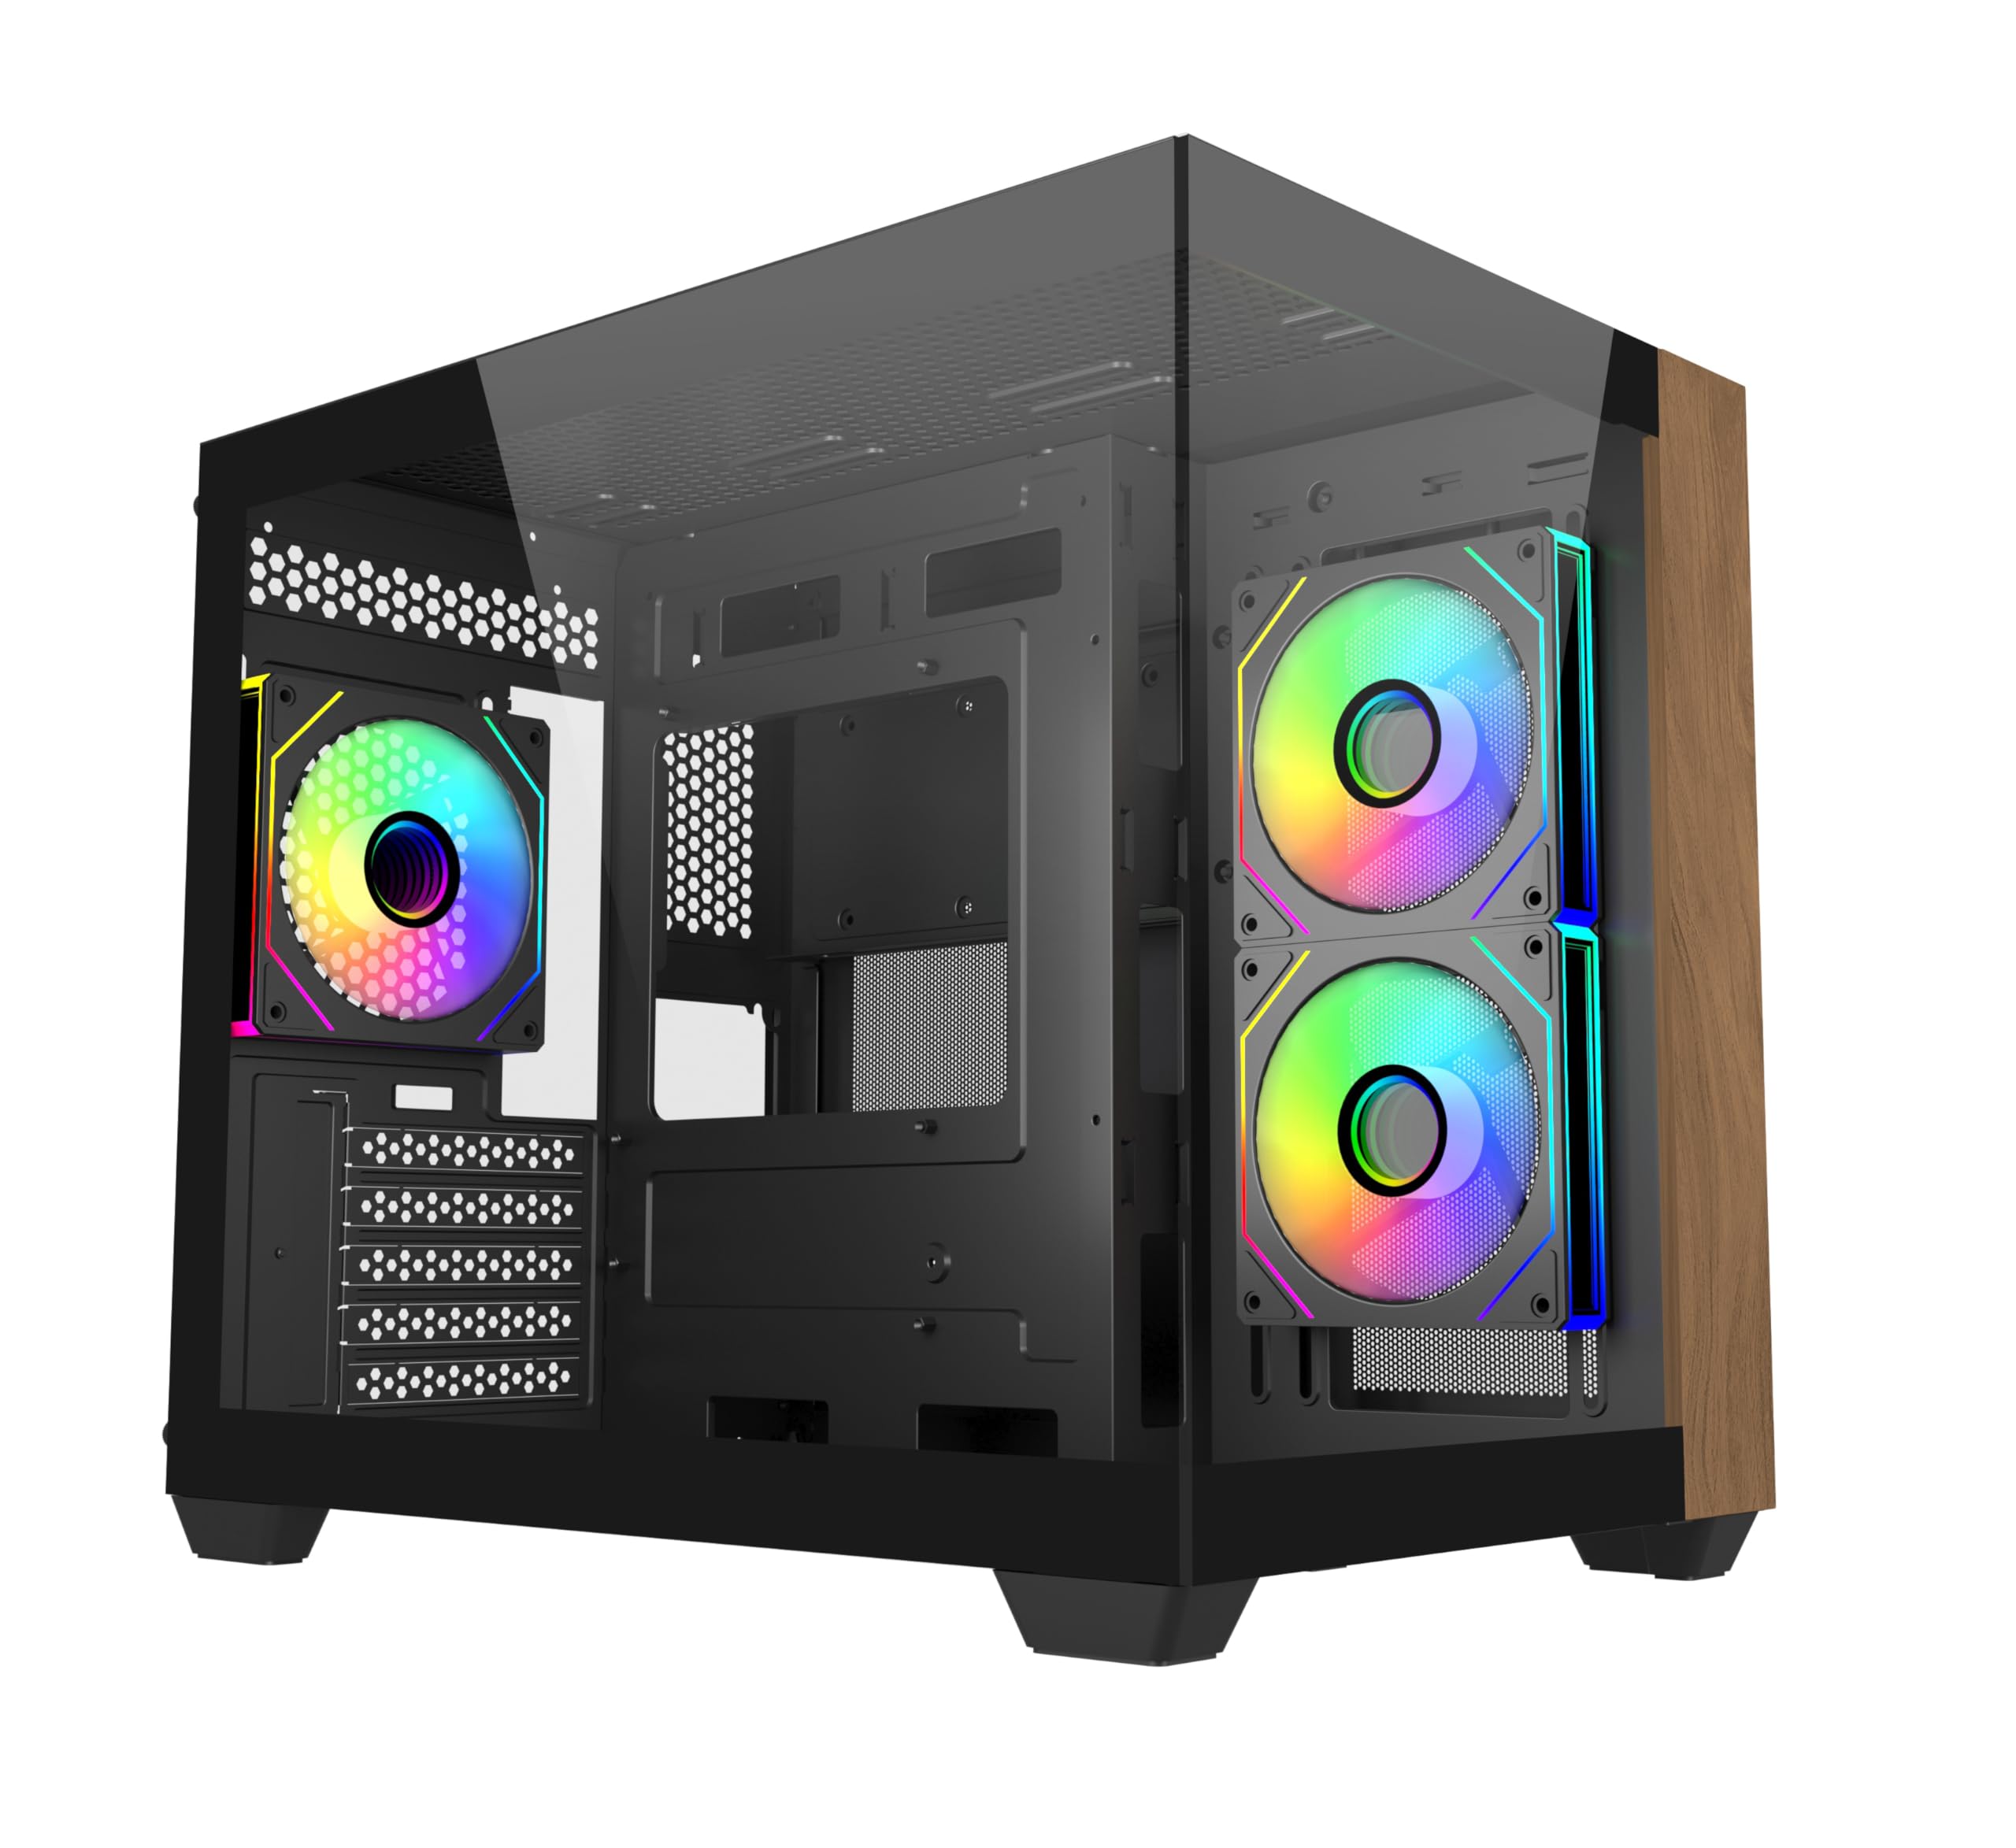
Bild 1.1: Vorderseite view of the Cooler Master Elite 481 Wood Computer Case.
2. Sicherheitshinweise
- Always disconnect the power supply from the wall outlet before installing or servicing any components inside the computer case.
- Avoid exposing the case to moisture, dust, or extreme temperatures.
- Behandeln Sie gehärtete Glasscheiben mit Vorsicht. Sie sind zerbrechlich und können bei Stürzen oder Stößen brechen.
- Ensure all cables are routed properly and secured to prevent interference with fans or other moving parts.
- Do not attempt to modify the case or its components, as this may void your warranty and pose a safety risk.
3. Packungsinhalt
Vergewissern Sie sich vor Beginn der Installation, dass alle Komponenten vorhanden sind:
- Cooler Master Elite 481 Wood Computer Case
- Zubehörbox (Schrauben, Abstandshalter, Kabelbinder usw.)
- 3 x Pre-installed ARGB Fans (2 reverse-blade side intake, 1 rear exhaust)
- Benutzerhandbuch (dieses Dokument)
4. Einrichtung und Installation
4.1 Vorbereitung des Falls
Carefully remove the case from its packaging. Place it on a stable, flat surface. Remove the tempered glass side panels by unscrewing the retaining screws and gently sliding them off. Store them safely to prevent damage.

Image 4.1: The case features dual tempered glass panels for a panoramic view.
4.2 Motherboard-Installation
The Elite 481 Wood supports mATX motherboards. Install the necessary standoffs for your motherboard form factor. Carefully place your motherboard into the case, aligning it with the standoffs, and secure it with screws.
4.3 Installation des Netzteils (PSU)
The case features a top-mounted PSU chamber in the right compartment. Install your PSU into this designated area and secure it with screws. Route the necessary power cables through the cable management cutouts.
4.4 Installation des Speicherlaufwerks
Utilize the available mounting points for 2.5-inch SSDs and 3.5-inch HDDs. Secure drives using the provided screws or tool-less mechanisms where applicable.
4.5 Installation der Grafikkarte (GPU)
The case supports GPUs up to 410mm in length. Remove the necessary PCIe slot covers, insert your graphics card into the PCIe slot on your motherboard, and secure it with the retaining clip and screw.

Image 4.2: The case accommodates large graphics cards up to 410mm.
4.6 Cooling System Installation (Fans & Radiators)
The Elite 481 Wood supports up to 9 fans and offers extensive radiator support:
- Vorinstallierte Lüfter: 2 x 120mm reverse-blade ARGB fans (side intake), 1 x 120mm ARGB fan (rear exhaust).
- Kühlerhalterung: Dual 360mm radiators (top and bottom), and a 280mm side radiator.
Install additional fans or radiators as needed, ensuring proper airflow direction for optimal cooling.

Image 4.3: Vertical cooling configuration with multiple fan mounts and radiator support.
4.7 Kabelmanagement
The dual-chamber architecture provides 95mm of cable management space in the right chamber. Utilize the cable cutouts and included cable ties to route and secure cables neatly, ensuring unobstructed airflow and a clean build appearance.
4.8 Connecting Front I/O Panel
Connect the front I/O panel cables (USB 3.0, USB 3.2 Gen 2x2 Type-C, audio, power, reset, LED) to the corresponding headers on your motherboard. Refer to your motherboard manual for specific header locations.

Image 4.4: The upgraded high-speed I/O panel features USB 3.2 Gen 2x2 Type-C and dual USB 3.0 ports.
5. Bedienungsanleitung
5.1 Ein-/Ausschalten
Press the power button on the front I/O panel to turn your system on or off. A short press typically powers on, while a longer press (usually 4-5 seconds) will force a shutdown.
5.2 ARGB-Lüftersteuerung
The pre-installed ARGB fans are compatible with major motherboard ARGB software for synchronized lighting control. Connect the fan ARGB cables to your motherboard's 3-pin 5V ARGB header. Use your motherboard's software (e.g., ASUS Aura Sync, MSI Mystic Light, Gigabyte RGB Fusion, ASRock Polychrome Sync) to customize lighting effects.

Image 5.1: Pre-installed ARGB fans with motherboard sync support.
6. Wartung
- Staubfilter: The case features mesh panels on the top and bottom for ventilation. Regularly clean these dust filters to maintain optimal airflow and prevent dust buildup inside the system. Dust filters can typically be removed, cleaned with compressed air or water, and reinstalled.
- Außenreinigung: Wischen Sie die Außenflächen mit einem weichen, damp cloth. Avoid using harsh chemicals or abrasive materials that could damage the finish or the wood panel.
- Innenreinigung: Periodically use compressed air to remove dust from internal components, especially fan blades and heatsinks. Ensure the system is powered off and unplugged before cleaning.
7. Fehlerbehebung
- System schaltet sich nicht ein:
- Check if the power supply is properly connected to the wall outlet and the PSU switch is in the 'ON' position.
- Ensure all power cables from the PSU are securely connected to the motherboard and components.
- Verify that the front panel power button cable is correctly connected to the motherboard's power header.
- Lüfter drehen sich nicht/ARGB funktioniert nicht:
- Check if fan power cables are securely connected to the motherboard or fan controller.
- Ensure ARGB cables are connected to a compatible 3-pin 5V ARGB header on the motherboard.
- Confirm that ARGB software is installed and configured correctly on your operating system.
- Hohe Temperaturen:
- Verify that all case fans are spinning and oriented correctly for optimal airflow (bottom-to-top is recommended for this case).
- Clean any dust buildup on filters, fans, and heatsinks.
- Ensure proper thermal paste application on CPU cooler.
8. Spezifikationen
| Besonderheit | Spezifikation |
|---|---|
| Modellnummer | E481-KHNN-S00 |
| Marke | Kühler Meister |
| Gehäusetyp | Mittlerer Turm |
| Motherboard-Kompatibilität | Micro ATX |
| Farbe | Schwarz |
| Abmessungen (L x B x H) | 53.1 x 54.4 x 26.1 cm |
| Artikelgewicht | 13 kg |
| GPU-Freigabe | Bis zu 410 mm |
| Kühlerhalterung | Top: 360mm, Bottom: 360mm, Side: 280mm |
| Vorinstallierte Lüfter | 3 x ARGB (2x side intake, 1x rear exhaust) |
| E/A-Anschlüsse | 2 x USB 3.0 Type-A, 1 x USB 3.2 Gen 2x2 Type-C |
| Platz für Kabelmanagement | 95 mm |
9. Garantieinformationen
Cooler Master products are covered by a limited warranty. For specific warranty terms and conditions, please refer to the warranty card included with your product or visit the official Cooler Master webBewahren Sie Ihren Kaufbeleg für Garantieansprüche auf.
10. Unterstützung
For technical support, product inquiries, or assistance with installation, please visit the official Cooler Master support website or contact their customer service department. You can find contact information and FAQs on their webWebsite.
Offizieller Cooler Master WebWebsite: www.coolermaster.com


