1. Einleitung
The Aurzen Roku TV Smart Projector (Model A02A11) offers a comprehensive home entertainment solution with a built-in Roku streaming experience. This portable projector delivers 1080P Full HD resolution, Dolby Audio, and convenient features like auto-focus and keystone correction. Designed for versatility, it is suitable for various environments, from home theaters to outdoor movie nights, and integrates seamlessly with smart home ecosystems.
2. Lieferumfang
- Aurzen EAZZE D1R Roku TV Projector x1
- Fernbedienung x1 (2 AAA-Batterien nicht enthalten)
- Netzkabel x1
- Warranty Card x1 & Quick Start Guide x1
- Note: No HDMI Cable Included
3. Produktüberschreitungview
The Aurzen Roku TV Smart Projector combines high-quality projection with the convenience of the Roku streaming platform. Below are its key features and components.
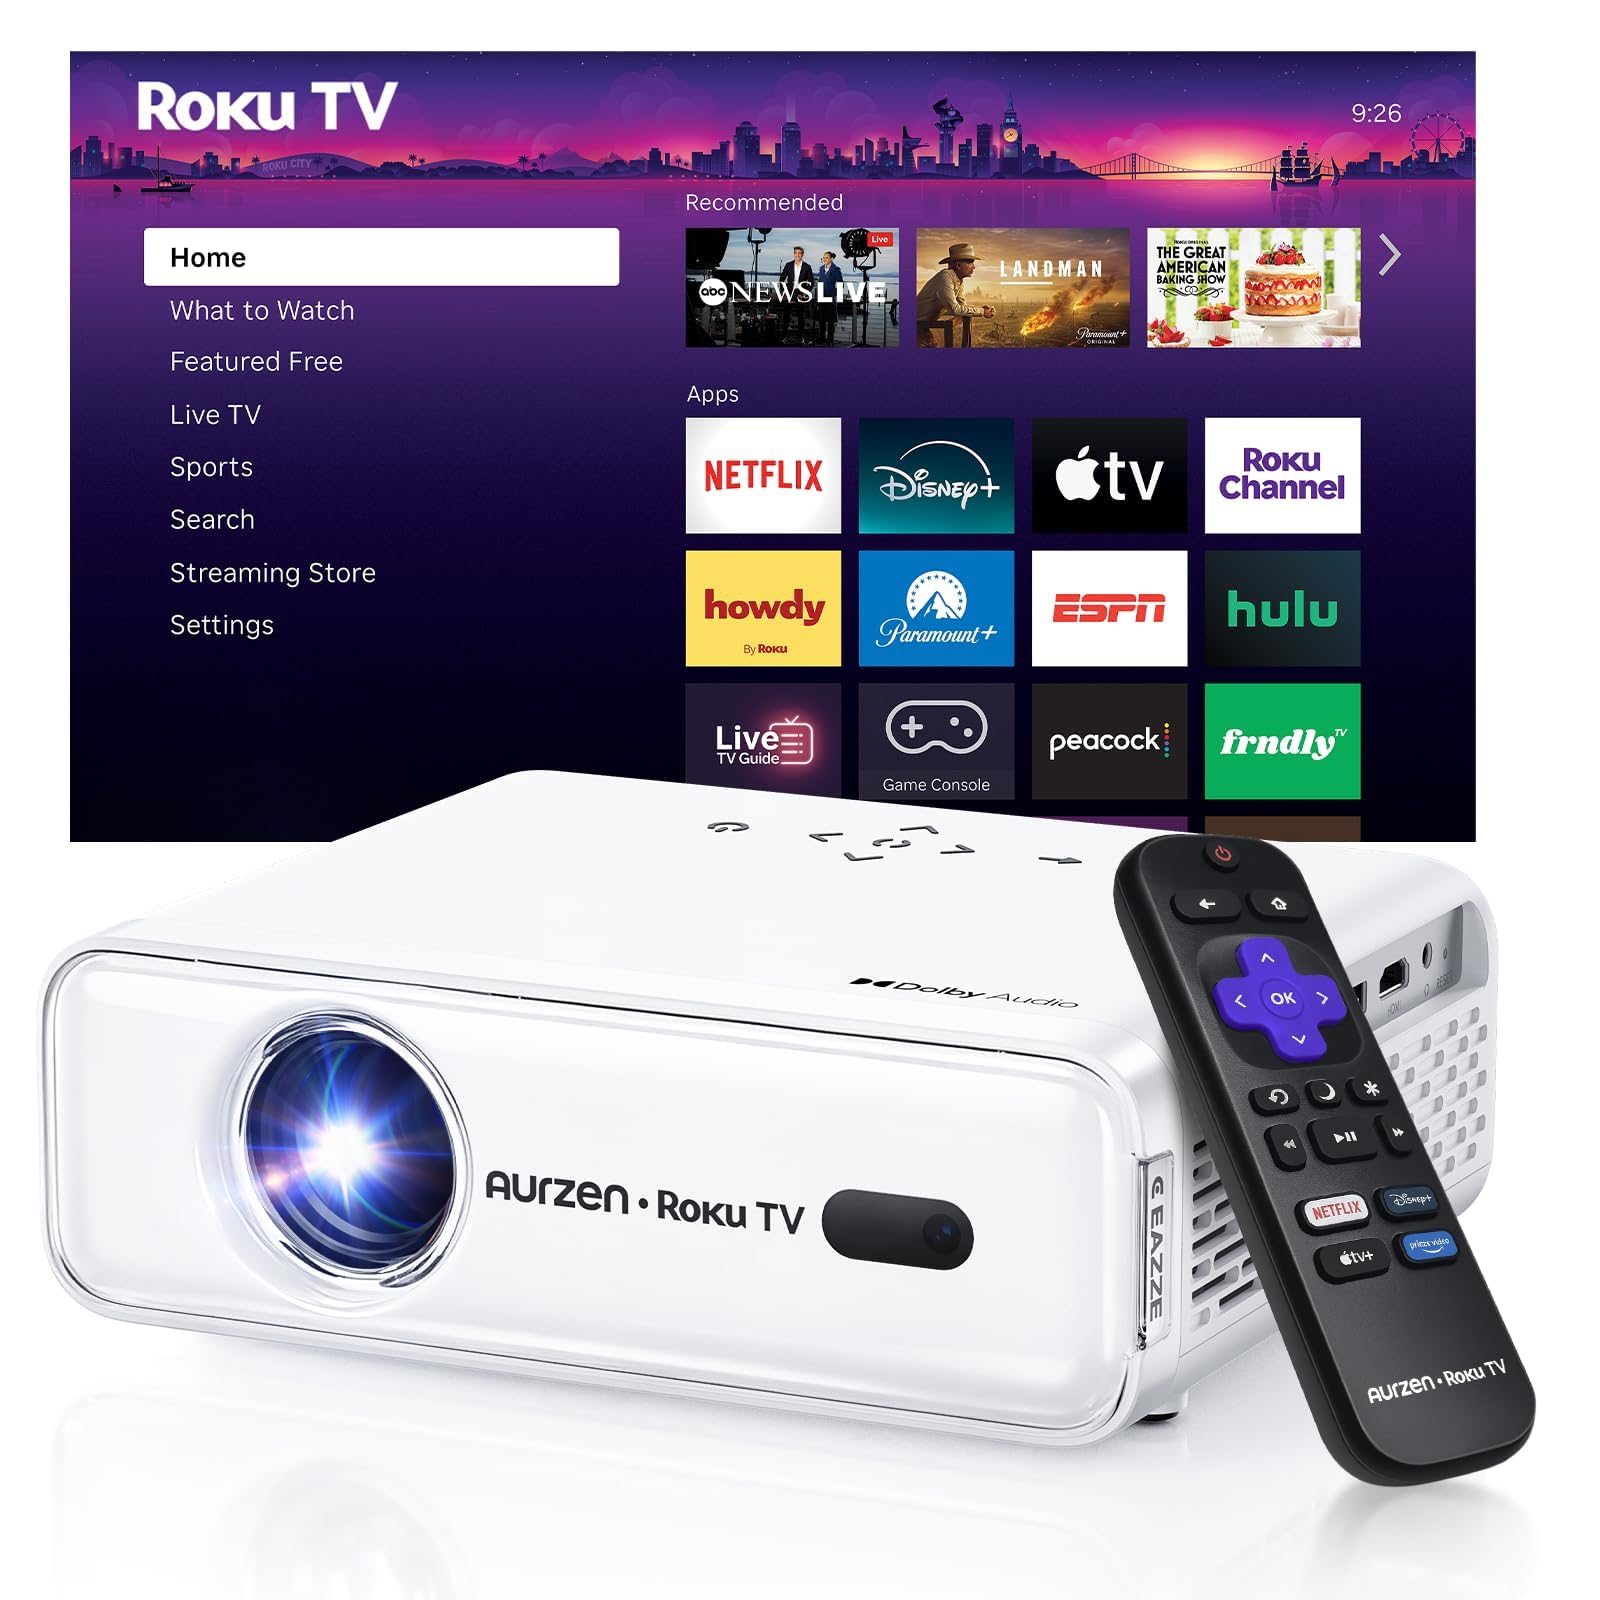
Abbildung 1: Vorderseite view of the Aurzen Roku TV Smart Projector.
3.1. Roku TV Streaming Experience
Enjoy America's #1 TV streaming platform built directly into your projector. Access popular apps like Netflix, Prime Video, Disney+, Hulu, YouTube, Roku Channel, and Apple TV. A Roku account and internet connection are required for activation.

Figure 2: The simple and fast Roku TV home screen interface.
3.2. High-Definition Visuals
The projector offers 1080P Full HD resolution, providing enhanced clarity and detail for your favorite movies and TV shows. It can project a massive screen size from 60 to 150 inches, ideal for home theater and outdoor viewing.
3.3. Brightness Levels
Choose from 3 brightness levels to suit your environment:
- Low (LOW POWER): For dim environments like basements.
- Medium (STANDARD): Suitable for cozy bedrooms.
- High (VIVID): For living rooms or outdoor nights, cutting through extra light for sharp visuals.
3.4. Automatische Anpassungen
Advanced auto-focus and auto-keystone correction features instantly adjust for a sharp, aligned screen. Simply place the projector, power it on, and enjoy a perfectly adjusted image without manual setup.

Figure 3: Illustration of the automatic focus and keystone correction.
3.5. Immersive Audio
Experience deep, resonant audio with Dolby Audio and built-in Dual 5W speakers. These speakers deliver crisp, powerful sound that fills the room, making you feel part of the action.

Figure 4: Dolby Audio integration for enhanced sound quality.
3.6. Konnektivitätsoptionen
The projector supports dual-band WiFi (2.4G/5G) for smooth, lag-free streaming and Bluetooth 5.2 for connecting to headphones or external speakers. It also includes HDMI and USB ports for wired connections.
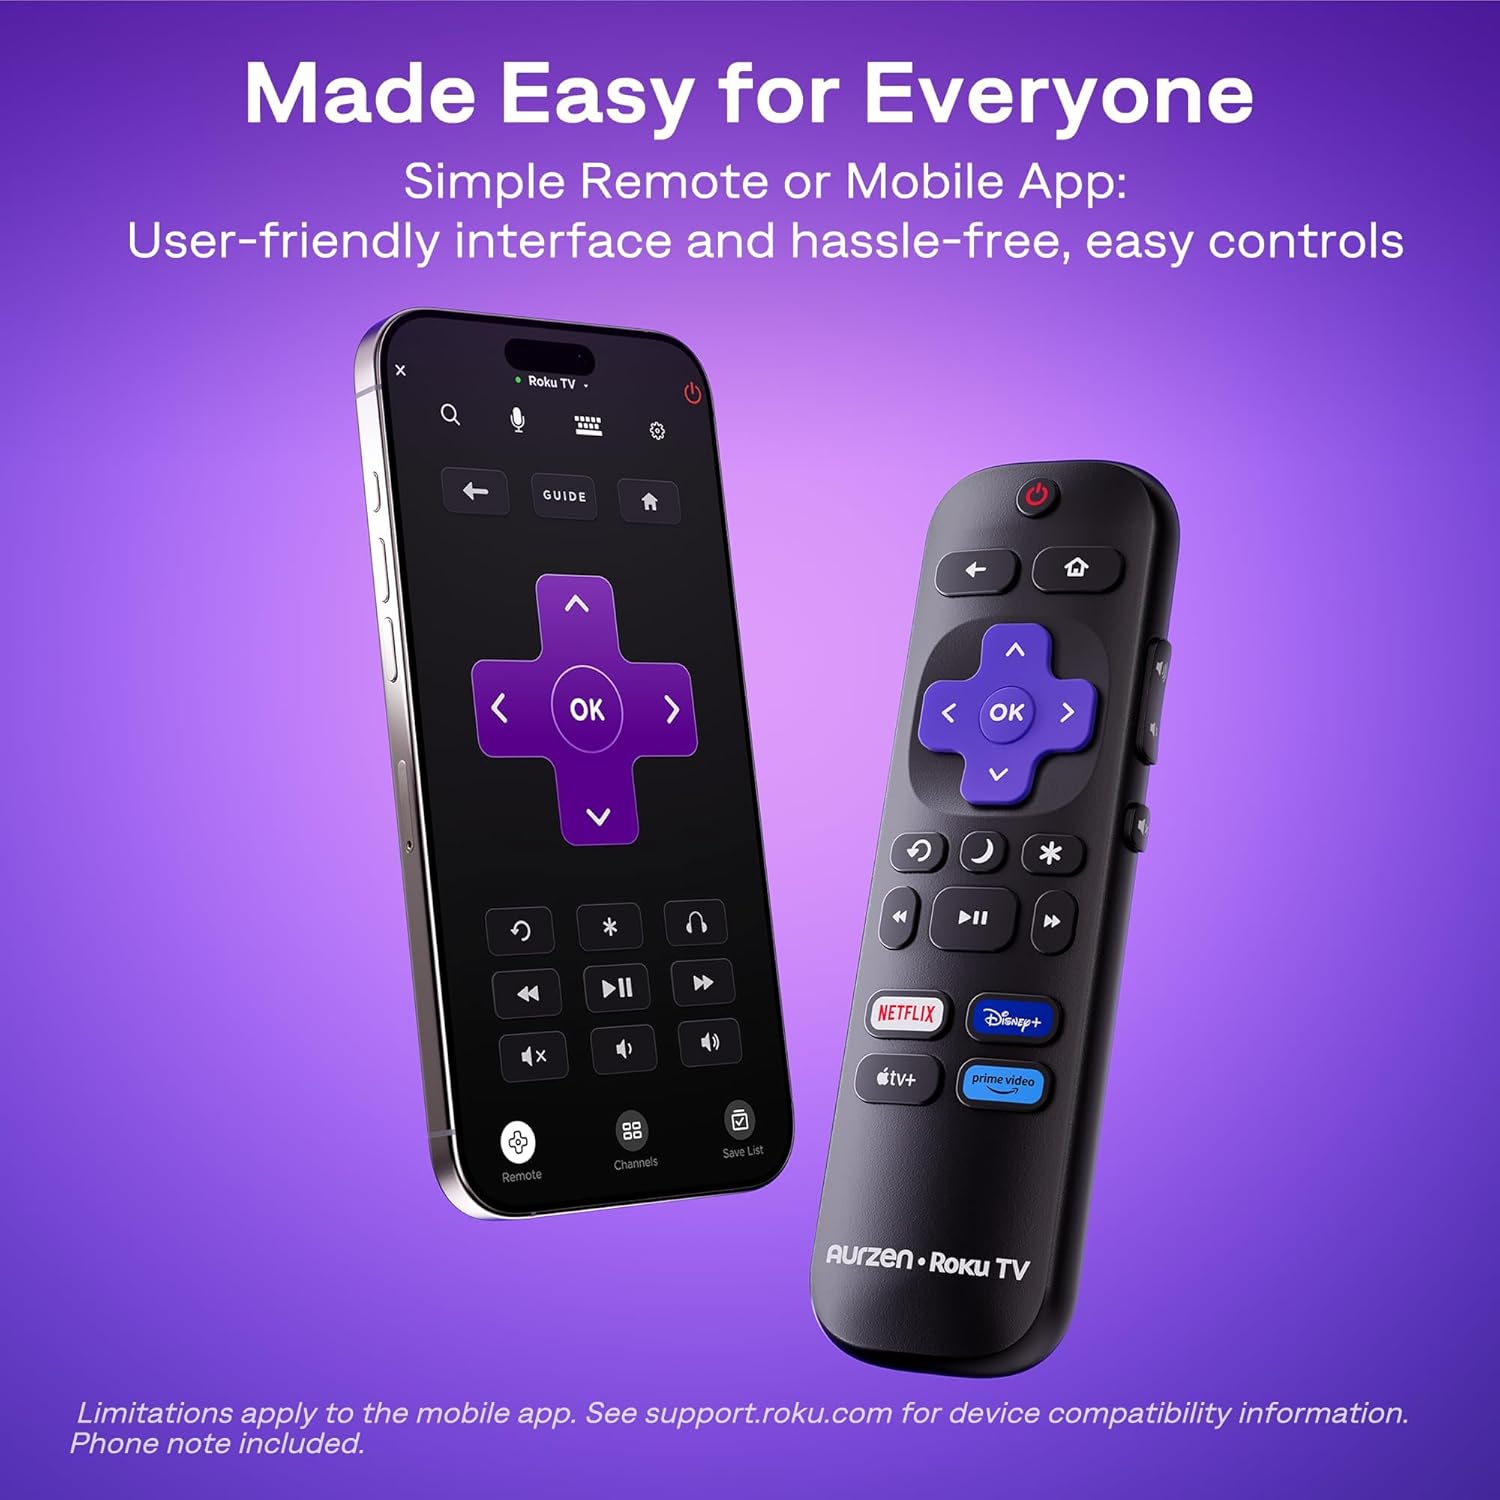
Abbildung 5: Rückseite view of the projector showing USB, HDMI, and audio ports.
3.7. Smart Home Integration
The projector is compatible with Apple HomeKit, Siri, Alexa, and Google Assistant, allowing for easy voice control and seamless integration into your smart home ecosystem.

Figure 6: Projector's compatibility with various smart home voice assistants.
4. Einrichtung
4.1. Erstes Einschalten
- Schließen Sie das Netzkabel an den Projektor und eine Steckdose an.
- Drücken Sie die Einschalttaste am Projektor oder auf der Fernbedienung, um ihn einzuschalten.
- The projector will automatically perform auto-focus and auto-keystone correction upon startup.
4.2. Roku Account and Internet Connection
A Roku account and an active internet connection are required for full functionality and activation of the Roku streaming platform. Follow the on-screen prompts to connect to your Wi-Fi network and set up or log in to your Roku account.
5. Bedienungsanleitung
5.1. Navigating the Roku Home Screen
The Roku interface offers intuitive navigation, quick search, and personalized recommendations. Use the included remote control or the Roku mobile app to browse channels, search for content, and access settings.
5.2. Fernbedienung
The included remote control provides easy access to all Roku functions. For enhanced control, including typing and voice commands, download the Roku mobile app on your smartphone.
5.3. Einstellen der Helligkeit
To change the brightness mode, navigate to the projector settings via the Roku menu and select your preferred brightness level (Low, Medium, or High) based on your viewing-Umgebung.
5.4. Casting and Screen Mirroring
The projector supports Apple AirPlay for seamless streaming of videos, photos, and music from your Apple devices. It also supports other casting features for compatible devices.

Figure 7: Stream content effortlessly using Apple AirPlay.
6. Konnektivität
6.1. WiFi Verbindung
Connect to your home network using dual-band Wi-Fi (2.4G/5G) for stable and fast streaming. Navigate to the network settings in the Roku menu to set up your Wi-Fi connection.
6.2. Bluetooth-Kopplung
Pair Bluetooth 5.2 compatible headphones or speakers for a private listening experience or enhanced audio. Access Bluetooth settings in the Roku menu to pair your devices.
6.3. HDMI and USB Ports
Use the HDMI port to connect external devices such as gaming consoles, Blu-ray players, or laptops. The USB port allows for playback of media files von einem USB-Laufwerk.
7. Wartung
7.1. Reinigung der Linse
Gently wipe the projector lens with a soft, lint-free cloth. For stubborn smudges, use a lens cleaning solution specifically designed for optical surfaces. Avoid abrasive materials that could scratch the lens.
7.2. Reinigung der Lüftungsschlitze
Regularly clean the projector's ventilation grilles to prevent dust buildup, which can affect performance and lead to overheating. Use a soft brush or a can of compressed air to remove dust.
7.3. Speicherung
When not in use, store the projector in a cool, dry place away from direct sunlight and extreme temperatures. If storing for an extended period, consider using the original packaging or a protective case to prevent dust accumulation and damage.
8. Fehlerbehebung
8.1. Dim Image
Stellen Sie sicher, dass viewing environment is sufficiently dark. Adjust the projector's brightness setting to High (VIVID) mode if there is ambient light. For optimal clarity, use the projector in a dark room.
8.2. Unscharfes oder verzerrtes Bild
The projector features automatic focus and keystone correction. If the image appears blurry or distorted, try moving the projector slightly to trigger the automatic adjustment. Alternatively, navigate to 'Projector settings' in the Roku menu to manually adjust focus and keystone.
8.3. Kein Ton oder schlechte Audioqualität
Check the projector's volume settings. If using external Bluetooth speakers, ensure they are properly paired and charged. For wired connections, verify that audio cables are securely connected. The built-in speakers support Dolby Audio, but for a more immersive experience, consider connecting to a dedicated sound system via Bluetooth or the audio output port.
8.4. Verbindungsprobleme
For Wi-Fi problems, ensure your router is working and the projector is within range. Reconnect to the Wi-Fi network via Roku settings. For Bluetooth, ensure the device is in pairing mode. For HDMI/USB, check cable connections and ensure the correct input source is selected.
8.5. Input Lag for Gaming
While the projector offers a large screen, it may not be ideal for fast-paced competitive gaming due to potential input lag. For optimal gaming performance, a dedicated gaming monitor or TV is recommended.
9. Spezifikationen
| Besonderheit | Detail |
|---|---|
| Marke | Aurzen |
| Modellnummer | A02A11 |
| Bildschirmauflösung | 1920 x 1080 (1080P Full HD) |
| Helligkeit | 280 ANSI Lumen |
| Konnektivitätstechnologie | WiFi (2.4G/5G), Bluetooth 5.2, HDMI, USB, Audio |
| Besondere Merkmale | Roku Streaming Experience, Dolby Audio, Auto Focus & Keystone, Official Apple AirPlay, Ecosystem Compatible (Apple HomeKit, Siri, Alexa, Google Assistant) |
| Artikelgewicht | 4.64 Pfund |
| Verpackungsabmessungen | 13.19 x 9.45 x 4.29 Zoll |
| Farbe | Weiß |
10. Garantie und Support
Aurzen products are designed for quality and reliability. For warranty information, please refer to the Warranty Card included in your product packaging. For technical support or customer service, please visit the official Aurzen webBesuchen Sie die Website oder kontaktieren Sie direkt deren Kundendienst. Bewahren Sie Ihren Kaufbeleg für Garantieansprüche auf.
11. Sicherheitshinweise
- Schauen Sie nicht direkt in die Projektorlinse, wenn der lamp is on, as this can cause eye damage.
- Sorgen Sie für ausreichende Belüftung um den Projektor herum, um eine Überhitzung zu vermeiden. Blockieren Sie keine Lüftungsöffnungen.
- Halten Sie den Projektor von Wasser oder anderen Flüssigkeiten fern.
- Use only the power cord provided with the projector.
- Do not attempt to open or repair the projector yourself. Refer all servicing to qualified service personnel.
- Außerhalb der Reichweite von Kindern aufbewahren.


