1. Einleitung
This manual provides detailed instructions for the setup, operation, and maintenance of your Play Mac Pro Smart Projector. Please read this manual thoroughly before using the projector to ensure proper functionality and to maximize your viewErfahrung. Bewahren Sie dieses Handbuch zum späteren Nachschlagen auf.
2. Produktüberschreitungview
2.1 Hauptmerkmale
- Built-in Official Google TV: Access popular streaming apps directly.
- Google Sprachassistent: Control the projector and search content using voice commands.
- Hohe Helligkeit: 2500 ANSI Lumens for clear images in various lighting conditions.
- Native 1080P-Auflösung: Supports 4K video input for detailed visuals.
- Automatische Anpassungen: Auto Focus and Auto Keystone correction for a clear, rectangular image.
- Erweiterte Konnektivität: WiFi 6 and Bluetooth 5.2 for seamless wireless connections.
- Vielseitige Installation: Supports ceiling, tabletop, tripod, and wall mounting.
- Mehrere Ports: HDMI ARC, USB, and 3.5mm audio for external devices.
2.2 Packungsinhalt
Stellen Sie sicher, dass alle Artikel im Paket vorhanden sind:
- Play Mac Pro Smart Projector
- Fernbedienung
- Stromkabel
- Benutzerhandbuch (dieses Dokument)
2.3 Projektorkomponenten
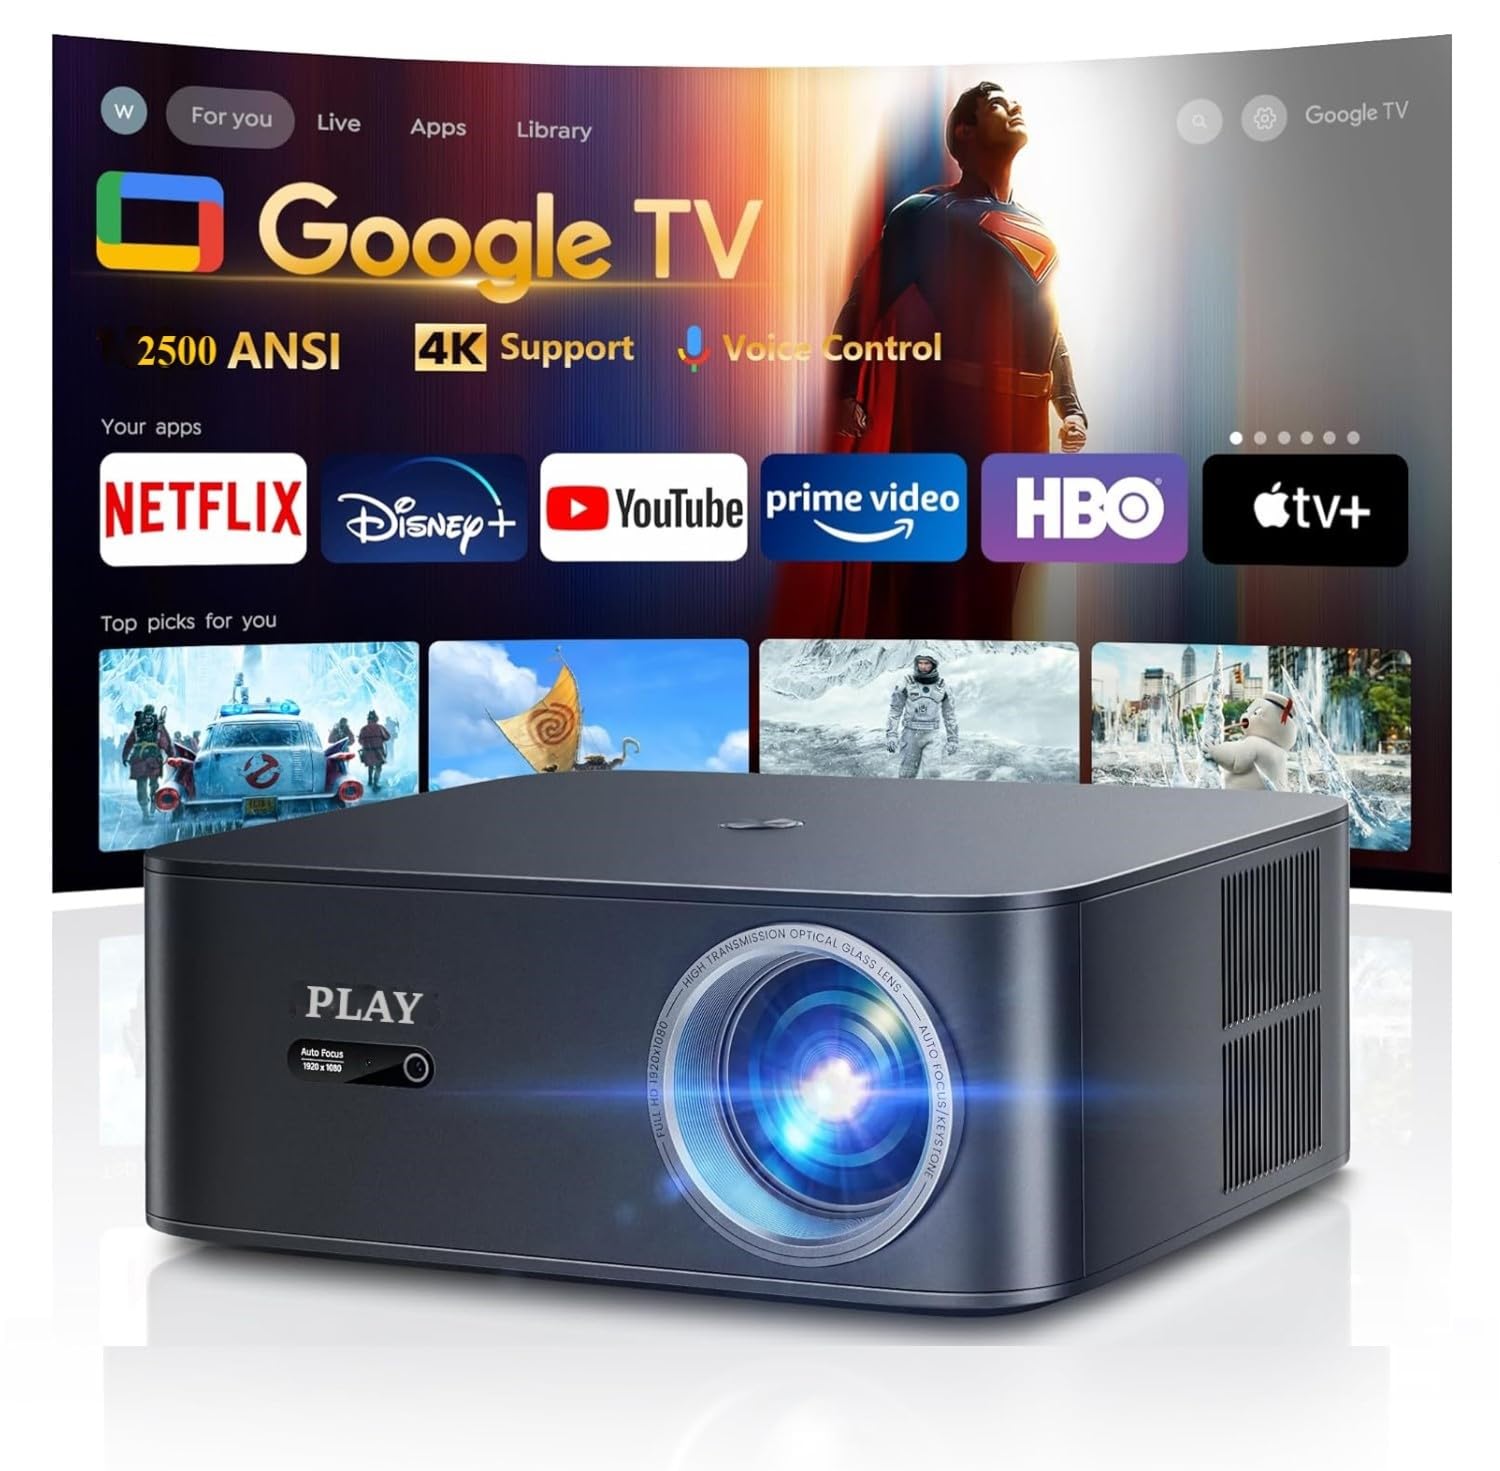
Abbildung 2.3.1: Front view of the Play Mac Pro Smart Projector displaying the Google TV interface with various streaming app icons. The projector features a lens on the front and ventilation on the sides.

Abbildung 2.3.2: Hinteren view of the Play Mac Pro Smart Projector, highlighting the HDMI, USB, and power input ports for connecting external devices and power supply.
3. Einrichtung
3.1 Platzierungsoptionen
The Play Mac Pro projector offers flexible placement options:
- Tischmontage: Stellen Sie den Projektor auf eine ebene Fläche.
- Deckenmontage: Securely attach the projector to the ceiling using compatible mounting hardware (not included). The projector has four M5 screw holes at the bottom for this purpose.
- Stativhalterung: Use a standard tripod for portable setup.
- Wandhalterung: Attach to a wall using appropriate brackets (not included).

Abbildung 3.1.1: Illustration of versatile installation methods, including tray bracket, desktop setup, and ceiling mount, demonstrating the projector's adaptability to different environments.
3.2 Stromanschluss
- Schließen Sie das Netzkabel an den Stromeingang des Projektors an.
- Stecken Sie das andere Ende des Stromkabels in eine geeignete Steckdose.
- Drücken Sie den Netzschalter am Projektor oder an der Fernbedienung, um ihn einzuschalten.
4. Bedienungsanleitung
4.1 Google TV-Oberfläche
The Play Mac Pro projector features an officially licensed Google TV operating system, providing access to a wide range of streaming applications and content.
- Upon startup, the Google TV home screen will display, offering personalized content recommendations and quick access to installed apps like Netflix, Disney+, YouTube, and Prime Video.
- Navigate the interface using the provided remote control.

Abbildung 4.1.1: The Google TV home screen, illustrating the unified platform for streaming, live TV, sports, and music, with numerous app icons visible.
4.2 Google Sprachassistent
Utilize the built-in Google Voice Assistant for hands-free control:
- Press and hold the dedicated voice control button on your remote.
- Speak your command clearly, such as "Open Netflix," "Play Inside Out 2," "What's the weather?" or "Turn up the volume."
- Release the button after speaking. The projector will process your command.

Abbildung 4.2.1: A hand holding the projector's remote control, demonstrating the use of Google Voice Assistant with example commands displayed on the projected screen.
5. Konnektivität
5.1 Drahtlose Konnektivität (WiFi 6 & Bluetooth 5.2)
- WLAN 6: Connect to your home network for internet access and streaming. Supports Airplay (iOS devices) and Miracast (Android & Windows devices) for screen mirroring.
- Bluetooth 5.2: Pair with external Bluetooth speakers, headphones, or sound systems for enhanced audio.

Abbildung 5.1.1: A smartphone wirelessly casting content to the projector, illustrating the WiFi 6 and Bluetooth 5.2 connectivity features for seamless media sharing.
5.2 Kabelverbindungen
The projector is equipped with the following ports for wired connections:
- HDMI-ARC: Connect to laptops, gaming consoles (PS5, Nintendo Switch), or soundbars. HDMI ARC simplifies audio connection to compatible sound systems.
- USB: Schließen Sie USB-Laufwerke zur Medienwiedergabe an.
- 3.5-mm-Audioanschluss: Schließen Sie externe Lautsprecher oder Kopfhörer an.

Abbildung 5.2.1: An illustration detailing the projector's connectivity options, showing how it seamlessly connects to various external devices such as phones, laptops, game consoles, and USB drives via its HDMI, USB, and audio ports.
6. Image and Audio Adjustments
6.1 Automatische Anpassungen
The projector features intelligent automatic adjustments for optimal image quality:
- Autofokus: The projector automatically adjusts the lens to achieve a sharp image.
- Automatische Trapezverzerrung: The projector automatically corrects trapezoidal distortion to ensure a rectangular image, even when projected at an angle.

Abbildung 6.1.1: A visual representation of the projector's Auto Focus and Auto Keystone features, demonstrating real-time screen adjustments for a perfectly sharp and rectangular image.
6.2 Manuelle Anpassungen
- Zoom: Stellen Sie die Bildgröße von 50 % auf 100 % ein, ohne den Projektor zu bewegen.
- Seitenverhältnis: Select between 4:3 and 16:9 aspect ratios to match your content.
- Helligkeit Kontrast: Customize image brightness and contrast settings via the Google TV menu.
- Schlaf-Timer: Stellen Sie einen Timer ein, damit sich der Projektor automatisch ausschaltet.
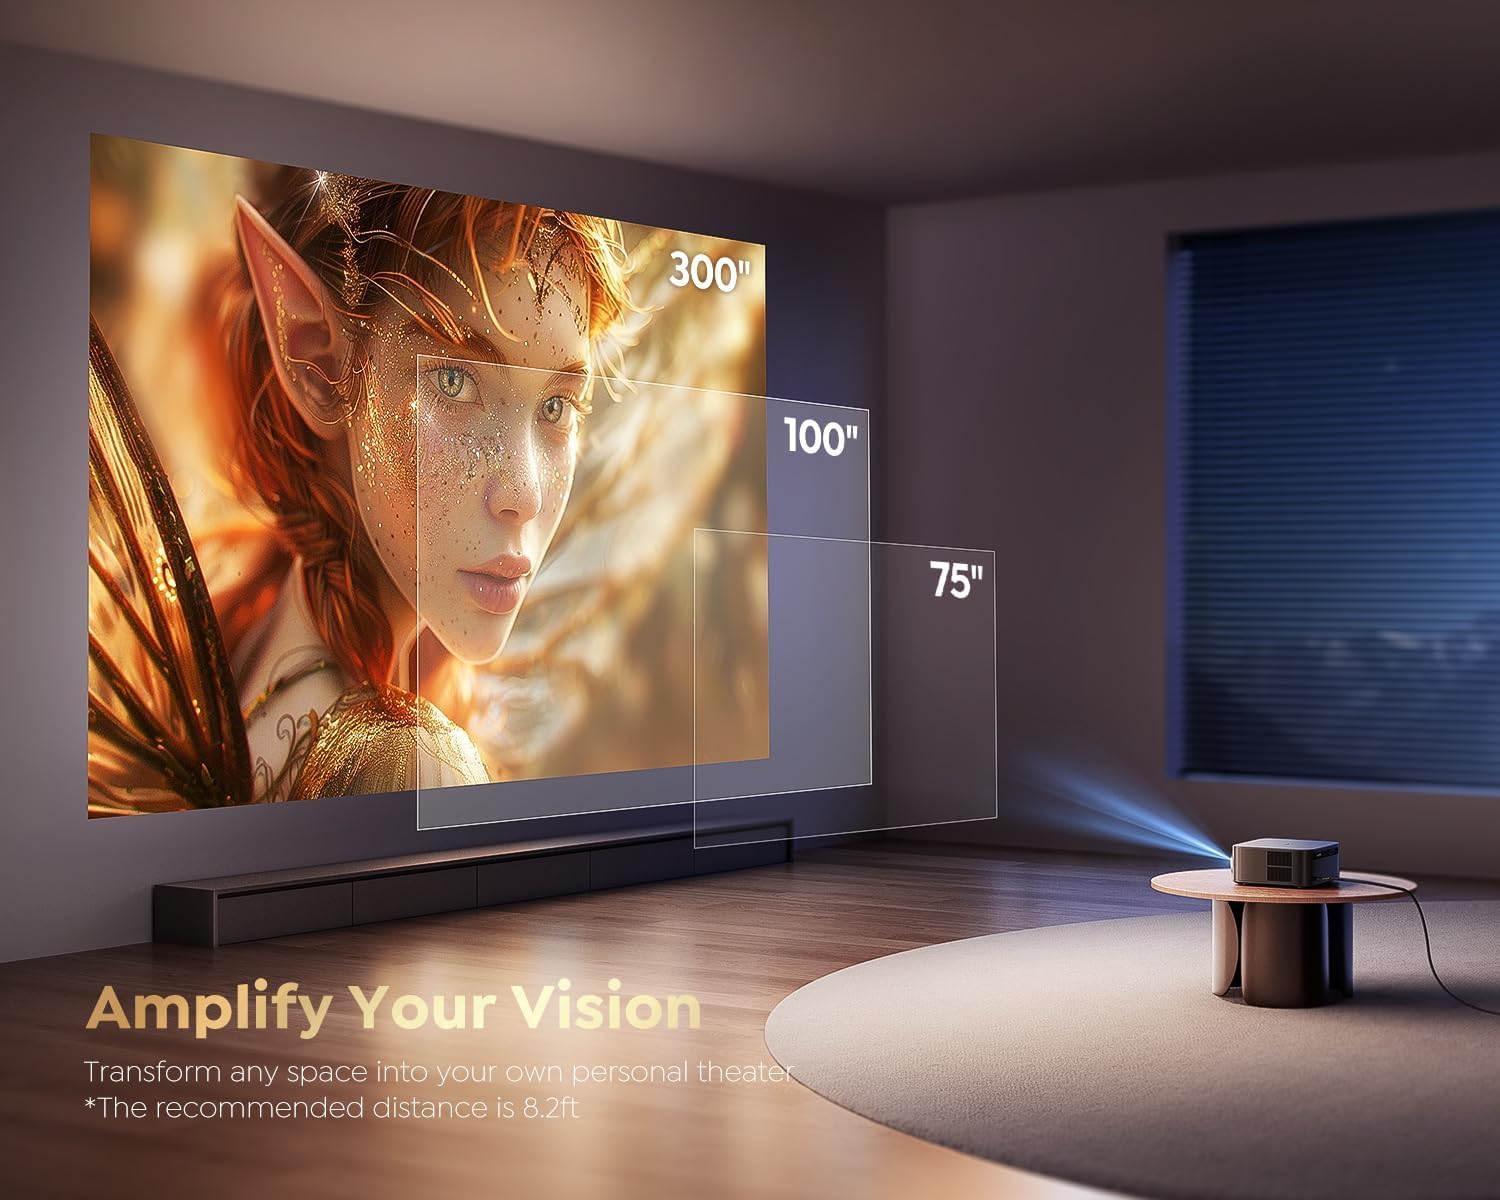
Abbildung 6.2.1: An image illustrating the projector's ability to display various screen sizes, from 75 inches to 300 inches, transforming any space into a personal theater.
6.3 Audio
The projector includes powerful built-in speakers. For external audio, use Bluetooth 5.2 or the HDMI ARC port to connect a soundbar, or the 3.5mm audio port for other audio devices.
7. Wartung
Um die Langlebigkeit und optimale Leistung Ihres Projektors zu gewährleisten, befolgen Sie bitte diese Wartungsrichtlinien:
- Reinigung der Linse: Verwenden Sie ein weiches, fusselfreies Tuch, das speziell für optische Linsen entwickelt wurde. Verwenden Sie keine Scheuermittel oder Lösungsmittel.
- Reinigung der Außenseite: Wischen Sie das Gehäuse des Projektors mit einem weichen, trockenen Tuch ab. Vermeiden Sie die direkte Anwendung von flüssigen Reinigungsmitteln am Gerät.
- Belüftung: Um eine Überhitzung zu vermeiden, stellen Sie sicher, dass die Lüftungsöffnungen des Projektors nicht blockiert sind.
- Lagerung: Wenn Sie den Projektor längere Zeit nicht verwenden, lagern Sie ihn an einem kühlen, trockenen Ort, geschützt vor direkter Sonneneinstrahlung und extremen Temperaturen.
8. Fehlerbehebung
If you encounter issues with your Play Mac Pro Smart Projector, refer to the following common troubleshooting steps:
- Kein Strom: Check if the power cable is securely connected to both the projector and the power outlet. Ensure the outlet is functional.
- Kein Bild: Verify that the input source is correctly selected (e.g., HDMI, Google TV). Check all cable connections. If using wireless casting, ensure both devices are on the same network.
- Verschwommenes Bild: Allow the Auto Focus feature to operate. If the issue persists, check for obstructions in front of the lens or ensure the projector is placed within the recommended projection distance.
- Kein Ton: Check the volume settings on both the projector and any connected external audio devices. Ensure the correct audio output is selected in the projector's settings. If using HDMI ARC, confirm compatibility and proper setup.
- Fernbedienung reagiert nicht: Tauschen Sie die Batterien in der Fernbedienung aus. Stellen Sie sicher, dass sich keine Hindernisse zwischen Fernbedienung und Projektor befinden.
- Probleme mit der WLAN-/Bluetooth-Verbindung: Restart the projector and your router/Bluetooth device. Ensure the projector is within range of the Wi-Fi network or Bluetooth device.
Für weitere Unterstützung wenden Sie sich bitte an den Kundendienst, wie im Abschnitt Garantie und Support beschrieben.
9. Spezifikationen
| Besonderheit | Spezifikation |
|---|---|
| Marke | Spielen |
| Modell | MacPro-PLAY |
| Display-Technologie | LCD |
| Anzeigetyp | LED |
| Helligkeit | 2500 ANSI-Lumen |
| Native Auflösung | 1920 x 1080 (1080 P) |
| Unterstützte Auflösung | Bis zu 3840 x 2160 (4K) |
| Bildkontrastverhältnis | 20000:1 |
| Seitenverhältnis | 16:9 (Unterstützt 4:3) |
| Bildwiederholrate | 60 Hz |
| Betriebssystem | Certified Google TV |
| Sprachsteuerung | Google Sprachassistent |
| Kabellose Konnektivität | WiFi 6, Bluetooth 5.2 |
| Hardware-Schnittstelle | HDMI ARC, USB, 3.5mm Audio |
| Besondere Merkmale | Auto Focus, Auto Keystone, 50%-100% Zoom, Built-in Speaker, Auto Obstacle Avoidance, Auto Screen Alignment |
| Kompatible Geräte | Phone, Laptop, PS5, Nintendo Switch |
| Montagetyp | Ceiling Mount, Table Mount, Tripod Mount, Wall Mount |
| Technische Daten | 14 x 12.5 x 12 cm |
| Artikelgewicht | 1.5 kg |
| Bandtage | 110 Volt |
10. Garantie und Support
Play provides comprehensive support for your Mac Pro Smart Projector:
- Garantie: Enjoy 1-YEAR repair coverage from the date of purchase.
- Technische Unterstützung: Lifetime technical support is available to assist you with any questions or issues you may encounter.
For technical assistance or warranty claims, please refer to the contact information provided with your product packaging or visit the official Play webWebsite.


