1. Einleitung
Thank you for choosing the SOVMIKU 4K NVR 5MP PoE Camera System. This system provides advanced surveillance capabilities with 4K NVR recording, 5MP PoE cameras featuring human detection, 300° pan and 90° tilt functionality, auto-tracking, and two-way audio. Designed for home and business security, this manual will guide you through the installation, operation, and maintenance of your new security system.
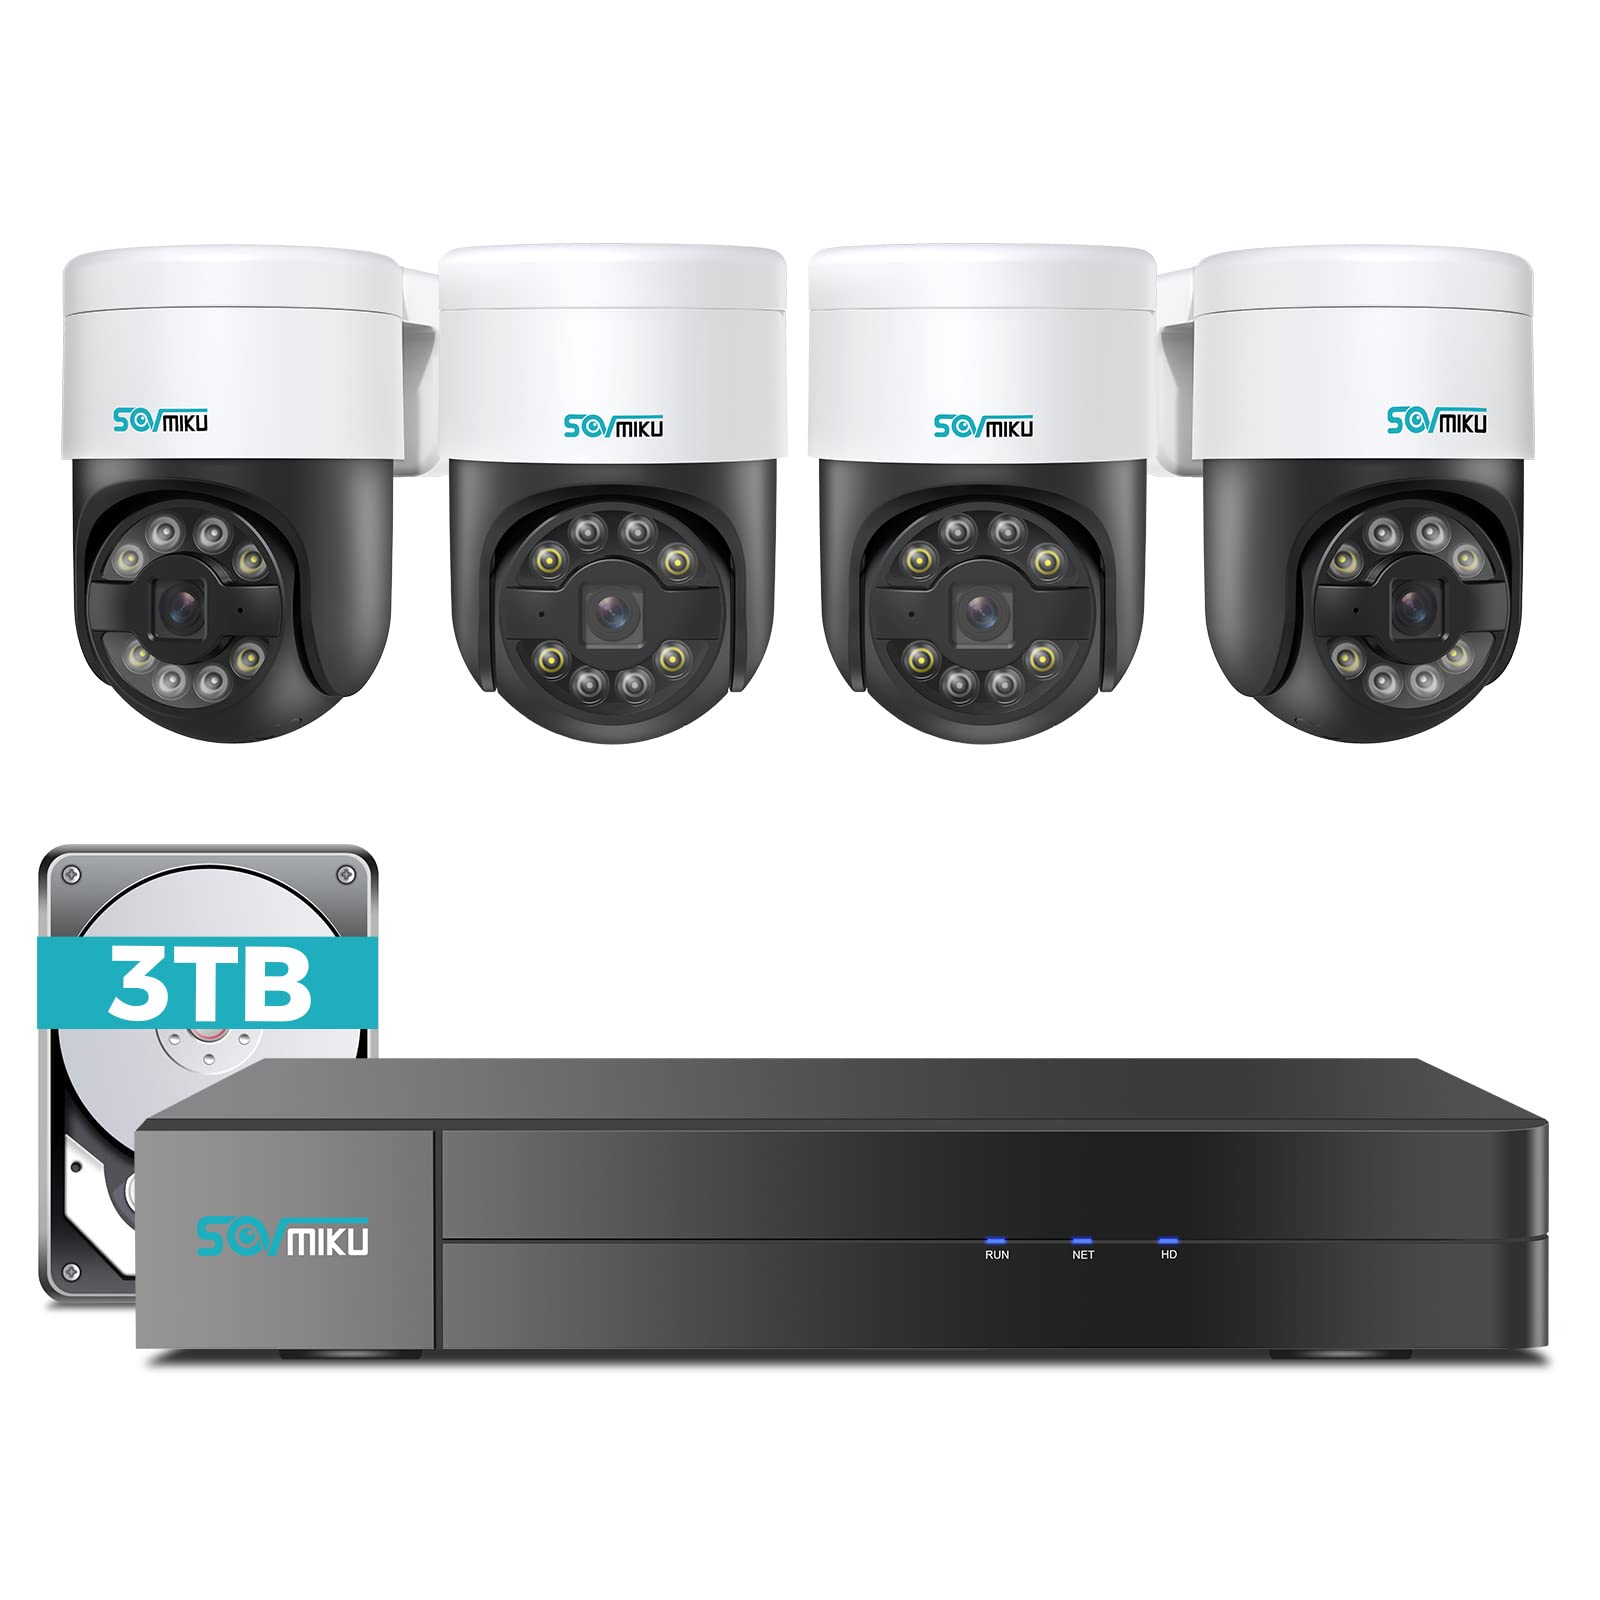
Bild 1.1: Überview of the SOVMIKU 4K NVR 5MP PoE Camera System components.
2. Packungsinhalt
Please check the package contents carefully upon opening. If any items are missing or damaged, contact SOVMIKU customer support.
- 1x 4K Network Video Recorder (NVR) with 3TB HDD
- 4x 5MP PoE Outdoor Security Cameras (PTZ, IP66 rated)
- 1x NVR-Netzteil
- 1x USB-Maus
- 1x HDMI-Kabel
- 4x Ethernet Cables (for cameras)
- 4x Mounting Screw Kits
- 1x Schnellstartanleitung
- 1x Warning Sticker Set

Image 2.1: Illustration of typical package contents for the SOVMIKU PoE Camera System.
3. Einrichtung
3.1 NVR-Ersteinrichtung
- Monitor anschließen: Verbinden Sie den NVR mithilfe des mitgelieferten HDMI-Kabels mit einem Monitor oder Fernseher.
- Maus anschließen: Schließen Sie die USB-Maus an einen USB-Anschluss des NVR an.
- Netzwerk verbinden: Connect the NVR to your router using an Ethernet cable for internet access and remote viewing.
- Strom anschließen: Stecken Sie das Netzteil des NVR in den NVR und anschließend in eine Steckdose. Der NVR schaltet sich automatisch ein.
- Initial Wizard: Follow the on-screen setup wizard to configure language, date/time, password, and network settings.

Image 3.1: Diagram showing NVR connections to monitor, mouse, network, and power.
3.2 Kamerainstallation
- Montageort: Choose a suitable location for each camera, ensuring good coverage and a stable mounting surface. Consider the camera's IP66 rating for outdoor use.
- Bohrlöcher: Use the provided mounting template to mark and drill holes for the camera base. Insert wall anchors if necessary.
- Sichere Kamera: Befestigen Sie den Kamerasockel mit den mitgelieferten Schrauben an der Montagefläche.
- PoE-Kabel anschließen: Connect one end of an Ethernet cable to the camera's PoE port and the other end to an available PoE port on the NVR. The camera will power on and connect automatically.
- Winkel anpassen: Loosen the adjustment screws on the camera to set the desired pan, tilt, and rotation angle. Tighten the screws once positioned.

Image 3.2: Step-by-step guide for mounting a PoE camera.
3.3 Einrichtung der mobilen App
- Lade App herunter: Suchen nach the official SOVMIKU security app in your device's app store (iOS or Android).
- Account registrieren: Öffne die App und registriere ein neues Benutzerkonto.
- Gerät hinzufügen: Follow the in-app instructions to add your NVR system. This typically involves scanning a QR code on the NVR or manually entering its device ID.
- Live View: Nach dem Hinzufügen können Sie view live feeds from your cameras, access playback, and control PTZ functions remotely.
4. Betrieb des Systems
4.1 Live View und Wiedergabe
- Live View: On the NVR monitor or mobile app, select the 'Live View' option to see real-time footage von allen angeschlossenen Kameras.
- Wiedergabe: Access the 'Playback' menu to review aufgenommenes footage. You can search by date, time, and event type (e.g., motion detection, human detection).

Abbildung 4.1: Beispielample of the mobile app's live view Schnittstelle.
4.2 PTZ Control and Two-Way Audio
- PTZ-Steuerung: For PTZ cameras, use the on-screen controls (NVR interface or mobile app) to pan (300°), tilt (90°), and zoom the camera lens.
- Zweiwege-Audio: Select a camera with two-way audio support in live view. Use the microphone icon to speak through the camera and the speaker icon to listen to audio from the camera's location.
4.3 Personenerkennung und automatische Verfolgung
- Menschliche Erkennung: The system is configured to detect human shapes, reducing false alarms from pets or inanimate objects. Configure alert settings in the NVR or app.
- Automatische Verfolgung: When human detection is triggered, the PTZ camera can automatically track the detected person's movement within its field of view. Enable this feature in the camera settings.
5. Wartung
- Kamerareinigung: Reinigen Sie die Kameralinsen regelmäßig mit einem weichen Tuch.amp Für eine klare Bildqualität ein Tuch verwenden. Keine scharfen Chemikalien verwenden.
- Firmware-Updates: Check the SOVMIKU official website or the mobile app for available firmware updates for your NVR and cameras. Keeping firmware updated ensures optimal performance and security.
- Festplattenverwaltung: The 3TB HDD will automatically overwrite the oldest footage when full. You can configure recording schedules and retention policies in the NVR settings. Regularly back up important footage.
6. Fehlerbehebung
| Problem | Mögliche Ursache | Lösung |
|---|---|---|
| Es wird kein Videobild auf dem Monitor angezeigt. | Loose HDMI cable, NVR not powered on, incorrect monitor input. | Check HDMI connection, ensure NVR power, select correct monitor input. |
| Kamera zeigt kein Video an | Loose Ethernet cable, camera not powered, faulty cable. | Check PoE Ethernet connection, try a different NVR PoE port or cable. |
| Kein Fernzugriff über die App | NVR not connected to internet, incorrect network settings, app not configured. | Ensure NVR is connected to router, verify network settings, re-add device in app. |
| PTZ control not working | Camera not a PTZ model, PTZ function disabled, network issue. | Confirm camera model, enable PTZ in settings, check network stability. |
7. Spezifikationen
- NVR-Kanäle: 8-Kanal (unterstützt bis zu 8 Kameras)
- Videoauflösung: Up to 4K (NVR), 5MP (Cameras)
- Lagerung: 3 TB HDD (vorinstalliert)
- Kameratyp: PoE PTZ (Pan 300°, Tilt 90°)
- Kamerafunktionen: Human Detection, Auto Tracking, 2-Way Audio
- Wetterfeste Bewertung: IP66 (Kameras)
- Konnektivität: Ethernet (PoE), HDMI, USB
- Paketabmessungen: 16.5 x 14.5 x 12.5 Zoll
- Artikelgewicht: 18.96 Pfund
8. Garantie und Support
SOVMIKU products typically come with a standard manufacturer's warranty. Please refer to the warranty card included in your package or visit the official SOVMIKU webAuf der Webseite finden Sie die detaillierten Garantiebedingungen.
For technical support, troubleshooting assistance, or warranty claims, please contact SOVMIKU customer service through their official webWebsite oder die in Ihrer Produktdokumentation angegebenen Kontaktinformationen.
WebWebsite: www.sovmiku.com (Example URL, please refer to actual product documentation)
E-Mail: support@sovmiku.com (Example Email, please refer to actual product documentation)


