Wichtige Sicherheitsinformationen
Please read this manual carefully before using your new Haier HD100-A3959E-IT I-Pro Serie 5 heat pump dryer. Keep it for future reference. This appliance is designed for domestic use only. Improper use may result in electric shock, fire, or injury.
- Stellen Sie sicher, dass das Gerät ordnungsgemäß geerdet ist.
- Kinder dürfen nicht mit dem Gerät spielen oder es bedienen.
- Die Lüftungsöffnungen des Trockners dürfen niemals blockiert werden.
- Trocknen Sie keine ungewaschenen Wäschestücke im Wäschetrockner.
- Entfernen Sie alle Gegenstände wie Feuerzeuge und Streichhölzer aus den Taschen.
- Ziehen Sie vor der Reinigung oder Wartung des Geräts immer den Stecker.
1. Einrichtung und Installation
1.1 Auspacken
Carefully remove all packaging materials. Inspect the dryer for any damage during transit. Report any damage to your retailer immediately.
1.2 Platzierung
The Haier HD100-A3959E-IT is a free-standing appliance. Place it on a firm, level floor. Ensure there is adequate ventilation around the dryer. Do not install the appliance behind a lockable door, a sliding door, or a door with a hinge on the opposite side to that of the tumble dryer, in such a way that a full opening of the tumble dryer door is restricted.
Abmessungen:
- Breite: 596 mm
- Tiefe: 650 mm
- Höhe: 850 mm
1.3 Nivellierung
Stellen Sie die verstellbaren Füße an der Unterseite des Trockners so ein, dass er absolut waagerecht steht. Ein waagerecht stehendes Gerät reduziert Vibrationen und Geräusche im Betrieb.
1.4 Elektrischer Anschluss
Connect the dryer to a properly earthed power outlet. The appliance requires a 220-240 V AC power supply. Do not use extension cords or multi-plugs.
1.5 Kondensatablauf
This heat pump dryer collects water in a condensate tank. You can either manually empty this tank after each cycle or connect the dryer to a permanent drain using the provided drain hose. Refer to the diagram for connecting the drain hose.

Abbildung 1: Vorderseite view of the Haier HD100-A3959E-IT I-Pro Serie 5 Heat Pump Dryer, illustrating its design and controls.
2. Bedienungsanleitung
2.1 Beladen des Trockners
Open the dryer door and load laundry into the drum. Do not overload the dryer; the maximum capacity is 10 kg. Ensure items are not tangled and distribute them evenly. Close the door firmly.
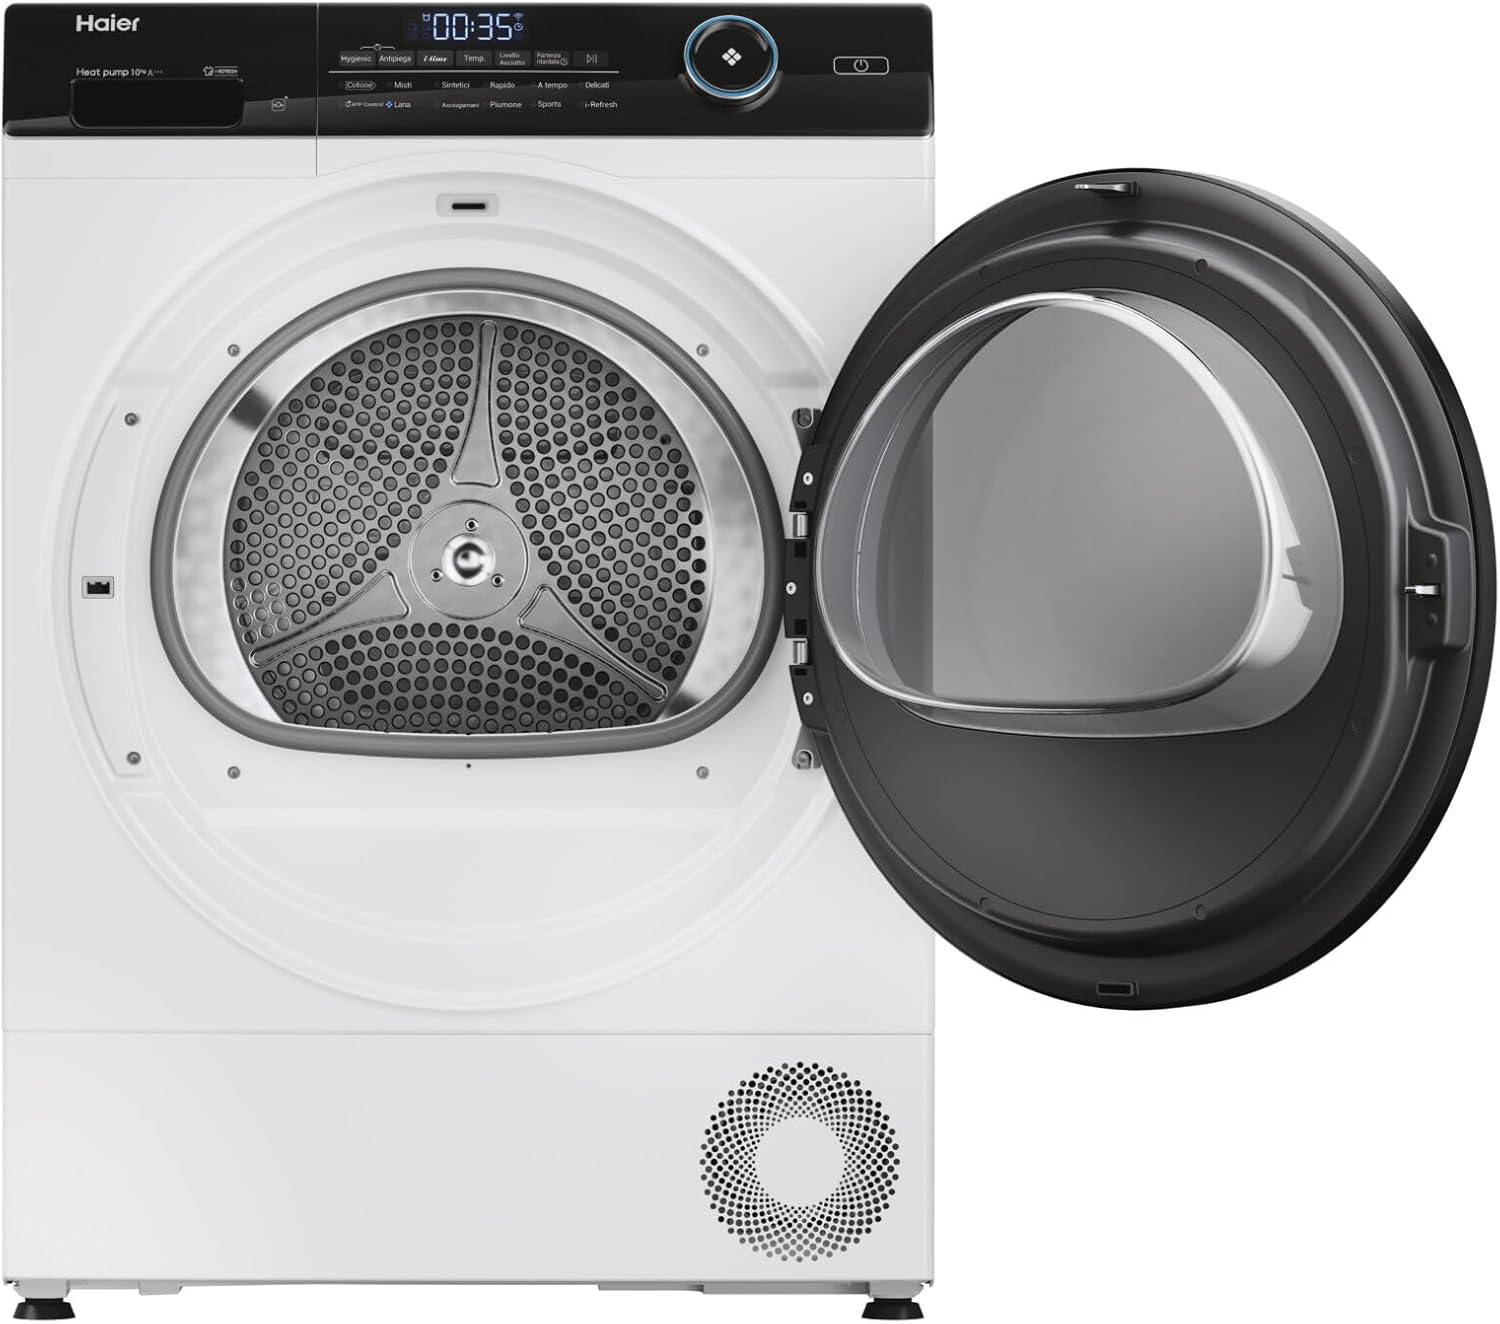
Figure 2: The dryer with its door open, revealing the stainless steel drum and internal light, ready for loading.
2.2 Programm auswählen
Turn the program selection knob to choose the desired drying program. The integrated display will show program details. Available programs include:
- 30min: Schnelles Trocknen für kleine Wäschemengen.
- Cotone (Baumwolle): Für Baumwollartikel.
- Delicati/Seta (Feinwäsche/Seide): Gentle drying for delicate fabrics.
- Piumino/piumone (Duvet/Quilt): For larger, bulky items like duvets.
- Hygienic drying: Für verbesserte Hygiene.
- Mischen: Für gemischte Stoffladungen.
- Aktualisieren: To air and refresh clothes without full drying.
- Sport: Für Sportbekleidung.
- Sintetico (Synthetics): Für synthetische Stoffe.
2.3 Program Options and Features
Use the control buttons to select additional options:
- Verzögerter Start: Postpone the start of the drying cycle.
- Anti-Falten-Funktion: Reduziert Kreatininasing durch regelmäßiges Umdrehen der Wäsche nach Ende des Waschgangs.
- Kinderschutz: Sperrt das Bedienfeld, um versehentliche Änderungen zu verhindern.
- Wi-Fi / Bluetooth (hOn App): Connect your dryer to the hOn app for remote control, additional programs, and smart features.
- Trommelinnenbeleuchtung: Beleuchtet die Trommel für bessere Sichtbarkeit beim Be- und Entladen.
- Restzeitanzeige: Shows the estimated time left for the current cycle.
2.4 Starten und Beenden eines Zyklus
Press the On/Off button to power on the dryer. After selecting your program and options, press the Start/Pause button to begin the cycle. To pause or stop a cycle, press the Start/Pause button again.
3. Wartung und Reinigung
Regelmäßige Wartung gewährleistet optimale Leistung und verlängert die Lebensdauer Ihres Trockners.
3.1 Reinigung des Flusenfilters
The lint filter should be cleaned after every drying cycle. A clogged filter reduces drying efficiency and increases energy consumption.
- Öffnen Sie die Trocknertür.
- Ziehen Sie den Flusenfilter im Inneren der Türöffnung heraus.
- Entfernen Sie eventuell angesammelte Flusen von Hand oder mit einer weichen Bürste.
- Spülen Sie den Filter gegebenenfalls unter fließendem Wasser ab und stellen Sie sicher, dass er vollständig trocken ist, bevor Sie ihn wieder einsetzen.
3.2 Emptying the Condensate Tank
If you are not using a permanent drain connection, the condensate tank must be emptied after each cycle. The display will indicate when the tank is full.
- Pull out the condensate tank from its housing (usually at the top left or right of the control panel).
- Schütte das aufgefangene Wasser in ein Spülbecken.
- Schieben Sie den Tank zurück in seine Position, bis er einrastet.
3.3 Reinigung des Kondensators
The condenser should be cleaned periodically (e.g., every few months) to maintain drying efficiency. Refer to the appliance's specific instructions for accessing and cleaning the condenser unit.
3.4 Außenreinigung
Wischen Sie die Außenflächen des Trockners mit einem weichen, fusselfreien Tuch ab.amp Tuch. Keine Scheuer- oder Lösungsmittel verwenden.
4. Anleitung zur Fehlerbehebung
Bevor Sie sich an den Kundendienst wenden, prüfen Sie bitte die folgenden häufig auftretenden Probleme:
| Problem | Mögliche Ursache | Lösung |
|---|---|---|
| Trockner startet nicht | No power supply; Door not closed properly; Program not selected; Child lock active. | Check power plug and fuse; Close door firmly; Select a program and press Start; Deactivate child lock. |
| Die Kleidung ist nicht trocken | Lint filter clogged; Condensate tank full; Overloaded dryer; Incorrect program selected. | Clean lint filter; Empty condensate tank; Reduce load size; Select appropriate program. |
| Übermäßiger Lärm/Vibrationen | Trockner steht nicht waagerecht; Fremdkörper in der Trommel. | Justieren Sie die Nivellierfüße; Prüfen Sie die Trommel auf lose Teile. |
| Wasserleck | Condensate tank not properly inserted; Drain hose loose or blocked. | Ensure condensate tank is correctly seated; Check drain hose connection and clear any blockages. |
Sollte das Problem nach dem Ausprobieren dieser Lösungsansätze weiterhin bestehen, wenden Sie sich bitte an den Haier-Kundendienst.
5. Produktspezifikationen
| Besonderheit | Spezifikation |
|---|---|
| Marke | Haier |
| Modellname | HD100-A3959E-IT I-Pro Serie 5 |
| Gerätetyp | Wärmepumpentrockner |
| Installationstyp | Freistehend |
| Ladetyp | Frontlader |
| Kapazität | 10 kg |
| Energieeffizienzklasse | A+++ (Scale A+++ to D) |
| Jährlicher Energieverbrauch | 211 kWh |
| Kondensationseffizienzklasse | A |
| Geräuschpegel | 64 dB |
| Standard Cycle Time | 265 Minuten |
| Trommellautstärke | 125 Liter |
| Trommelmaterial | Edelstahl |
| Steuerungstyp | Buttons, Knob, Display |
| Konnektivität | Wi-Fi, Bluetooth (hOn App) |
| Abmessungen (B x T x H) | 596 mm x 650 mm x 850 mm |
| Gewicht | 47.8 kg |

Figure 3: The energy efficiency label for the Haier HD100-A3959E-IT, indicating its A+++ rating.
6. Garantieinformationen
Specific warranty details for the Haier HD100-A3959E-IT I-Pro Serie 5 dryer are not provided in this manual. Please refer to the warranty card included with your purchase, your sales receipt, or contact your retailer for information regarding the warranty period and terms and conditions.
7. Kundendienst
For technical assistance, spare parts, or service requests, please contact Haier customer support. You can find contact information on the official Haier weboder über Ihr autorisiertes Servicecenter vor Ort.
- Visit the official Haier webWebsite für Ihre Region.
- Refer to your purchase documentation for local service numbers.


